Today I am showcasing a beautiful stamp set and die bundle that will be going away in a couple of weeks. It is terrible that sometimes we find something we really love just as it is retiring. And that is the case with this bundle. Here is the card I made for my Stamp Club Spring Card Swap.
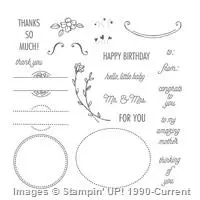
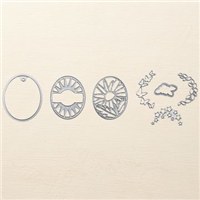
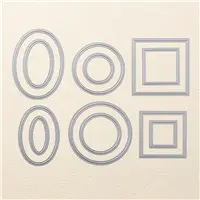
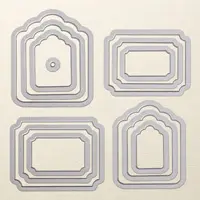
Timeless Tags Thinlits Dies, 142755
This is such a sweet card and I would love to receive one like it. This bundle, That’s The Tag – 144725, was sort of a sleeper in the Occasions Catalog. I will admit it took me a while to pull it out. And I am so happy that I did. Wow! Such a quick and cute card.
The base of this card is Thick Whisper White card stock cut to 4 1/4 X 11. (It stands up better with this cut )
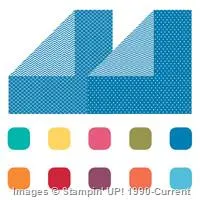
The Brights DSP stack is cut 4 X 5 1/4, then it cut it to 5 1/4 X 2 1/2 and 5 1/4 X 1 1/2. I then flipped one side over. (The two patterns of this DSP are on the same sheet)
The White focal layer was cut with the layering ovals die and the butterfly cut outs from this bundle
The Real Red scalloped oval is also from layering ovals dies.
After I adhered everything I took a few of the cut out butterflies and added them back to the card using a glue dot.
I hope you enjoyed today’s card and if you really love this set as I did, it is still available on the Retiring List. You can just click the link below.
Thank you so much for visiting today. I love your comments and am very happy to assist you with anything. So please contact me with any questions.
And if you do not currently have a Stampin’ Up! Demonstrator ,or are interested in becoming a Stampin’ Up! Demonstrator, I would love to hear from you.
I see 4 X 4 cards quite often and think to myself that I should try that, and of course I never do! Well today I did it!! And then I do the imaginary eye roll and ask “why did I wait so long to do this”? Duh….. Of course the 4 X 4 cards can be every bit as elaborate as a regular A2 card or just a simple note. I went with the simple.
Country Livin’ 141925, $15.00
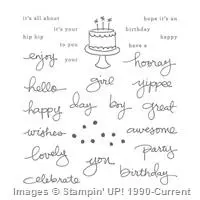
My plan was for a cute little card that could be used for a variety of reasons. And as most of my cards are, it was very quickly put together. The stamp sets are Country Livin’ and Endless Birthday Wishes.
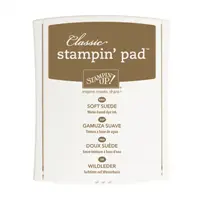
The base of the card is done in Soft Suede card stock = 8 X 4 and folded in half
The next layer is Sahara Sand card stock = 3 3/4 X 3 3/4
The top layer is Very Vanilla card stock = 3 1/2 X 3 1/2
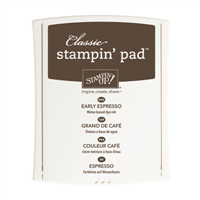
The boots are stamped in Early Espresso Ink and colored with a Blender Pen and the Ink pads .
The boots are colored with Sahara Sand ink, the darker areas are Crumb Cake Ink and the sole and straps are Soft Suede ink
The Yippee is stamped in Early Espresso
The shading around the boots is Soft Sky ink and a blender pen. This idea comes from Susan Itell.
The ends of the top layer are torn and sponged with Soft Suede
The “lasso” is Linen Thread looped around and secured with a Glue Dot.
And that is the building of my card. I hope you enjoyed it. I love reading your comments and very much appreciate them. If you have any questions, please contact me.
It is hard to believe that the school year is already winding down. YIKES! where does the time go. And we all have or know the children, who are not children anymore!, that are graduating this year. This is a quick and glitzy card I made for a good friend’s daughter. I cannot believe she is old enough to be graduating and going off to college. Anyway, here is my Congrats Grad card:
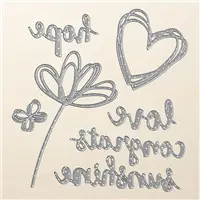
Sunshine Wishes, 141489, 27.00
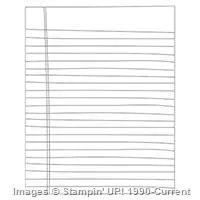
In trying to come up with a card I was looking over all of my stamp sets. When I noticed the background stamp Writing Notes, I decided it would be perfect. How much note paper do you go through in your 12 years of school? Once I decided on the paper stamp I had to figure a way to glitz it up to suit a teenage girl. I hope you like my Glitzy card!
The card is actually very simple. I mounted the layers at angles just to give it a little more modern look. The rest of the items are listed below.
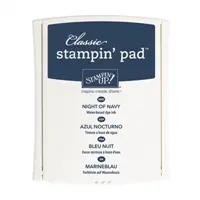
The base is Night of Navy card stock 8 1/2 X 5 1/2 folded in half
The Dazzling Diamonds Glimmer Paper is 5 1/4 X 4
The Whisper White card stock is cut to 5 X 3 3/4
The Writing Notes is stamped in Marina Mist
The “Celebrate You” and “Wahoo” (from Birthday Blast) are stamped in Night of Navy ink.
The “Congrats” is diet from Silver Foil Sheets using the Sunshine Wishes Thinlits
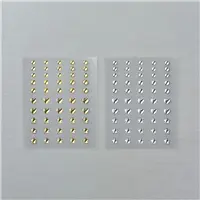
The small stars where the 3 ring holes would be in the paper are from Metallic Enamel Shapes
The raised silver foil stars are from a retired punch trio. (sorry about that)
And there you have it. A fairly quick and easy, but with some glitz, Graduation card. And of course this would work for any reason to Celebrate an Accomplishment! I know I should do that more often!!
The NEW CATALOG begins June 1 !! I am so excited. If you would like to join all of the fun and excitement of becoming a Stampin’ Up! Demonstrator and the benefits that accompany it, please contact me. I welcome Hobby Demonstrators. I was only interested in the discount for many years. There are no pushes for you to continue if you discover it is not for you. But what a deal you get to begin with: you get $125.00 of product for $99.00 and FREE shipping!! That is a great and Ultimate Bundle with no requirements to continue. So if you are considering, please let me know.
I appreciate you stopping by today. The products I used are all listed below. Also, don’t forget the Retiring List, the Clearance Rack, and the early ordering of the Eastern Palace Suite.
You can click on each of the links below to go directly to those products.
My post today is a 2 for 1 card deal. Who can resist a sale, or in this case a treat? I was making a gift card and realized that I had the hard part of a full size card already made. And the rest is what you see below.
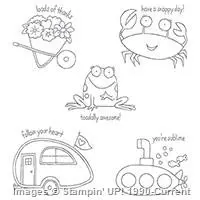
You’re Sublime, 139309, 19.00
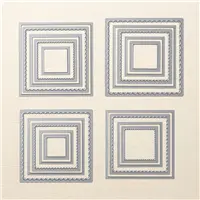
I know that my picture taking needs some improvement!! But hopefully you can see that the scalloped Bermuda Bay layer on the gift card is the center opening on the full size card. Now you see why I said I had a 2 for 1 card. I actually had the idea for this as I was getting ready to cut the scalloped square from a scrap piece of card stock. I stopped myself just in time, and went with a full piece of 5 1/2 X 8 1/2 piece. (Although I did go back and use that scrap piece of card stock, because now I needed 2 of the scalloped square pieces!) I then stamped the wheelbarrow of flowers twice on Whisper White Thick card stock and cut them out using the Stitched Shapes Framelits that were a size smaller than the scalloped square.
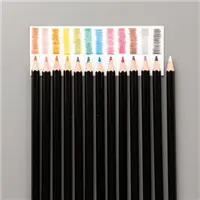
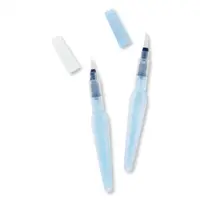
I colored both wheelbarrows with our amazing Watercolor Pencils but I then used a Blender Pen on one and the Aqua Painter on the other. If you do use the aqua painter on this card stock, please be careful and use minimal water or you can get some pealing of the paper.
For the gift card I simply layered the pieces onto a 6 X 3 piece of Rich Razzleberry that is folded in half. I forgot to punch the hole and attach my Baker’s Twine before I took the picture. I used the 1/8″ Handheld Circle Punch for the whole. And it will punch threw both pieces at one time.
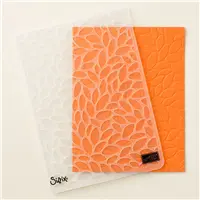
On the card, I placed the front side in the Petal Burst Embossing Folder and ran the entire piece through the Big Shot. This embossing folder will go through sideways. Lucky Me !! I then closed the card and scored it very well. Due to the embossing folder, it really doesn’t want to close and lay flat. After layering my focal point, I added dimensionals and placed it through the closed card and through the cut out area. I did this first without removing the backing from the dimensionals to make sure it would work. I recommend you doing that as well!! And it did work perfectly, so there you have the finished product.
Even though I have talked/typed a lot, this was pretty quick and easy to do. It could be ramped up some moe with additional layers, more embellishments, etc. The only embellishment I did was to add a Rhinestone to the center of the wheelbarrow’s wheel on each card.
Thank you for visiting today. I hope you enjoyed my 2 for 1 card. If you have any questions please ask me, I am happy to help.
If you do not have a current Stampin’ Up! Demonstrator, I would love to send you the 2017-2018 Annual Catalog. They will be available towards the end of May. And I would love for you to Join My Team if you love SU as much as I do!
Please do not forget the Retiring List (Good through May 31, while supplies last) and the Clearance Rack.
The set I am using today is called Super Duper! Don’t you just love that name? And I hate to admit it, but it was not even on my radar until I was headed to Savannah OnStage. My up, upline Pam Morris had used it for her swap card. It was just so darn cute. So naturally I had to give it a second look in the Occasions Catalog. I’m sure you can guess what that answer was…..Yes, it came to my house with my next order! So here it is:
Super Duper, 142874, $19.00
This card does not have any Bling, it is just a simple, cute, birthday card that would work for anyone. I made it for a guy who doesn’t really care for Bling. And that is OK.
But if you are looking for a cute and quick card , then this is for you.
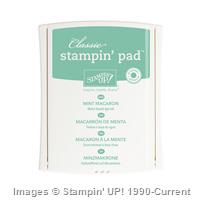
The base of the card is Mint Macaron – 8 1/2 X 5 1/2 folded in half
The basic black layer is – 5 1/4 X 4
The whisper white layer is – 5 1/8 X 3 7/8
And that is it. So very simple!! If you like the Mint Macaron, and oh boy do I !, then click down on the retiring list because it is going away at the end of May (or before if supply runs out). The Super Duper set is in the Occasions Catalog but thankfully was chosen to carry over into the next Annual Catalog .
And speaking of the Annual Catalog, If you do not have a Stampin’ Up! Demonstrator , and would like to have one of our catalogs, please use the Contact Me button at the top of the post. I will be happy to send you one when they are available.
My card for today was for my friend Michelle’s birthday. I didn’t want to post about it until after she had received it in case she saw the post. Since yesterday was her birthday and I know she received the card, here it is:
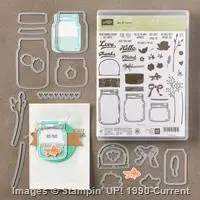
Jar of Love, 141587
I really adore this stamp set. I grew up with a lot of mason jars being used for all sorts of things. And they were the first thing my Mom went to for a flower vase. This set is a must have! And please remember the set is carrying over to the new catalog, but it will not have the bundle price. With the current catalog bundle price you can save 10% on the stamp set and dies together. And you really do want the dies. It makes popping up the flowers just so easy.
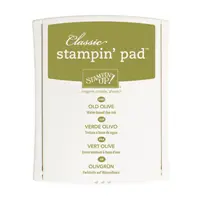
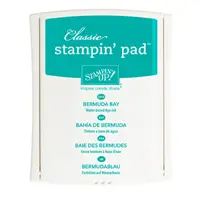
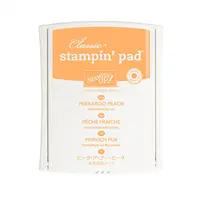
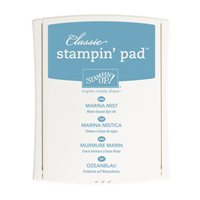
Ok, now to card details. There are current and retired mixed in the card. The base is Old Olive card stock with the Brights DSP stack used on the right side and a scrap from some retired DSP on the left. I was looking for a complimentary/contrasting paper. I stamped the jar in Bermuda Bay to mimic the blue Ball Mason Jars I remember. The water is Soft Sky. The stems are Old Olive. The peach flowers are Peekaboo Peach stamped off for the large part and full strength for the small section. On the one I tried Calypso Coral and wasn’t as excited by it but though all flowers look a little different…right? The blue flowers are Marina Mist stamped off and full strength.
The flowers are all cut out using the Everyday Jars Framelits Dies that are part of the bundle. A must have!! Some of the flowers are flat on the paper and a few are popped up with our Stampin’ Dimenstionals. The black centers of the peach flowers really just make the flower pop. For the blue flowers I added small pearls from our Pearl Basic Jewels.
The For You is cut using the Tags and Labels Framelits. I am really sad to see those on the retiring list. The little paperclip is a retired item. However there are some cute paperclips in the Occasions catalog with the valentine suite. I have them and just could not put my hands on them. Don’t you hate when that happens! The strip of ribbon is just to help tie in the flower colors a little bit.
Thank you for stopping by and checking out today’s project. I really appreciate it and hope that you liked this birthday card. I would love to see your thoughts in the comments.
The content in this blog is the sole responsibility of Jackie Beers as an Independent Stampin' Up! Demonstrator. The use of and content of classes, services or products offered is not endorsed by Stampin' Up!