My card for today is for a special occasion. A good friend’s son just bought his first house. Of course I have been intending to order the new Host Rewards set “In The City” which would have been perfect. But since I have not ordered it yet I made do with what I had on hand.
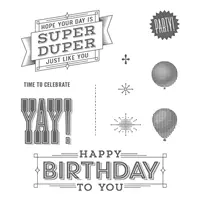
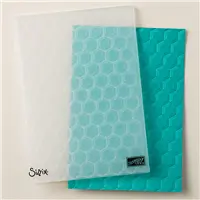
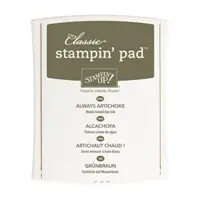
I wanted it to be more masculine, but have some brightness as well. I believe it came out pretty well. To add some texture to the card I used the Hexagon Embossing folder on the Sahara Sand card stock. The “YAY” is stamped in Always Artichoke on Very Vanilla and cut out using the Stitched Shapes Framelit Dies. The Always Artichoke layer behind it is cut out using the next larger die from that set.
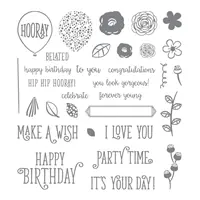
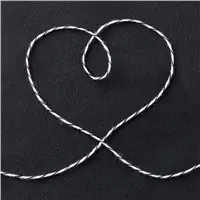
The Balloons are stamped on Very Vanilla in Always Artichoke and Crushed Curry and fussy cut out. The are layered on top of each other and then raised with a Stampin’ Dimensional. The “string” is Linen Thread. The sentiment is from the same stamp set, “Super Duper”! and is punched out with the Classic Label punch. The layer behind it I hand cut.
And that is that for this card. It came together very quickly, and is a card, and a layout that could be used for most any occasion. That is a Win/Win to me !
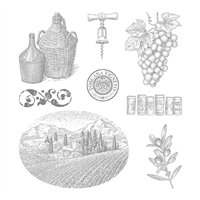
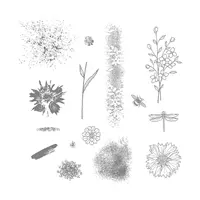
I am using a “Not Very Much Used” stamp set today. It is the Tuscan Vinyard. I fell in love with the set when it debuted last year, but then never really used it. So today I have dusted it off and I really like the outcome.
Tuscan Vinyard, 141902
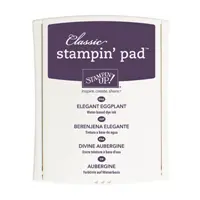
My color inspiration was obviously the grapes, but it led me to another “Not very Used” ink color: Elegant Eggplant. And on it went from there. Here are the colors I have used today.
As I was putting the card together and looking at the finished product, I asked myself why I had not been using Elegant Eggplant! It really pops! I don’t think I am going to need to “dust it off” for the near future. I can think of several sets that it would work beautifully with.
I chose to use the smaller items included in the stamp set. So instead of having a lot of background to cover or additional layers, I decided on a 4 X 4 card.
The Elegant Eggplant base is 4 X 8 and folded in half
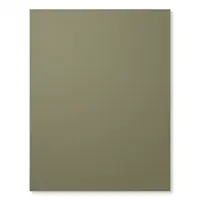
The Old Olive layer is 3 3/4 X 3 3/4
The Very Vanilla layer is 3 1/2 X 3 1/2
The grapes are stamped in Memento Tuxedo Black Ink and colored with the Aqua Painter
The cork screw and the corks are stamped in Sahara Sand ink
The splatter is from flicking the Elegant Eggplant Marker tip into the lip of it’s cap. (Thank you #paperpixie, Julie DiMatteo)
The wine seal is stamped in Elegant Eggplant and punched out using the 1″ Circle Punch
The Linen Thread is just wrapped around the card and the seal is added with dimensionals.
And that , as they say, is that! A very quick and easy card. Each time I do the square card I ask myself why I do not do it more often. Please give it a try. I do believe you will love it.
Thank you so much for stopping by my blog today. If you have any questions or comments I would love to hear from you.
Remember that June Hosts receive additional Host Rewards!!!! I would love to work with you on a workshop/party or an order if you do not have a current Stampin’ Up! Demonstrator.
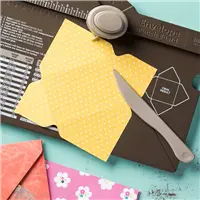
My post for today is 2 for 1. I needed a birthday card for my cousin and wanted to do something a little different. I usually give her a gift card. That is great, but boring! So after watching my fellow SU Demonstrator Julie DiMatteo’s awesome video for a money envelope, I got to work. You can see Julie’s great video HERE. Julie is The Paper Pixie. She is the best at videos.
Once I had Julie’s idea in my head, I had the idea…..gift cards are great, but so is Chocolate!!! I adapted the money envelope to fit a full size Hershey candy bar. Now my cousin gets money and chocolate. I do believe that is a win/win!
Here are my pair of ideas.
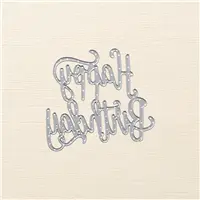
Happy Birthday,143700
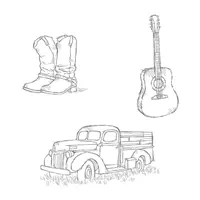
You may recognize the boots from a previous post I did that was a 4X4 card. You can see it HERE. The card is very similar. But she loves cowboy boots and horses, and all things country. I just knew that’s the card I had to do for her.
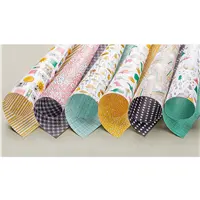
The card and the Money/Candy holder are Sahara Sand and Basic Black card stock. The Designer Series Paper is from Pick A Pattern DSP pack. And yes, I know I have used it in almost every card for the last week! But look back and see how different the paper is. This is probably my most favorite DSP ever, and originally I thought it was more for children…..Silly, Silly, Me !!!
For the card, I tore the Very Vanilla card stock and sponged the edges with Soft Suede ink. The boots are colored with ink pads and the aqua painter. The lasso is made from Linen Thread and attached with a rolled up glue dot.
The Happy Birthday is a Must Have die cut! It is so simple and easy but really packs a Wallop! Alway remember to attach the Multi-purpose Adhesive Sheet to the card stock before you cut it with the Big Shot though. That way there is no messy glue. You just peel off the back and stick it down. For the Chocolate Envelope I used Julie’s directions and then stamped it with the splatter from Touches of Texture stamp set. The only difference from Julie’s envelope is the belly band. I added 1/2″ to the length of the band due to the thickness of the candy bar versus a check or dollar bill. The bow is from Julie’s video as well.
Remember that we alway say CASE ! That means Copy And Share Everything! You can copy something exactly or use it as the basis for an idea. It is always nice to give credit to the person you got the idea from too.
Thank You for stopping by today. Please do not forget to watch Julie’s video (click above or go to thepaperpixie.com to see exactly how to create this cute envelope and bow!
The supplies I used are listed below. You can click on any item and be directed to my OnLine Store.
My wonderful Stampin’ Up! friend Julie DiMatteo asked her friends to make a card for her Dad’s birthday. Hopefully he will have a mailbox full of birthday wishes this month. I am sharing the card I made for him today.
My beginning for this card was this lovely old truck from Country Livin’ stamp set. Then I asked myself how I could showcase it since it was for a special person. Of course it had to be red! It seems all the old trucks you see seem to be a faded red color. From there I quickly came up with a base of Crumb Cake , Real Red, and Old Olive. A great “Go To” color combination.
I have not used this layout in some time and I wonder why? It is so simple and really shows off with any stamp set. All you do is start with a panel that can be easily divided into thirds. That is all it takes.
The banner is from Banners For You and the “Happy Birthday” is from Happy Birthday Gorgeous. I fussy cut the banner. The truck is colored with Watercolor Pencils and an Aqua Painter.
Thank you so much for stopping by today. I love to read your comments.
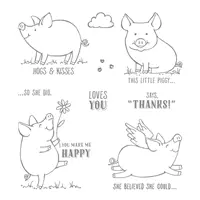
I have been waiting since OnStage for This Little Piggy set. I have had it for a couple of days and have made probably a card a day with it! These little guys are just so cute 🙂
I know the Pink Tourette doesn’t quite look right with Basic Black and Crushed Curry, but what choice did I have for a cute little pig ? HaHa!!!
Doesn’t that cute face on the piggy bring a smile to you? All of the pigs in the set are this cute! The Pick a Pattern DSP helps the young and happy feeling of the card I do believe. It is so eclectic that it is a perfect background for the cute little focal point. This DSP is a sleeper in a way. At first glance it has more child-like designs but when you look at the other side of the paper, at least for me, it was a “WOW” .
There are extra layers to this card, but that could be narrowed down if you didn’t want it to me as heavy. I wanted this to be a really nice card and added the extra background layers to help make it pop.
I started with a base of Thick Whisper White
The Basic Black layer is 5 3/8 X 4 1/8
The Whisper White layer is 5 1/4 X 4
The DSP layer equals between the two pieces a width of 3 7/8 X 5 1/8
The piglet is stamped on Whisper White with Tuxedo Black Memento ink and colored with Pink Pirouette marker
The grass is done with the Old Olive marker
The balloon is stamped in Crushed Curry ink on Whisper White and punched with the Balloon Bouquet punch
The edge of the balloon is shaded (it doesn’t show well in the picture) by dragging the Basic Black marker around the outside of the ballon. It sort of mimics the circles in the DSP.
The bow on the balloon is Black and White Baker’s Twine.
I will definitely be posting more Little Piggy cards in the coming weeks. Thank you for stopping by today. I very much appreciate your comments.
The supplies I used are listed below: You can click on any item and be taken directly to my On Line Store.
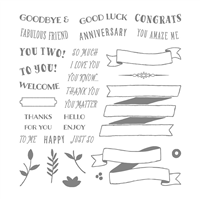
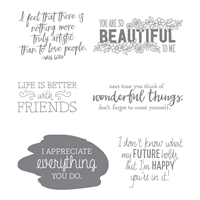
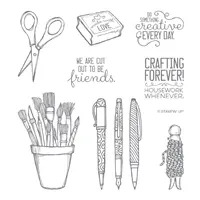
Today’s card is made partly with the first stamp set I fell in love with when it was debuted at OnStage. Brian King presented it and showed such beautiful cards that I knew it would be coming to me as soon as I could order it. Since we are all about crafting, who could not love this set. And for today’s card I went a little more neutral with it to show it’s versatility. Of course the sentiment, even though from another stamp set, fits perfectly with the theme.
Crafting Forever, Truly Artistic
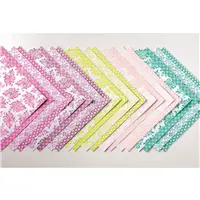
What do you think of the more neutral look? The Fresh Florals DSP is almost as much a star as the Crafting Forever and Just Add Text stamp sets. I do believe these two stamp sets compliment each other.
I only used Tranquil Tide and Very Vanilla on this card, With the exception of Memento Black ink for the pens and then I colored them with the Bermuda Bay Watercolor Pencils. I think it blends well enough with the Tranquil Tide. Those pencils and the colors provided in them tend to work with most of our colors.
Thank you for visiting today! I truly appreciate your comments. And if there are any questions, or you need assistance with a purchase, please let me know.
The content in this blog is the sole responsibility of Jackie Beers as an Independent Stampin' Up! Demonstrator. The use of and content of classes, services or products offered is not endorsed by Stampin' Up!