The Stampin’ Up! Note Cards and Envelopes ( 20 cards and envelopes for $6.00) are a super value. And this is what I have used as the base of my card today. They are the same weight as the Thick Whisper White or Thick Very Vanilla card stock. So you can stamp directly on them or layer, as I have done here.
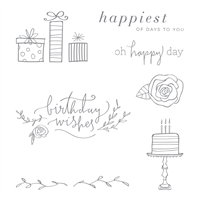
Happiest of Days, 143796
I apologize for the white on white with my background! I am working on my photography! yikes….
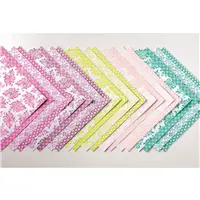
The note cards measure 5 X 3 1/2, so they are plenty big enough to use in a variety of ways. The Calypso Coral card stock and the Delightful Daisy Designer Series Paper are really the stars of the show. The two really help the stamped images pop.
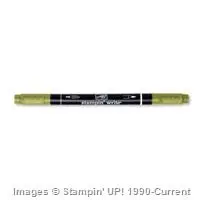
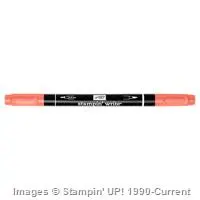
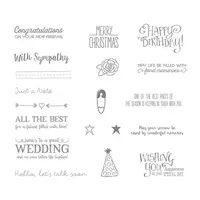
The stamp set I used is the Happiest of Days set. This is a small set that really is great to have. You can see the set in the supply list below. I stamped the sentiment in Old Olive and colored the cake with Stampin’ Write Markers. So easy! I also stamped the cake, minus the stand, on the front of the envelope. I do this on most of my cards. I believe it gives the recipient a smile before they open they card.
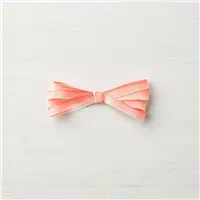
The beautiful ribbon is new to the current catalog and is Calypso Coral 1/4″ Ombre Ribbon. It is even prettier in person. There are three of the Ombre Ribbons on page 198.
The supplies I used are listed below. You can click on any item and be taken directly to my online store. Thank you for visiting today. I hope you have a great day!
Please do not forget to look at this Awesome special for Paper Pumpkin. New Subscribers can try their first month for 50% off. That means it is only $10.00 to get the first box. The contents are worth well over that amount. There is no obligation to continue the subscription. But I hope you will fall in love with it as I have. If you decide that you do not want it after the first, or even the tenth, you simple go to the website and cancel. It is that easy. So give it a try at this half price rate.
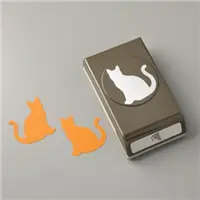
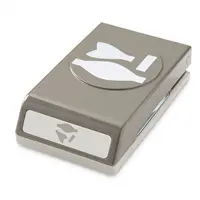
I have another card made using the Cat Punch from the upcoming Holiday Catalog. As us Cat Fans know, cats are not just for Halloween. Today is a second Cat Birthday card, but in non-Halloween colors.
Cat Punch, 144666
Do you see the shadow behind the cat? I just had a wild idea and decided to try that. I punched the DSP cat and then a solid Berry Burst cat to place behind. I think it gives an unusual touch.
The DSP is the Fresh Florals, which is the newest In Colors. The pattern on the cat is actually the same design as the back side of the Tranquil Tide pieces. The White Doily is something I really love, but then rarely use. I think it worked here though.
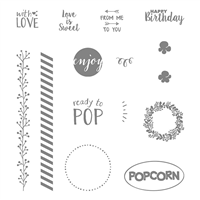
The banner is punched from the Banner Triple Punch and the sentiment is from Ready to Pop. I love the cute and smaller sentiments in that set. You should give them a glance. And the final touch is the Berry Burst Seam Binding Ribbon. It is a beautiful pop of color and so easy to work with. The bows come out perfectly the first time. I wish we had that ribbon in every color!!
I do not make a lot of cards using the Regals color family, but this falls in to that category (even though they are the newest In Colors) But I love how they worked together. If you decide to give them a try, please let me know how it turns out.
Thank you for stopping by my blog today. I love to read your comments. The supplies I used are listed below and will take you directly to my OnLine Store. I hope you have a great and crafty day!!
Please do not forget to look at this Awesome special for Paper Pumpkin. New Subscribers can try their first month for 50% off. That means it is only $10.00 to get the first box. The contents are worth well over that amount. There is no obligation to continue the subscription. But I hope you will fall in love with it as I have. If you decide that you do not want it after the first, or even the tenth, you simple go to the website and cancel. It is that easy. So give it a try at this half price rate.
I have another Holiday Catalog Sneak Peek. It is for the Cat Punch. I am a huge cat fan. We have had one or more my entire married life. So when I saw this punch I knew it would be on my first order. Yay for being a demonstrator and getting a chance to order first! (Hint, Hint!!)
Cat Punch, 144611
Isn’t that just the cutest little guy? My husband’s birthday is coming and this would be a perfect Birthday card for him. Yes, this Spooky Night Designer Series Paper is for Halloween. But this striped version doesn’t scream Halloween. I think it is a good Fall paper. And we have always had at least one Black Cat so this little guy is appropriate.
The hat I added is from the Better Together set. I showcased it last week. You can see it HERE
Do you recognize the punch for the Happy Birthday? I do not think you will be able to guess. It is the Bow Builder Punch. I was looking through my punches for one that would fit the sentiment and saw the bow. That is thinking WAY outside the box ! And that perfect birthday sentiment is from the Ready To Pop set. There are great little sentiments in that set.
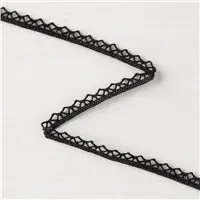
The Vintage Crochet Trim in Black is something you must see in person. It is so soft and easy to work with. In fact, the entire Suite of Spooky Night products are all a must have. And that is even if you do not celebrate Halloween or make Halloween cards. The items are wonderful!
And last but not least, I gave him a little bling with a rhinestone on his collar. Even guys need bling. And anytime I use DSP that is where my color combination comes from. Why recreate the wheel when Stampin’ Up! has done it for you?
Thank you for visiting today! I hope this project adds to your interest for the Holiday Catalog. The supplies I used are listed below. You can click on any item and be taken directly to my Online Store. I hope you have a great day!!
MEASUREMENTS:
The base is Thick Very Vanilla and is 8 X 4 folded in half
The Cajun Craze is 3 3/4 X 3 3/4
The DSP is 3 X 3
The strips are all 3 wide and are 1″ and 5/8″
Please do not forget to look at this Awesome special for Paper Pumpkin. New Subscribers can try their first month for 50% off. That means it is only $10.00 to get the first box. The contents are worth well over that amount. There is no obligation to continue the subscription. But I hope you will fall in love with it as I have. If you decide that you do not want it after the first, or even the tenth, you simple go to the website and cancel. It is that easy. So give it a try at this half price rate.
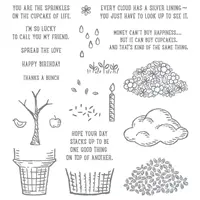
I have another card with an older stamp set. The Sprinkles of Life set has been around for a year or so and I realized I had not used it very much lately. All those new sets are so exciting that we forget to look at the other ones. Be warned, this card is a bright one!
Sprinkles of Life, 139971
I thought a bright 4 X 4 card fit the image of the Sprinkles of Life sentiment. It is designed to make you smile. And it made me smile because it was really quick and easy to put together!
The cupcake is stamped and the bottom is hand cut while the frosting top is punched with the Tree Builder Punch. Who knew that you could get a cupcake out of a tree???? (LOL) I layered both with dimensionals and then the banner tips are cut using the Banner Triple Punch. I just placed the ends into the tip of the punch.
Thank you for stopping in today. I hope you have a wonderful weekend!
Remember there is a limited time for the 1/2 Price Paper Pumpkin Kit!!!
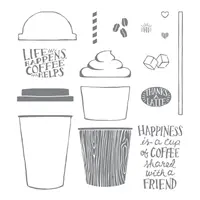
I cannot seem to stop playing with the Coffee Cafe Suite. And as I have said previously, I do not drink coffee! This suite of products is just so irresistible .
Coffee Cafe, 144156
This card is a side fold with a pocket for a gift card. The base is 4 1/4 X 11 and scored and folded at 5 1/2. I then folded the top flap in half. (You can see from the photo at the bottom where the top of the blue is thicker) I cut off the folded end at 1 1/2 which leaves approximately half of the folded under section to slide a gift card into. I secured the flap with Tear and Tape on each side of the flap and close to the edges. This leaves ample room for the gift card without it being too tight a fit.
Once the gift card section is complete, the top layer is simple. Just be careful when you tape the top flap down to only tape the left section!! I have made that mistake myself on several occasions. 🙂
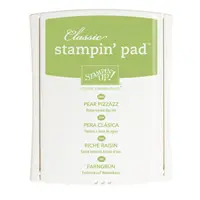
I kept the stamping pretty simple and just added the Soft Sky heart for an accent. The glitter enamel dot is to tie in the Pear Pizzaz. The coffee beans are stamped full strength once on each side and then again without re-inking on each side.
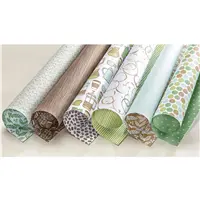
My color combination is from the beautiful Coffee Break Designer Series Paper. I know i am repeating myself, but Stampin’ Up! has the BEST designer series paper!!
Thank you so much for stopping in today! I hope you enjoyed this card. I may not have explained myself very well on the making of the gift card flap. If you have any questions, please contact me.
PAPER PUMPKIN SPECIAL:
There is an awesome new Paper Pumpkin Special for the next few weeks. If you have not been a previous Paper Pumpkin subscriber, you can now try it for 1/2 price. Just sign up between August 11 – September 10.
My Happy Birthday card for today is a little different. It is not the super bright and cheery card you may be used to. The colors are a little deeper and would make a great masculine birthday card.
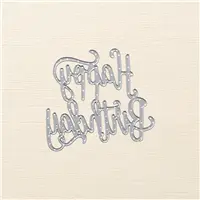
Happy Birthday Thinlit, 143700
The biggest difference is that I split the Happy and Birthday from the Happy Birthday Thinlits. What do you think? I do believe it is just fine to do that. It gives a totally different look.
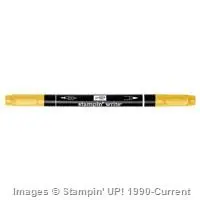
My color inspiration came from the designer series paper. It is from the Delightful Daisy DSP pack. The variation of the green is beautiful. I looked at the different shades and came up with Old Olive, Pear Pizzaz, and Lemon Lime Twist. I used those markers to color the party hat.
The hats are stamped and then colored with the markers I listed above. The center one is stamped , but also has a hat raised with dimensionals on top of it. Stamping underneath gives a much better look than just raising the image with a white space beneath. I used the Clear Wink of Stella on the pompoms of the hats. It really does not photograph though.
I used the Big Shot to cut the Happy Birthday after I had attached the Multipurpose Adhesive sheet to the card stock. (This is a must have for intricate cutouts) I used my paper snips to cut the two words apart and attached them to the layers. I placed them as high, and then low, as I could to make room for the middle panel.
Thank you very much for visiting with me today. I hope your day is awesome!!
The content in this blog is the sole responsibility of Jackie Beers as an Independent Stampin' Up! Demonstrator. The use of and content of classes, services or products offered is not endorsed by Stampin' Up!