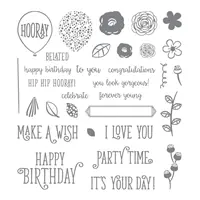
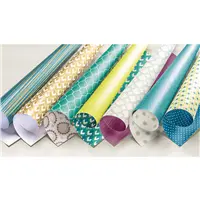
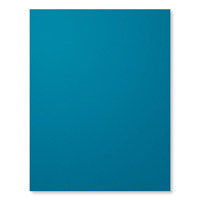
I was playing with stamps and scraps today. I know we all have the little pieces of paper left from trimming layers from card stock and usually I throw mine away. But I have seen some beautiful cards made with laying a mixture of colored strips together as a background. Brian King has done this a couple of times. So I decided to give it a try. I had already made the border with a stamps from Happy Birthday Gorgeous and then tried to combine to two!
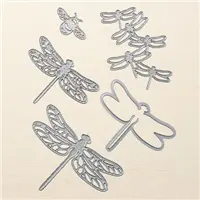
Detailed Dragonfly
So this is the result of combining the items from my stamping table. A multi-colored dragonfly with a few posies hanging around.
I did not have a color inspiration…..it was more….what will go with these scraps I have? HaHa!! I do not think that is a normal method of color inspiration! But I think it did work in this case.
I glued the strips on to a scrap of card stock at an angle
I die cut the detailed dragonfly from Pacific Point card stock, and again from the Whisper White card stock
I had already stamped the flowers and leaves from the Happy Birthday Gorgeous stamp set
I layered Pacific Point base card, and the Basic Black layer
I placed the multi colored scrap behind the Top Layer and once positioned properly taped it down.
I added the top layer to the Basic Black and added the Blue Dragonfly by placing a glue dot on the body and the head, but leaving the wings free.
I added some rhinestones for bling and All Done…
This card could be used for almost any occasion and was such a fun card to create. I will definitely think of my strips of “trash” card stock differently from now on! I hope you will give this a try and please show me your results. I would love to see what you come up with.
Thank you for stopping by today. The products I used are listed below. You can click on any photo and be taken to my online store.
I don’t know about you, but I like to have a few birthday cards on hand. Usually it is for me when I get busy and forget a birthday or someone asks if I have a birthday card they can use. The ones I like to keep for these type needs are the quick and easily reproducible. Today’s card is one of those. Although this one is done in the shades of pink, obviously it would be perfect in any color.
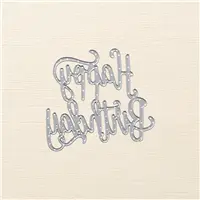
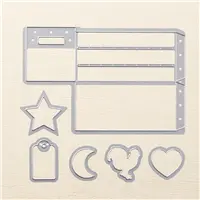
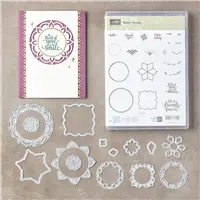
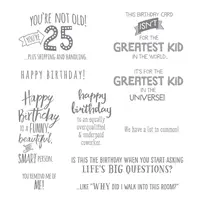
Happy Birthday Thinlits, 143700
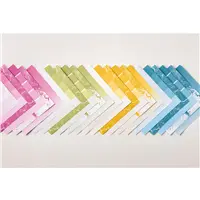
Did I not say this was a simple card? Wow! A Thick Whisper White card base, a layer of Berry Burst card stock, a layer of Whisper White card stock, and a topping of the Color Theory DSP Stack. With the Happy Birthday Thinlet as the icing on the cake.
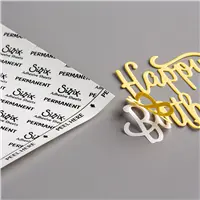
As I was cutting out a “Happy Birthday” one afternoon, it dawned on me that I should have some of those on hand. So I took a full sheet of Whisper White Card Stock, added the Multi-purpose Adhesive sheet to it, cut it in half and went to town. I got 8 Happy Birthdays from the sheet. That is my Tip of the Day for you. It only takes a couple of minutes and is the perfect thing if you need a quick card.
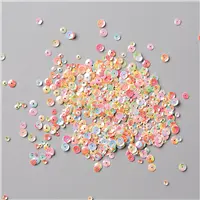
The only things I added to this card that may not show up well in the picture, is that I did some splatter on the white and Color Theory DSP. I probably should have done Fresh Fig instead of Berry Burst for it to be more noticeable. After I added the Happy Birthday, I went back and put a few of the Iridescent Sequins just to give it a little bling.
I hope this will give you some ideas for quick and easy cards to work on.
Before you go, there are a couple of Stampin’ Up! promotions I wasn’t to mention.
First is the extra Host Rewards for June, which is only a few days away from running out. But there is still time if you will contact me.
Second is for July and August. For every $50.00 you spend in July, SU will give you a Code for $5.00 to use on an order that you place in August. You may think that $5.00 is not much, but Hey…Free is Free! And there are several items in the catalog for $5.00 and under.
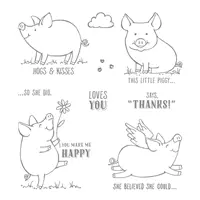
I believe I have posted before about how excited I am regarding the “Piggies” !! I think they are just the cutest little girls. And I realize they could be cute little guys just as easily. But today I have made them girls and a crate for them to be delivered or gifted in.
This Little Piggy, 143922
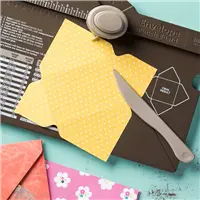
This is the view of all of them in the little crate. And I used the “Must have in your stamping tool chest (Envelope Punch Board) to make matching envelopes for the little girls. You can see one peeking from behind and in the second photo.
My color inspiration was from the piggies and the stamps, or what is to be colored on the stamps.
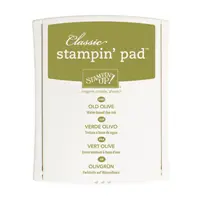
For me, the Powder Pink was brought in for this year’s In Colors to color the piggies! It is the perfect shade of pink.. I used the crumb cake and old olive to color the dirt and tufts of grass on a couple of the stamps. And of course the Crumb Cake goes well with the wood DSP used on the wood crate .
Here are the individual cards spread out.
This Little Piggy, 143922
The kisses and the clouds are included in the This Little Piggy stamp set. As is the “Loves You”. I die cut the Loves You with the smallest of the Sweet and Sassy Framelits. I kept them minimal so they easily fit inside the crate and the envelopes, but I had to add a touch of bling! Every little girl needs her Bling! So they each got small rhinestones for earrings. The DSP showing on the envelope is just for some more color and is from the Pick A Pattern DSP. These pieces were laying on my cutting table saying “Use Me, Use Me”! Scraps are our friend!!
The cards are 3 X 3, with the crumb cake base cut to 3 X 6 and folded in half. The Whisper white layer is 2 7/8 X 2 7/8. For the envelope I followed the directions on the Envelope Punch Board for a 3 X 3 card size. They were very quick and easy to make.
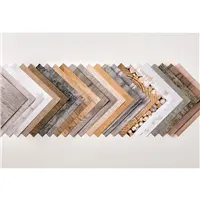
I have not forgotten about the crate! It is the Wood Crate Framelits. and it pairs with the Wood Words stamp set. I used the Wood Textures Designer Series Paper Stack to create the crate. These are just perfect paired together. All it takes is two cuts with the framelit using two pieces of the DSP. That may sound like a lot of the DSP but they are 6 X 6 pieces and you have scraps to add to a host of other items. (Remember the scraps on my envelopes above).
Thank you for checking out my card to day. I appreciate your visits and your comments.
The products I used in today’s card are listed below.
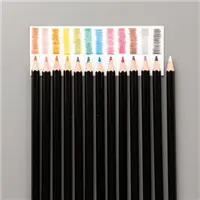
This card is a tad unusual, but I love the colors I used. It is also colored with watercolor pencils and a blender pen. I am beginning to understand the appeal of people who use the coloring books now to relax. I would not want to make multiples of this card, but one or two would be quite fine.
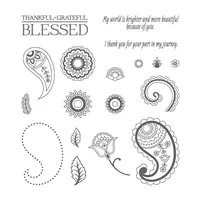
The stamp set I used today is Paisleys and Posies. This is another one that I used when it first appeared in the Holiday catalog last fall. I thought it was beautiful, and I still do, but then I have not touched it until today????? I am very happy that it carried over into this new catalog.
Paisleys & Posies, 142196
Even though this card is “different”, I still am very happy with the outcome. It was basically just random stamping and some coloring. If five people did this similar layout with the stamp set, I believe you would have five totally different cards.
My color inspiration for this card came after I began coloring and I chose the two colors I thought would most “POP”.
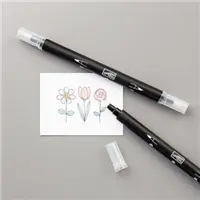
I used Memento Tuxedo Black ink to stamp all of the items on our Shimmery White card stock. I then colored with the Watercolor Pencils and went over it all with a Blender Pen. Actually it only took a few minutes to complete. I love the softness of the watercolor pencils and using a blender pen instead of an Aqua Painter is , at least for me, much easier to control. I hope you will give it a try if you are new to using the watercolor pencils.
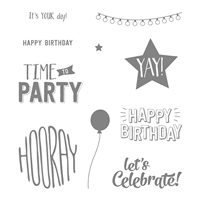
The sentiment is from the Confetti Celebrations stamp set. I stamped it on a scrap of the Shimmer White card stock and punched it out using the Classic Label Punch. To make the Old Olive matching layer, I just fussy cut around the original one. It was pretty easy and I was thrilled with the result.
There are several stamp sets in the new catalog that are perfect for coloring. I hope you will give this technique a chance. Please let me know if I can help you at all.
Reminder of the EXTRA Host Rewards through the end of June !! A great value for a large order or if you would like to host a workshop. I would love to help you organize a day/night for a friends stamping event.
The supplies I used today are listed below. You can click on any item and be taken directly to my ONLINE store.
I love different folds to cards. Even if it is just a top fold versus a regular side fold. And probably my favorite is a “Z” fold. There are many ways to change up a “Z” fold. But today I did what some call a “Double Z Fold”. It is very easy and I have all of the measurements for the multiple layers that I included on my card. I am highlighting beautiful Designer Series Paper as much as the fold.
If you go to YouTube, you will find multiple videos on Z fold cards and Double Z fold cards. I have seen several and do not know who to give original credit to. I apologize for that. I do like to give credit when at all possible.
Eastern Beauty Bundle, 145308
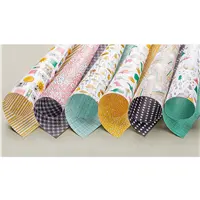
Is that Eastern Palace Designer Series Paper not just the star of the show? My color inspiration came directly from this gorgeous Designer Series Paper. I love all of the different patterns in that paper pack. These two I have used are the front and back of the same paper. (Although I really wouldn’t consider it a front or back!)
This card begins with a piece of Dapper Denim Card stock cut to 4 1/4 X 11. It is scored at 2 3/4 and again at 5 1/2.
Fold and burnish the 5 1/2 score mark, and then do the same at the 2 3/4, but fold it the opposite direction.
The layers for the main part of the card are Very Vanilla and the Eastern Beauty DSP.
There are three pieces of Very Vanilla: 1 @ 4 1/8 X 5 3/8 and 2 @ 4 1/8 X 2 5/8
There are two pieces of DSP: 4 X 5 1/4 and 4 X 2 1/2. (The one you do not see in the above photo has your sentiment and then your signature.)
The 2nd part of the Z Fold is Very Vanilla card stock cut to 1 1/8 X 11. It is scored at 2 3/4 & 5 1/2.
Fold and burnish this piece the same as you did the base of the card.
The DSP for the strip is cut to: 1 @ 1 X 5 3/8 and 2 @ 1 X 2 5/8
With this next photo you see the card open and understand it’s name of a Double Z Fold. You have the main card and then a smaller version for the second “Z:.
To adhere the second “Z” section: Lay the card down folded closed and attach the long end to the left side. Then add your choice of adhesive to the shorter end and attach it to the other side. If my measurements I gave you are correct, it should match exactly!
I used two different stamp sets for the sentiments today. The front sentiment is from the Eastern Beauty set and is die cut using the matching framelits. The two inside sentiments are from the Five for All stamp set. That set has such cute sentiments!!
Thank you very much for stopping by my blog today. I do appreciate you visiting and your comments. If you would like the get email notifications for each post, you can click on the subscribe button on the right hand side of the post.
Time is running out for the BONUS Host Rewards for the month of June. Stampin’ Up! is adding additional rewards for a qualifying party through the end of June. If you do not have a current Stampin’ Up! Demonstrator I would love to help you with an order or to schedule a workshop.
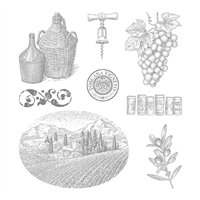
I am using a “Not Very Much Used” stamp set today. It is the Tuscan Vinyard. I fell in love with the set when it debuted last year, but then never really used it. So today I have dusted it off and I really like the outcome.
Tuscan Vinyard, 141902
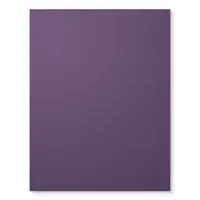
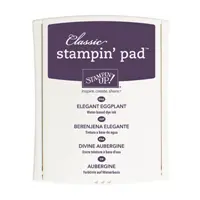
My color inspiration was obviously the grapes, but it led me to another “Not very Used” ink color: Elegant Eggplant. And on it went from there. Here are the colors I have used today.
As I was putting the card together and looking at the finished product, I asked myself why I had not been using Elegant Eggplant! It really pops! I don’t think I am going to need to “dust it off” for the near future. I can think of several sets that it would work beautifully with.
I chose to use the smaller items included in the stamp set. So instead of having a lot of background to cover or additional layers, I decided on a 4 X 4 card.
The Elegant Eggplant base is 4 X 8 and folded in half
The Old Olive layer is 3 3/4 X 3 3/4
The Very Vanilla layer is 3 1/2 X 3 1/2
The grapes are stamped in Memento Tuxedo Black Ink and colored with the Aqua Painter
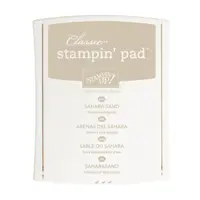
The cork screw and the corks are stamped in Sahara Sand ink
The splatter is from flicking the Elegant Eggplant Marker tip into the lip of it’s cap. (Thank you #paperpixie, Julie DiMatteo)
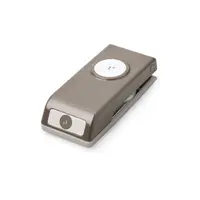
The wine seal is stamped in Elegant Eggplant and punched out using the 1″ Circle Punch
The Linen Thread is just wrapped around the card and the seal is added with dimensionals.
And that , as they say, is that! A very quick and easy card. Each time I do the square card I ask myself why I do not do it more often. Please give it a try. I do believe you will love it.
Thank you so much for stopping by my blog today. If you have any questions or comments I would love to hear from you.
Remember that June Hosts receive additional Host Rewards!!!! I would love to work with you on a workshop/party or an order if you do not have a current Stampin’ Up! Demonstrator.
The content in this blog is the sole responsibility of Jackie Beers as an Independent Stampin' Up! Demonstrator. The use of and content of classes, services or products offered is not endorsed by Stampin' Up!