Friday’s card was a 3 X 3 card, and today’s card has grown to a 4 X 4 card. This card is the ultimate in simplicity!. I was trying to decide what kind of layout to do for this card and had the stamps laying on the table. They were in a little bit of a circle and the idea came from that. Here is the card.
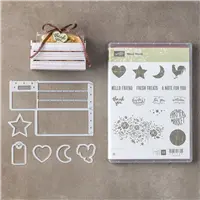
Wood Words, 143928
The circle of stamps reminded me of a wreath. From there it became a sort of country wooden heart wreath. My color inspiration came from the hearts and thinking country.
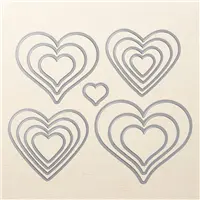
This was so very easy to come together. Being a square card, the layers are a piece of cake. I went with the traditional 1/4″ differences. So it is 4, 3 3/4 and 3 1/2 with the layers. I stamped and then used the Wood Crate Framelits to die cut the hearts. I used 8 Cherry Cobbler hearts. I did use a ruler to try to get them fairly centered. (Although I could use a ruler and they still not be centered !!!) The top, bottom, and side hearts are taped down and the opposites are raised with a dimensional.
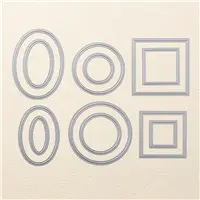
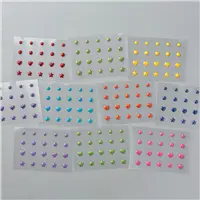
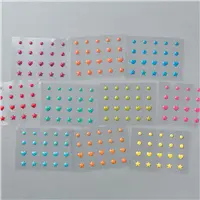
The center sentiment is from the Wood Words set as well. It is stamped and then cut with the smaller of the Stitched Shape Framelits circles. I thought it needed a background layer, but there really was not room. So again going with my “country” thoughts, I did fake stitching. I took the writing end of the Soft Suede Stampin’ Write Marker and went along the stitched area. I went around twice to give it a darker look. Then because of the raised hearts, the sentiment required a double layer of dimensionals to get it up above the hearts. I finished it off with an enamel heart from the Enamel Shapes Regals collection. I did debate if it needed some splatter , but decided to leave it clean for a change.
I hope you liked this card. And I appreciate you visiting my blog. The products I used today are listed at the bottom of the page. By clicking on any of the items you will be taken to my online store.
JULY IS BONUS MONTH: For the month of July, for every $50.00 you spend, before tax and S&H, you will receive a $5.00 coupon. You can redeem the coupon on any order in August. There are no limits to how many coupons you can earn. But your order of $50.00 must be in one order. It cannot be 2 $25.00 orders.
CHRISTMAS IN JULY !!! If you have every considered joining Stampin’ Up! as a Demonstrator , or thought what a great deal the Starter Kit is, Now Is The Time to really check it out!! During Christmas in July, you not only get the regular Starter Kit for the low price of $99.00 (where you receive $125.00 of product), but you get what SU is calling the Basic Tool Kit. This includes a pack of grid paper, paper snips, a bone folder, 2 of the D size clear stamping blocks, a snail adhesive, PLUS the new, not even released yet: Carols of Christmas Stamp Set. So you are getting, at NO additional cost, all the tools you need to get started, plus this new stamp set. The stamp set will be in the Holiday Catalog coming out in September. WOW!! you are now receiving almost $200.00 worth of products for the original $99.00. And I promise you that there are no fees or penalties if you decide not to continue as a demonstrator after you get the kit. But if you did decide to give it a try, you would be one of my team members, and an InKing Royalty team member. This is the best group of stampers around. So if you are at all interested, please contact me and let’s discuss everything.
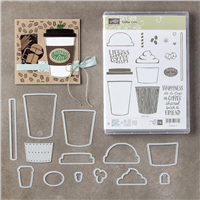
Today’s card is one of the small 3X3 cards. I have really become attached to these little guys. They would be perfect just to hand out as small Thank you notes, or for any occasion. Today’s card is a thank you and I used, for the first time, the Coffee Cafe Suite. And I used almost everything in the suite on this little fellow!
Coffee Cafe Bundle, 145331
My color inspiration came from the little coffee cup. I think the Soft Sky really pairs well with the green and dark brown. That was an unexpected surprise to me. I love surprises. The softest color is the one that POPS !
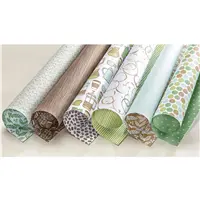
And in case you are not familiar with this Suite of items, the coffee cup is in the Coffee Break Designer Series Paper. But….there is a die in the Coffee Cups Framilits that fits that cup. So easy, peasy in getting this cute little guy without having to stamp and color and then cut him out. Yay for Stampin’ Up! for thinking outside the box again.
As I said, this is a 3 X 3 card. The base is Pear Pizzaz cut to 3 X 6 and folded in half. The Soft Sky layer is 2 7/8 X 2 7/8 with the DSP cut to 2 3/4 X 2 3/4. I love square cards for the simple cutting of layers.
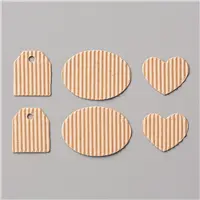
The Soft Sky heart is cut using the Sweet and Sassy Framelits. The corrugated heart is from the Suite as well and is called Corrugated Elements. The “Thanks a Latte” is from the Coffee Cafe stamp set and is stamped in Early Espresso. It is die cut using a matching framelit from the Coffee Cups Framelits. And I had to add just one more thing for some reason. So I went with the Copper Trim ribbon. If you haven’t tried this ribbon , you really should. It makes the cutest and easiest to do bows. And that is all there is to this cute little card. I don’t even drink coffee and would love to receive it!!
Remember that July is Bonus Month….. For every $50.00 you spend on one order, you cannot split it between orders, you will receive a certificate for $5.00 that you can use towards an order in August. There is no limit to the number of certificates you can earn. So go for it!!
Remember what I have been saying about Christmas In July !!!! It is an extremely AWESOME deal for anyone considering becoming a Stampin’ Up! Demonstrator. Even if you just wanted to purchase the starter kit, it is a wonderful bang for your buck and there is no pressure for you to continue on as a demonstrator.
And now you are asking what the deal is….. For $99.00, the price of the Starter Kit, you receive $125.00 in products. And for the Christmas In July special, you will also receive a bonus package. This includes your basic tool kit of mono adhesive, bone folder, paper snips, grid paper, 2 of the D clear blocks, and the Carols of Christmas stamp set that will debut in the Holiday catalog. WOW !! So for your $99.00, you are now getting almost $200.00 in product. That is a super deal.
Should you want to carry on as a demonstrator, you would be part of my group. And as being part of my group, you are also an InKing Royalty. This is a huge group of the sweetest and most talented people I have ever met. So if you are at all interested or have any questions, I would love to talk with you about this.
Thank you for stopping by today!!! I really appreciate you checking out my posts and your comments.
The products I used to today are listed below. You can click on any item and be taken to my online store.
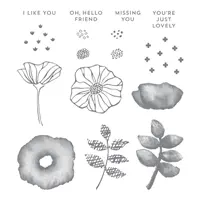
Today’s post is all about the beautiful stamp set Oh So Eclectic. It is so nice, and has matching framelits. Although I did not use them on this card. At our OnStage for demonstrators earlier this year was where we got the first look at the new catalog. This set is showcased on the front of the catalog. I immediately loved it, and then I won it on one of the Prize Patrols. I was , and am, a happy camper !! Here is today’s card.
Oh So Eclectic, 143940
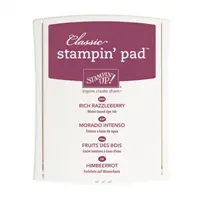
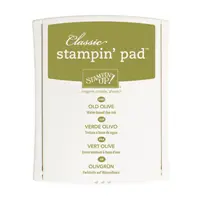
My color combination for today is a favorite of mine. I just love Rich Razzleberry and Old Olive. But Old Olive is a great pair to any bright in my opinion.
My card could probably be considered a little eclectic as well. I layered quite a bit of stamping.
The base card is Rich Razzleberry
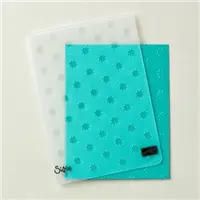
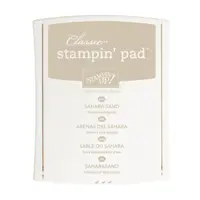
The Sahara Sand layer is embossed with the Oh My Stars embossing folder
The Old Olive layer is stamped with one of the leaves from the set in Old Olive ink
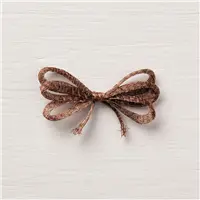
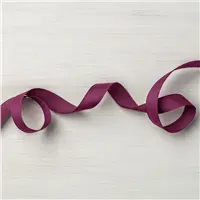
I wrapped a strip of Fresh Fig ribbon around the Old Olive layer. It really matches the Rich Razzleberry
For the top layer I inked a clear stamping block in the Sahara Sand ink and stamped it first
I then added the variegated leaves randomly
I stamped the solid / variegated full flower in Rich Razzleberry and then the outline flower in Memento Tuxedo Black ink over top
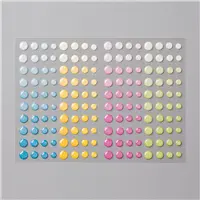
I add the Glitter Enamel Dots in the yellow to the center
I stamped the sentiment on a scrap of Whisper White and punched it with the 1 1/4 circle punch
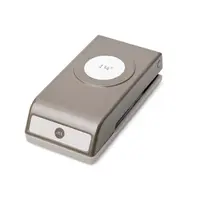
The Rich Razzleberry layer is punched with the 1 3/8 circle punch
I added an Enamel Shape in Old Olive to finish it.
I hope you enjoyed today’s card and will give this beautiful set a try. There are so many ways to utilize it on cards and gifts.
I must continue to mention the awesome Christmas in July special for new demonstrators. If you have ever considered becoming a demonstrator or just want an AWESOME deal, now is the time. There are no penalties or pushes for you to remain a demonstrator. You can purchase this wonderful starter kit with some super bonuses for 99.00 and receive almost 200.00 in products. And like I said, there is no penalty to drop. You can continue for a while and get our 20% discount or drop the next day. You would become part of my group and I would give you all the support I can. And you would become an InKing Royalty which is the best group out there. Everyone is supportive and very creative. You would love our group. So if you are interested at all, please give me a call and let’s talk.
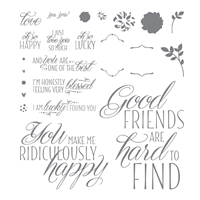
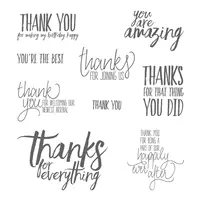
When I first saw the Lovely Friends stamp set, I thought the main sentiments were way too large to easily work with. Boy am I silly !!! After I began seeing some beautiful cards made with the large sentiments, I had to rethink my position. And the stamp set won! I now love it and wonder why in the world I ever thought it was too large.
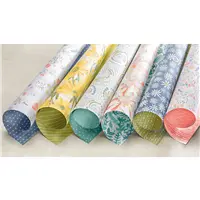
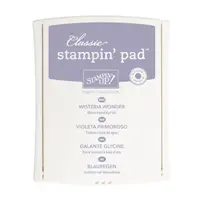
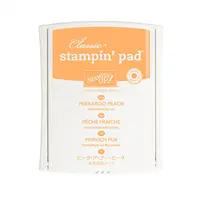
I took my color inspiration from the Delightful Daisy Designer Series Paper . I think this paper set is probably my favorite of all time. And especially the sheet I have used. It has so many beautiful colors in it. I focused on the Peekaboo Peach and Wisteria Wonder, even though they are not listed in the colors of the paper.
The base of the card is Wisteria Wonder with a layer of Daffodil Delight. The DSP layer just sort of peeks out from behind the sentiment layer. The sentiment is stamped in Wisteria Wonder. The flowers, which come from the Lovely Friends stamp set as well, are stamped in Peekaboo Peach that is stamped off for the solid layer. The top layer is full strength Peekaboo Peach. The leaves are stamped in Old Olive. One leaf is stamped onto the sentiment layer, with the other two stamped on scrap paper. The flowers and the extra leaves are fussy cut out. Do not panic, it only took a couple of minutes. (smile) For the final touch I gave each of the flowers a rhinestone in the center for a little bling.
I also stamped the flowers and leaves on the front of the envelope. I love a decorated envelope and for me stamping something on the front is easier than decorating the flap. I believe it says “There is something special in here!”.
Hopefully this card has convinced you to reconsider Lovely Friends if you were of the same opinion I was in the beginning. I think you will love it!
The Stampin’ Up! Christmas in July is an Awesome Deal for those interested in becoming a Stampin’ Up! Demonstrator.
If you have ever considered becoming a Stampin’ Up! Demonstrator, now is the time! There is a great special going on right now. Our normal Starter Kit is $125.00 worth of product for $99.00 with Free Shipping. During the Christmas in July special, you get an additional $72.00 of Tool Kit type product and one of the new Christmas stamp sets that will be in the Holiday Catalog. So you will pay $99.00 for $192.00 of product! That is a super Wow!!
If you would like to talk with me about joining my team I would be thrilled. I am part of a great group of Awesome Demonstrators and I know y0u would love joining us.
The products I used today are listed below. You can click on any photo and it will direct you to my online store.
Happy 4th of July everyone!! I hope you have a safe day with family and friends. My card for today is a Thank You Flag. The Thank You part is for a variety of reasons. I am very Thankful for so many things in my life.
I CASED a card I received at a swap a few years ago. Her card is beautiful and instead of Thank You had words from a Courage set for soldiers, I believe. It did not have a name as the creator, but just an email. So if you know some who uses the name KimberKrafts, please let me know. Here is my version.
,
All Things Thanks, 143097
I used a variety of products to create this flag.
The base of the card is Night of Navy, cut to 8 1/2 X 5 1/2 and folded in half
The Very Vanilla base layer is 5 3/8 X 4 1/8
The Navy field background is 2 1/2 X 2 1/8
The Thank You is from All Things Thanks and is 2 3/8 X 2. I used my bone folder on the edges to rough it some.
The Cherry Cobbler stripes are 5 1/4 X 7/8 and are stamped from Super Duper in Cherry Cobbler
The Very Vanilla stripes are 5 1/4 X 1/2 and are embossed with the Oh My Stars Embossing Folder. I then cut them into strips and sponged with Crumb Cake ink
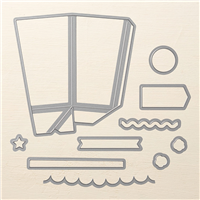
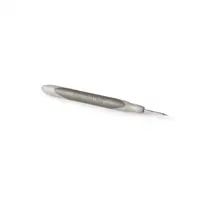
The little stars are from the Popcorn Box Thinlet and I used the handle end of my Paper Piercing Tool to indentT center from the back
The swirled paper strips are just think scraps that I wrapped around a wooden skewer
The strips are placed with a glue dot under the end of each one and then the stars have our new Mini Dimensionals under each one.
I hope you liked this flag today. I am very pleased with my CASE.
If you have ever considered becoming a Stampin’ Up! Demonstrator, now is the time! There is a great special going on right now. Our normal Starter Kit is $125.00 worth of product for $99.00 with Free Shipping. During the Christmas in July special, you get an additional $72.00 of Tool Kit type product and one of the new Christmas stamp sets that will be in the Holiday Catalog. So you will pay $99.00 for $192.00 of product! That is a super Wow!!
If you would like to talk with me about joining my team I would be thrilled. I am part of a great group of Awesome Demonstrators and I know y0u would love joining us.
My card for today is for a special occasion. A good friend’s son just bought his first house. Of course I have been intending to order the new Host Rewards set “In The City” which would have been perfect. But since I have not ordered it yet I made do with what I had on hand.
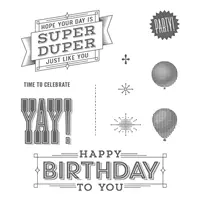
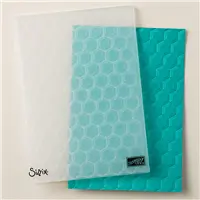
I wanted it to be more masculine, but have some brightness as well. I believe it came out pretty well. To add some texture to the card I used the Hexagon Embossing folder on the Sahara Sand card stock. The “YAY” is stamped in Always Artichoke on Very Vanilla and cut out using the Stitched Shapes Framelit Dies. The Always Artichoke layer behind it is cut out using the next larger die from that set.
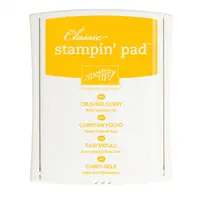
The Balloons are stamped on Very Vanilla in Always Artichoke and Crushed Curry and fussy cut out. The are layered on top of each other and then raised with a Stampin’ Dimensional. The “string” is Linen Thread. The sentiment is from the same stamp set, “Super Duper”! and is punched out with the Classic Label punch. The layer behind it I hand cut.
And that is that for this card. It came together very quickly, and is a card, and a layout that could be used for most any occasion. That is a Win/Win to me !
The content in this blog is the sole responsibility of Jackie Beers as an Independent Stampin' Up! Demonstrator. The use of and content of classes, services or products offered is not endorsed by Stampin' Up!