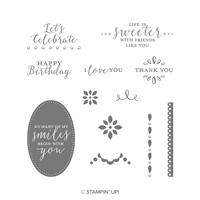
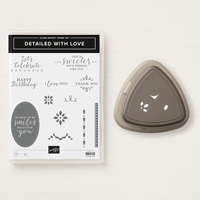
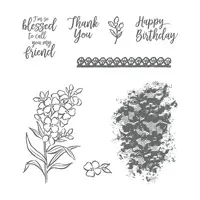
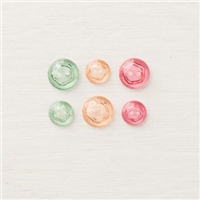
I have another quick and easy card today. I am also showcasing the beautiful Highland Heather from the Stampin’ Up! Color Revamp. It is gorgeous! And I am once again using the Detailed With Love stamp set. It is a very versatile set for sure.
Detailed with Love, 146606
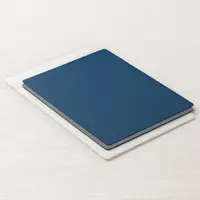
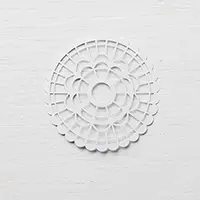
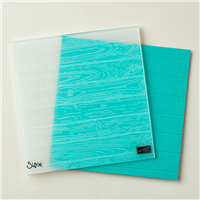
I have also, for the first time, used the new Stampin’ Up! Embossing Mats. I used it for the detailed cutting in the center of the card. I may not have needed to do that, but I did not have a lot of time and didn’t want to mess up the card. So I played it safe and I love the outcome. I will definitely be playing with these mats more in the near future.
Thank you so much for stopping by today. This is a very simple layout that could be utilized in a variety of ways. I hope you will give it a try.
Be sure and check out all of the current Specials going on right now. The Super Joining Bonus is the best I have ever seen. I would love to talk with you about joining my team. There is no pressure to continue and you still get a lot of wonderful product for your money.
MEASUREMENTS:
Card base is 11 X 4 1/4
Heather layer is 5 1/4 X 4
White strip is 1/2 X 4
Choose one of the Color Families as a Free Bonus to your Starter Kit! That is 10 FREE Ink Pads!! WOW !
The card I have made for today is a little bit different. I have mostly focused on the punch instead of the stamp set or paper. It is the Detailed Trio Punch. I really like it. As described, there are three punches in one. A Corner Rounder, YAY!!, a Flower, and a Ribbon Slot. It is a great tool to have in your tool bag.
Detailed With Love, 146606
I wanted to focus on the punch, so I kept the rest of the card pretty simple. The ribbon is the gorgeous Polka Dot Tulle Ribbon. It comes in Whisper White or Very Vanilla. Other than the ribbon the layers are the focal point.
Thank you for visiting today. I hope you will come back tomorrow for another new card. And please check out the Specials Deals going on. The Join and get a SET of Ink Pads is an all time greatest offer!! I would love to talk with you about joining my team of stampers.
MEASUREMENTS:
the layers are 2 1/2 X 3, 2 3/4 X 3 1/4, and 3 X 3 1/2
I am back from my awesome sightseeing tour down the west coast. We went from Seattle to San Francisco. I must say the Oregon Coast is simply breathtaking! All of the scenery and sights were wonderful.
Today I have a pretty quick card for you. I am trying to get back in the groove and have a lot of cards to make. So we will get right to it this morning.
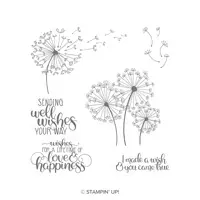
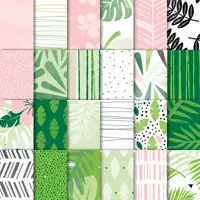
I used the beautiful Tropical Escape 6X6 Designer Series Paper Stack as the main color scheme for this card. I am really in love with this paper. The colors are so bright and are some surprising combinations. The colors I have used today are not something I would normally have put together. So keep this combination to try yourself.
The three triangles, or squares if turned another way, are a great way to have a different look with stamp sets. I chose the Dandelion Wishes set and stamped them very subtly with the Gray Granite. I used the Layering Squares to cut them and the Blushing Bride scalloped background.
Thank you for coming back to see me today! I really appreciate it.
There are two fabulous promotions going on right now.
By joining as a demonstrator in July, you will receive as a FREE bonus to your Starter Kit (The Best Shopping Deal!!) a complete set of a color family of Ink Pads. Yes, that is 10 ink pads at no charge!! WOW! And I would love to have you join my team. So please contact me and let’s discuss it. Ot simply click on the Join My Team button at the top of the page!
The second promotion is the Buy 3, Get 1 Free DSP Sale. Stampin’ Up!’s Designer Series Paper is the best DSP around, and the prettiest. So how could you go wrong when you get 1 free??? You could keep them all to yourself or share with a friend.
Before I get to today’s card……I will not have posts after today until July 9th. I am going on vacation. Some friends and I are flying to Seattle and driving down the coast to San Francisco. I cannot wait to see the beautiful scenery.
Okay, about the card. I do quite a few gift card holders. I LOVE to give gift cards and am excited to come up with new ways to gift them. But today I am going Old School! Yes, as the title said, it is a money envelope. Actually it should be money or check envelope.
Southern Serenade, 145921
I love this! I have not needed a cash or check card in a really long time. But since I will be needing to settle up with my friends for various costs, I thought I would make a cute one and share it with you.
I left this cutie quite plain. Since It is going to a couple, I did not want it to be too frilly. And here is the open picture.
The base is 7 X 7 1/4 and scored on the 7 1/4 side at 2 and 5 1/4 (this actually equals 2 from each side if that is easier). Fold and burnish the score lines. Choose which section is your money holder and using the 1 1/4 circle punch do a half punch in the center of that edge. On the opposite end, use the Detailed Trio Punch to round the corners.
The white strip is 1 X 7 and is also rounded corners on one edge. Stamp your sentiment so that it reads properly when the flap is opened. Then adhere to the flap leaving about a 1/4 – 1/2″ hanging over.
Place Tear & Tape on the edges of the section you did the half circle punch. Before you adhere it, place a piece of card stock in the pocket so that it is not too tight when you place your cash/check.
For the decoration I chose to do a bright daisy. I used a scrap of Mango Melody card stock and punched 2 times with the Daisy Punch. I stamped the Thank You on scrap white card stock and used the 1 1/4 circle punch to punch it out.
The belly band is 1 X 8 1/4 and is loosely wrapped around the envelope, so it will easily slide off. Adhere it in front by overlapping the strip. Then place the layered flower on top with Stampin’ Dimensionals. This will cover the overlap of the wrap.
Thank you for visiting today and I hope you will return on July 9th. I very much appreciate you checking out my projects.
It is still a great time to become a Stampin’ Up! Demonstrator. I would love to have you join my team. A great perk for demonstrators this time of year is getting to see the new catalog first. Then we get to order and play with the new products a month early. For me, that is one of the best parts of being a SU Demonstrator. Of course, the discount helps! If you are interested, please contact me and let’s talk.
I am submitting today’s card for the Global Design Project #144 Challenge. It is a CASE the designer. I used her layout for my design . To CASE can mean using a little, a lot, or just the layout. I was a little in the middle of that on my card.
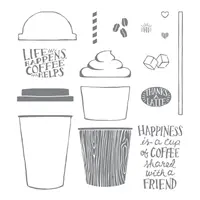
Coffee Cafe, 143677
And here is the challenge card I cased.
I was so thrilled when the Coffee Cafe set and matching framelits carried over to the new catalog. Then I realized I had not used them in quite some time. So here they are paired with the gorgeous Tropical Escape 6X6 Designer Series Paper.
All of the supplies I used are listed the bottom of the page. Thank you so much for visiting today! I very much appreciate it and love to hear from you.
COLOR COMBINATION: Of course these are in the Gorgeous DSP.
It is still a great time to become a Stampin’ Up! Demonstrator. I would love to have you join my team. A great perk for demonstrators this time of year is getting to see the new catalog first. Then we get to order and play with the new products a month early. For me, that is one of the best parts of being a SU Demonstrator. Of course, the discount helps! If you are interested, please contact me and let’s talk.
One of my favorite parts of card design is the fold. I love any fold that is a tad different. Today I have a different take on the Z Fold, which is my favorite. This one is the Double Z Fold.
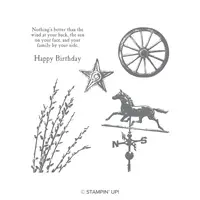
Country Road, 147469
For a country type card, mine is a tad on the bright side. But I love the look of Crumb Cake, Real Red and the new Blueberry Bushel. I utilized most of the stamps in the Country Road stamp set. I discovered the 1 3/4″ Circle Punch matches the wheel perfectly! I love those kind of discoveries.
Here is a picture of the open card so you can see the Double Z.
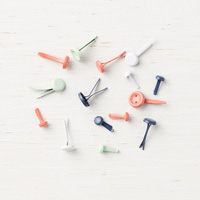
I probably needed a better angle for the photograph, but I believe you can see the strip that is the second Z of the fold. And did you notice the Happy Birthday sign on the top right? The “Nail” is a brad. I LOVE brads, and Stampin’ Up! has brought them back!! Yippee and Happy Dance!!
Thank you so much for visiting today! I hope you like different folds as much as I do and will give this one a try. If you have any questions I would be thrilled to help you out. All of the supplies I used are listed at the bottom of the page.
MEASUREMENTS:
8 1/2 X 5 1/2, scored at 4 1/4 and 6 3/8
8 1/2 X 1, scored at 4 1/4 and 6 3/8
It is still a great time to become a Stampin’ Up! Demonstrator. I would love to have you join my team. A great perk for demonstrators this time of year is getting to see the new catalog first. Then we get to order and play with the new products a month early. For me, that is one of the best parts of being a SU Demonstrator. Of course, the discount helps! If you are interested, please contact me and let’s talk.
The content in this blog is the sole responsibility of Jackie Beers as an Independent Stampin' Up! Demonstrator. The use of and content of classes, services or products offered is not endorsed by Stampin' Up!