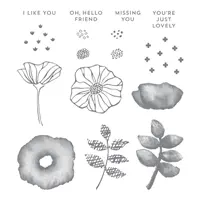
Today’s post is all about the beautiful stamp set Oh So Eclectic. It is so nice, and has matching framelits. Although I did not use them on this card. At our OnStage for demonstrators earlier this year was where we got the first look at the new catalog. This set is showcased on the front of the catalog. I immediately loved it, and then I won it on one of the Prize Patrols. I was , and am, a happy camper !! Here is today’s card.
Oh So Eclectic, 143940
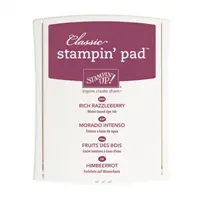
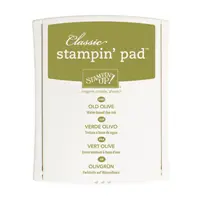
My color combination for today is a favorite of mine. I just love Rich Razzleberry and Old Olive. But Old Olive is a great pair to any bright in my opinion.
My card could probably be considered a little eclectic as well. I layered quite a bit of stamping.
The base card is Rich Razzleberry
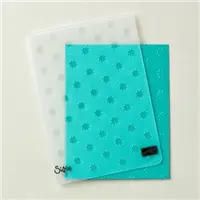
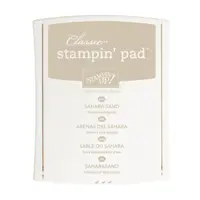
The Sahara Sand layer is embossed with the Oh My Stars embossing folder
The Old Olive layer is stamped with one of the leaves from the set in Old Olive ink
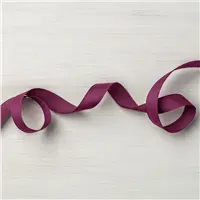
I wrapped a strip of Fresh Fig ribbon around the Old Olive layer. It really matches the Rich Razzleberry
For the top layer I inked a clear stamping block in the Sahara Sand ink and stamped it first
I then added the variegated leaves randomly
I stamped the solid / variegated full flower in Rich Razzleberry and then the outline flower in Memento Tuxedo Black ink over top
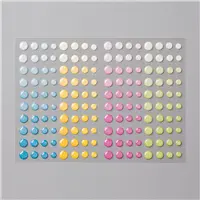
I add the Glitter Enamel Dots in the yellow to the center
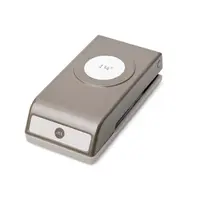
I stamped the sentiment on a scrap of Whisper White and punched it with the 1 1/4 circle punch
The Rich Razzleberry layer is punched with the 1 3/8 circle punch
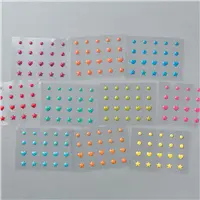
I added an Enamel Shape in Old Olive to finish it.
I hope you enjoyed today’s card and will give this beautiful set a try. There are so many ways to utilize it on cards and gifts.
I must continue to mention the awesome Christmas in July special for new demonstrators. If you have ever considered becoming a demonstrator or just want an AWESOME deal, now is the time. There are no penalties or pushes for you to remain a demonstrator. You can purchase this wonderful starter kit with some super bonuses for 99.00 and receive almost 200.00 in products. And like I said, there is no penalty to drop. You can continue for a while and get our 20% discount or drop the next day. You would become part of my group and I would give you all the support I can. And you would become an InKing Royalty which is the best group out there. Everyone is supportive and very creative. You would love our group. So if you are interested at all, please give me a call and let’s talk.
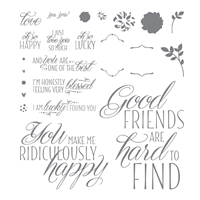
When I first saw the Lovely Friends stamp set, I thought the main sentiments were way too large to easily work with. Boy am I silly !!! After I began seeing some beautiful cards made with the large sentiments, I had to rethink my position. And the stamp set won! I now love it and wonder why in the world I ever thought it was too large.
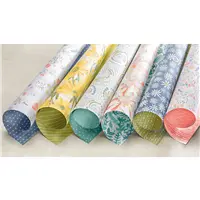
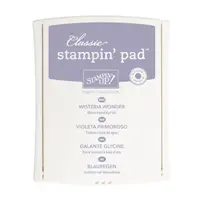
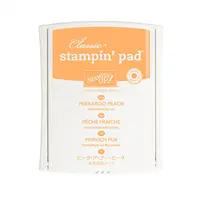
I took my color inspiration from the Delightful Daisy Designer Series Paper . I think this paper set is probably my favorite of all time. And especially the sheet I have used. It has so many beautiful colors in it. I focused on the Peekaboo Peach and Wisteria Wonder, even though they are not listed in the colors of the paper.
The base of the card is Wisteria Wonder with a layer of Daffodil Delight. The DSP layer just sort of peeks out from behind the sentiment layer. The sentiment is stamped in Wisteria Wonder. The flowers, which come from the Lovely Friends stamp set as well, are stamped in Peekaboo Peach that is stamped off for the solid layer. The top layer is full strength Peekaboo Peach. The leaves are stamped in Old Olive. One leaf is stamped onto the sentiment layer, with the other two stamped on scrap paper. The flowers and the extra leaves are fussy cut out. Do not panic, it only took a couple of minutes. (smile) For the final touch I gave each of the flowers a rhinestone in the center for a little bling.
I also stamped the flowers and leaves on the front of the envelope. I love a decorated envelope and for me stamping something on the front is easier than decorating the flap. I believe it says “There is something special in here!”.
Hopefully this card has convinced you to reconsider Lovely Friends if you were of the same opinion I was in the beginning. I think you will love it!
The Stampin’ Up! Christmas in July is an Awesome Deal for those interested in becoming a Stampin’ Up! Demonstrator.
If you have ever considered becoming a Stampin’ Up! Demonstrator, now is the time! There is a great special going on right now. Our normal Starter Kit is $125.00 worth of product for $99.00 with Free Shipping. During the Christmas in July special, you get an additional $72.00 of Tool Kit type product and one of the new Christmas stamp sets that will be in the Holiday Catalog. So you will pay $99.00 for $192.00 of product! That is a super Wow!!
If you would like to talk with me about joining my team I would be thrilled. I am part of a great group of Awesome Demonstrators and I know y0u would love joining us.
The products I used today are listed below. You can click on any photo and it will direct you to my online store.
Happy 4th of July everyone!! I hope you have a safe day with family and friends. My card for today is a Thank You Flag. The Thank You part is for a variety of reasons. I am very Thankful for so many things in my life.
I CASED a card I received at a swap a few years ago. Her card is beautiful and instead of Thank You had words from a Courage set for soldiers, I believe. It did not have a name as the creator, but just an email. So if you know some who uses the name KimberKrafts, please let me know. Here is my version.
,
All Things Thanks, 143097
I used a variety of products to create this flag.
The base of the card is Night of Navy, cut to 8 1/2 X 5 1/2 and folded in half
The Very Vanilla base layer is 5 3/8 X 4 1/8
The Navy field background is 2 1/2 X 2 1/8
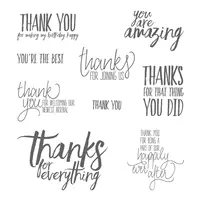
The Thank You is from All Things Thanks and is 2 3/8 X 2. I used my bone folder on the edges to rough it some.
The Cherry Cobbler stripes are 5 1/4 X 7/8 and are stamped from Super Duper in Cherry Cobbler
The Very Vanilla stripes are 5 1/4 X 1/2 and are embossed with the Oh My Stars Embossing Folder. I then cut them into strips and sponged with Crumb Cake ink
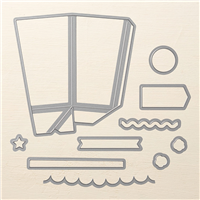
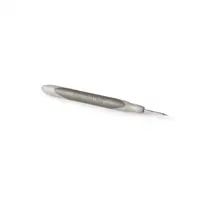
The little stars are from the Popcorn Box Thinlet and I used the handle end of my Paper Piercing Tool to indentT center from the back
The swirled paper strips are just think scraps that I wrapped around a wooden skewer
The strips are placed with a glue dot under the end of each one and then the stars have our new Mini Dimensionals under each one.
I hope you liked this flag today. I am very pleased with my CASE.
If you have ever considered becoming a Stampin’ Up! Demonstrator, now is the time! There is a great special going on right now. Our normal Starter Kit is $125.00 worth of product for $99.00 with Free Shipping. During the Christmas in July special, you get an additional $72.00 of Tool Kit type product and one of the new Christmas stamp sets that will be in the Holiday Catalog. So you will pay $99.00 for $192.00 of product! That is a super Wow!!
If you would like to talk with me about joining my team I would be thrilled. I am part of a great group of Awesome Demonstrators and I know y0u would love joining us.
My card for today is for a special occasion. A good friend’s son just bought his first house. Of course I have been intending to order the new Host Rewards set “In The City” which would have been perfect. But since I have not ordered it yet I made do with what I had on hand.
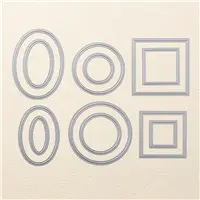
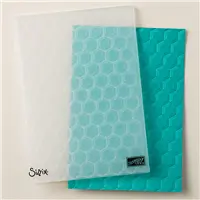
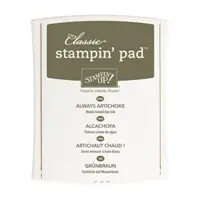
I wanted it to be more masculine, but have some brightness as well. I believe it came out pretty well. To add some texture to the card I used the Hexagon Embossing folder on the Sahara Sand card stock. The “YAY” is stamped in Always Artichoke on Very Vanilla and cut out using the Stitched Shapes Framelit Dies. The Always Artichoke layer behind it is cut out using the next larger die from that set.
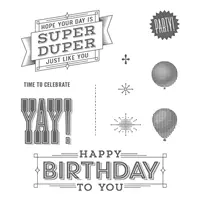
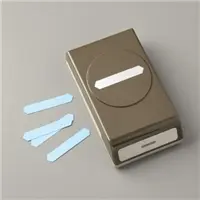
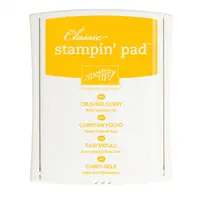
The Balloons are stamped on Very Vanilla in Always Artichoke and Crushed Curry and fussy cut out. The are layered on top of each other and then raised with a Stampin’ Dimensional. The “string” is Linen Thread. The sentiment is from the same stamp set, “Super Duper”! and is punched out with the Classic Label punch. The layer behind it I hand cut.
And that is that for this card. It came together very quickly, and is a card, and a layout that could be used for most any occasion. That is a Win/Win to me !
I was playing with stamps and scraps today. I know we all have the little pieces of paper left from trimming layers from card stock and usually I throw mine away. But I have seen some beautiful cards made with laying a mixture of colored strips together as a background. Brian King has done this a couple of times. So I decided to give it a try. I had already made the border with a stamps from Happy Birthday Gorgeous and then tried to combine to two!
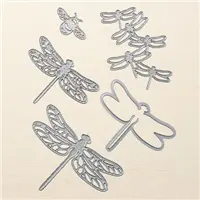
Detailed Dragonfly
So this is the result of combining the items from my stamping table. A multi-colored dragonfly with a few posies hanging around.
I did not have a color inspiration…..it was more….what will go with these scraps I have? HaHa!! I do not think that is a normal method of color inspiration! But I think it did work in this case.
I glued the strips on to a scrap of card stock at an angle
I die cut the detailed dragonfly from Pacific Point card stock, and again from the Whisper White card stock
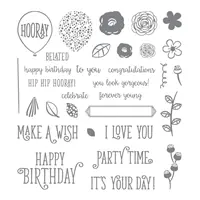
I had already stamped the flowers and leaves from the Happy Birthday Gorgeous stamp set
I layered Pacific Point base card, and the Basic Black layer
I placed the multi colored scrap behind the Top Layer and once positioned properly taped it down.
I added the top layer to the Basic Black and added the Blue Dragonfly by placing a glue dot on the body and the head, but leaving the wings free.
I added some rhinestones for bling and All Done…
This card could be used for almost any occasion and was such a fun card to create. I will definitely think of my strips of “trash” card stock differently from now on! I hope you will give this a try and please show me your results. I would love to see what you come up with.
Thank you for stopping by today. The products I used are listed below. You can click on any photo and be taken to my online store.
The content in this blog is the sole responsibility of Jackie Beers as an Independent Stampin' Up! Demonstrator. The use of and content of classes, services or products offered is not endorsed by Stampin' Up!