I will mention it again at the end of my post, BUT……have you checked out the Clearance Rack Refresh? It is AWESOME!!! There are some great deals there. You can click on the SHOP button at the top of the page to check it out.
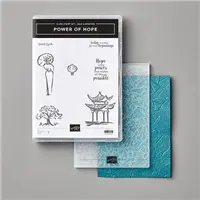
I have a short post today and am sadly sharing a product that is not available. I had not previously shared the 3D Stone Embossing Folder that was part of the Power of Hope Bundle in the SAB Catalog. So I apologize on that, and seriously hope that it might carry into the next Annual Catalog. I know the Small Bloom punch is carrying over. So fingers crossed!!
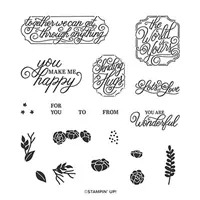
I paired the wonderful texture from the Power of Hope Bundle in Sale-A-Bration 3D Stone Embossing Folder with the Perfectly Framed stamp set and the Stitched Rectangle Dies. Some of the pieces were on my table and just got added in. I love these type of cards.
This is a short post, but I will say the photopolymer stamps are what made this card. I stamped the center sentiment and then stamped the flowers and leaves around it. I may should have, but did not , mask anything.
Thank you for stopping by today. I hope you have checked out the Clearance Rack Refresh!! If your order is not $150.00, please use the host code you see on the side of the post or just below here.
HOST CODE
My April Host Code is HKP6K3Z4. Please use this code for orders under $150.00. I will have a small perk for those with orders over $50.00.
I have a lot of Designer Series Paper as I am sure you know. I use it on almost all of my cards. This time of year I begin to panic that I have too much with the Annual Catalog winding down. I had the idea of going through the papers and doing a card using each of the packages. Silly me, that really isn’t going to put a dent in it!!! 🙂
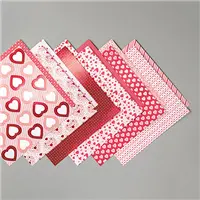
I love the From My Heart Specialty Designer Series Paper. So it was one of the first packages I picked up. At first you may think it is only for romance or valentine. I do not really think so. It is for any card that comes from the heart.
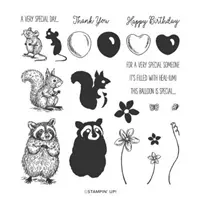
I saw the sentiment in the Special Someone stamp set and just knew it was a perfect one for our current situation. I think we all need some healing, even if we have not been sick. The Special Someone stamp set has a matching set of dies that came out after the stamp set. I really hope they carry over to the next Annual Catalog. These critters are so adorable.
I stamped the squirrel and then masked the bottom section of the balloon. It was too long for the layer I was planning. I then used the Flirty Flamingo Stampin’ Write Marker to make the little loop through his hand. The balloon is stamped and then cut out for a bit of depth.
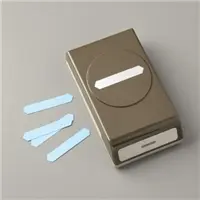
The sentiment is in two pieces as I have them. I just cut them out with the Classic Label Punch and staggered them in the corner. You can see the left end is the normal Classic Label punched end. The right side I put back into the end of the punch to get the flag look.
The two different DSP are both from the From My Heart DSP. I love using companion pieces to compliment each other.
It may not seem so, but the Mini Catalog and the Annual Catalog are both coming to an end. June is not too far away. The Retiring List should be out around the first of the month. If there are any products from either catalog still on your wish list, now is the time to order. Especially the outgoing In Colors, they tend to go quickly.
I know there are products that are on the Not Orderable List due to the shipping slow down from China. I will let you know as soon as I do when items are available again.
HOST CODE
My April Host Code is HKP6K3Z4. Please use this code for orders under $150.00. I will have a small perk for those with orders over $50.00.
I shared the graduation card on the Pals April Blog Hop on April 8th. I gave the basic instructions for the fold at that time. I have since made a video of how I scored for the fold. I have updated that post. But wanted to post it here in case you were interested and might not go back a week.
I also included the written directions from the original post as well.
Please let me know if you have any questions. This is now my third video. Woohoo!! I appreciate your comments.
Directions:
Card Base is 4 1/4 X 11, score at 5 1/2. Then make little marks at 3 3/8 and 7 5/8. Rotate 180 and make the marks on the other side. If you imagine connecting the marks you should have a long X.
Line up the marks from opposite sides using your Simple Scored (I have a black marker line down the 6″ score line of my SS so it shows up very well) or use your Paper Trimmer and scoring blade. Using the scoring tool, connect the two marks. Rotate the paper and repeat with the other two marks.
Fold on all of the score lines. Crease well with your bone folder.
For the inside layer, cut to 5 1/4 X 4, Make a mark on the 4″ side at 2″. Rotate to the5 1/4″ side and make a mark at 2″. Rotate 180 and make the mark on the opposite side at 2″.
Using your Paper Trimmer, line up the mark on the 4″ side and one of the longer side marks and cut off that triangle. Repeat for the opposite side.
HOST CODE
My April Host Code is HKP6K3Z4. Please use this code for orders under $150.00. I will have a small perk for those with orders over $50.00.
I have seen quite a few cards in the last week with a Rainbow background. I decided to give it a shot myself. I am not the greatest with watercolor backgrounds, but am quite happy with the results.
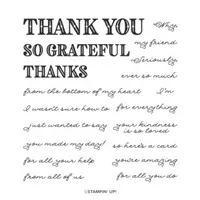
The sentiments that I used are from the New Early Release of the Ornate Suite of products. This is the Ornate Thanks stamp set. You can get it all now, or wait until the next Annual Catalog, which is not very far away!! I do love the mix of the bold and the cursive fonts.
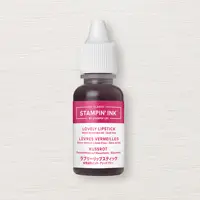
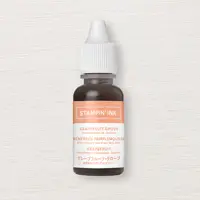
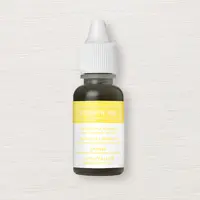
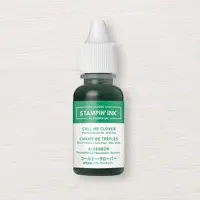
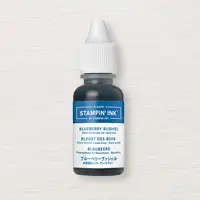
My background is made using all of the 2018-2020 In Color re-inkers. These colors will be going away with the end of the current Annual Catalog. Actually they will probably be gone before then. Usually everyone decides at the Retiring List debut that they need to stock up on the colors they love. The In Colors retiring are usually the first to go. And as you can see, these colors are all bright and gorgeous. I recommend that if you like these…..order them now!
For the background, I put a drop of each ink color on my Clear Block “H”. I then used my Aqua Painter with water to pick up each color and add it to the Shimmery White card stock. (You can use water or alcohol in your aqua painter. Alcohol dries quicker, but at the same time occasionally dries too quickly) You can use Watercolor Paper, and it may work better, but I love the shimmery effect you get as a bonus. I went in the order of colors I thought would look best. I am not sure how a rainbow goes 🙂
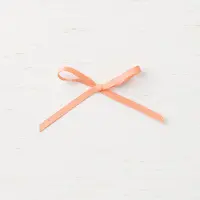
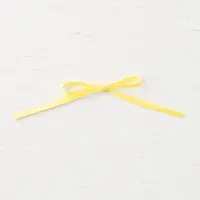
The ribbon is from the 2018-2020 colors as well. I used the Grapefruit Grove as the base and then added little strips of the Pineapple Punch and Blueberry Bushel. A great look with very little ribbon use.
Thank you for stopping by today. I hope you were able to enjoy the Easter weekend.
HOST CODE
My April Host Code is HKP6K3Z4. Please use this code for orders under $150.00. I will have a small perk for those with orders over $50.00.
I do not normally post on the weekends. But I had a cute idea that was appropriate to share for a little Easter project. I had the idea to use the Delightful Tag Topper Punch to make a little basket to hold 3 X 3 cards and envelopes. After I made it, I thought it would make an adorable Easter Basket. I did a video and hopefully you could make some of these for your little ones.
If you get my blog posts through an email, you may need to open it into a web browser to see the video. I haven’t got all of the kinks out of the process yet. They say practice makes perfect…..I sure hope so!!
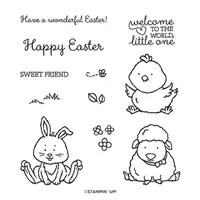
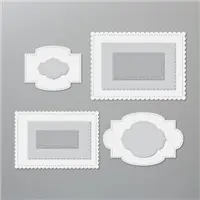
I decorated the basket with the Welcome Easter little chick stamp. I stamped it on a piece of Thick Whisper White card stock and die cut with the Stitched So Sweetly Dies. The chick is stamped a little above half way on the die cut. I used the design of the die , where you can see the chick’s top knot, as a line. I scored across there and then secured it to the bottom of the basket and to the side. You could also simply cut off that section and adhere the piece flush with the bottom of the basket.
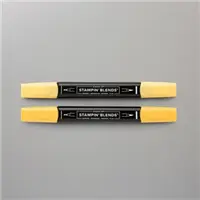
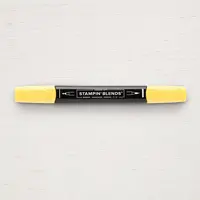
The chick is stamped in Gray Granite Ink and colored using the Stampin’ Blends. The yellow is both of the Daffodil Delight Blends. The feet and beak are colored with the Light Mango Melody Blend. I went around the chick with the Light Pool Party Blend.
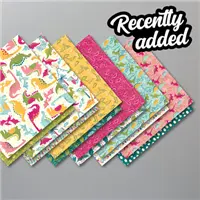
The DSP is from the Dinoroar Designer Series Paper and is one of my famous “back side” of the paper. I have a tip in constructing the basket. Put the DSP on while the box is laying flat. I messed up in the video and forgot to do that!! Of course I would make a mistake 🙂
Here is a picture of the 3X3 holder that I made originally
I hope you can use this idea to spread some extra cheer this Easter. It will be different for all of us. Take care!!
HOST CODE
My April Host Code is HKP6K3Z4. Please use this code for orders under $150.00. I will have a small perk for those with orders over $50.00.
The content in this blog is the sole responsibility of Jackie Beers as an Independent Stampin' Up! Demonstrator. The use of and content of classes, services or products offered is not endorsed by Stampin' Up!