I love to travel and my trip for this year was canceled even before the virus hit. Today’s card is a nod to hoping we can get back to our normal routines soon. I cannot wait to plan my next trip.
This card is a quick and easy one. It would qualify as a #simplestamping card since it is simply paper and ink. I wanted a quick and not a lot of layers card. This one is somewhat of a collage, or my version of that, since I do not normally do that.
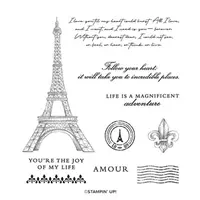
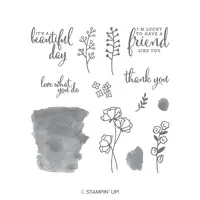
I used the Love What You Do background stamp behind the tower. The tower is from the Parisian Beauty stamp set, as are all of the other stamps. Everything except the background is stamped in Gray Granite Ink. The background is Pool Party Ink.
I love quick and easy cards and this is definitely one of those. Thank you for stopping in today. Hopefully the weather and the virus doesn’t touch you this weekend.
HOST CODE
My April Host Code is HKP6K3Z4. Please use this code for orders under $150.00. I will have a small perk for those with orders over $50.00.
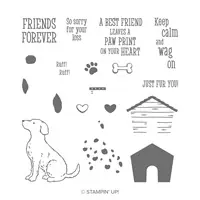
Today I am sharing the card I made for a friend who lost her doggy best friend a few weeks ago. Our pets are family to a lot of us and it is so hard to say goodbye.
I love the HappyTails stamp set for so many reasons. This sentiment is one of the main reasons! It is so true. All of the stamps I used are from this one stamp set. I love when I can make cards from just one set.
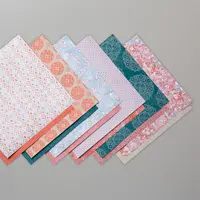
I paired the Woven Threads Designer Series Paper with my favorite Stampin’ Up! color, Seaside Spray. I added Rococo Rose as the complimentary color for more of a pink than the Purple Posy would have given. Although I love that color and used those colors in a card last week. You can click on the GALLERY button at the top of my page to see all of the projects I have blogged.
Thank you for stopping by today. I hope you have the opportunity to get some crafting of any kind in while you are in the Stay At Home mode.
HOST CODE
My April Host Code is HKP6K3Z4. Please use this code for orders under $150.00. I will have a small perk for those with orders over $50.00.
Welcome to the Pals’ Blog Hop! While the COVID 19 pandemic is adding stress to our lives, we Pals hope this blog hop will help to lift your spirits. Let us inspire you to take a creative break and relax for a little while. This month our theme is “Special Occasions” where we have made a project for just about any occasion you can think of! You’ll find the full line-up below to help you “hop” along from Pal to Pal.
My choice for a Special Occasion card is a Graduation Card. I feel badly for all of the graduating students this year. I know most look forward to walking across the stage. So I tried to make a bit of a different card.
I hope it appears to you as a graduation cap!! Here is the inside with it’s funky fold.
I used a variety of stamp sets for this card. They will all be listed in the supply list at the bottom of the post.
I love different folds and had made a similar card to this when a neighbor’s son graduated a few years ago. Sadly in looking for it, I realized it was before I began my blog. So I had to go by memory and a card on Pinterest. The card I started with is from Chris Sloger from 2014.
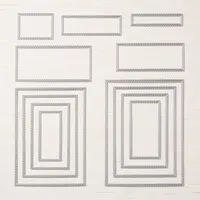
For the front of the card, I used the Witty-Cisms stamp set with the Layering Circles Dies. The Congratulations stamp is from the I say Hello stamp set and it cut using the Rectangle Stitched Dies. The “tassel” is Night Of Navy and Whisper White Bakers Twine. The White twine is a bit thicker, which required the circles to be raised with double Stampin’ Dimensionals. This might be a bit difficult to mail due to the thickness of the folds and the tassel layer!
I especially love the “point of the cap” and the mimic of that on the inside layer. The star from Morning Star stamp set, seems to fit perfectly in the pointed section.
Here is my video of basic instructions. I also have written instructions at the bottom of the page from before I added the video.
More inspiration awaits! Use the Blog Hop Line-up below to visit the rest of this month’s Design Team. My fellow Pals are excited to show you what they’ve created! Mark your calendars for Wednesday, May 13th, when we will say “Goodbye to January Mini and 2019 Annual Catalog and/or Hello to 2020 Annual Catalog.” The Design Team will showcase their favorites from the retiring catalogs or new products from the new catalog. Don’t miss the fun! And, until then, please stay safe.
Card Base is 4 1/4 X 11, score at 5 1/2. Then make little marks at 3 3/8 and 7 5/8. Rotate 180 and make the marks on the other side. If you imagine connecting the marks you should have a long X.
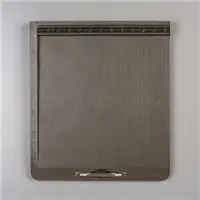
Line up the marks from opposite sides using your Simple Scored (I have a black marker line down the 6″ score line of my SS so it shows up very well) or use your Paper Trimmer and scoring blade. Using the scoring tool, connect the two marks. Rotate the paper and repeat with the other two marks.
Fold on all of the score lines. Crease well with your bone folder.
For the inside layer, cut to 5 1/4 X 4, Make a mark on the 4″ side at 2″. Rotate to the5 1/4″ side and make a mark at 2″. Rotate 180 and make the mark on the opposite side at 2″.
Using your Paper Trimmer, line up the mark on the 4″ side and one of the longer side marks and cut off that triangle. Repeat for the opposite side.
In planning today’s card, I was thinking of using DSP that will be retiring quicker than we think with the end of the Annual Catalog or Mini Catalog. With that in mind, I was looking for a sentiment or focal image that would work alone. I have only used this lovely sentiment one other time. Now is a perfect time for these lovely words.
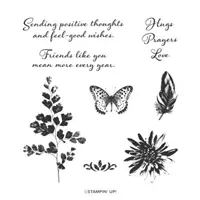
The sentiment is a favorite that I do not believe I will be getting rid of when it retires. It is perfect for a variety of occasions. It and other equally wonderful stamps are in the Positive Thoughts stamp set in the Mini Catalog.
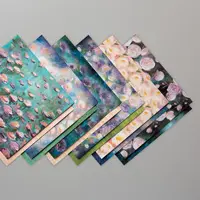
The DSP is the Perennial Essence and was chosen because I wanted to use my favorite Stampin’ Up! Color. It is the Seaside Spray. I went a bit crazy with it when it first debuted and have made myself use other colors for a while.
I paired the Seaside Spray with my second favorite color which is the Purple Posy. I , like everyone else, was so bummed when the ink color could not be formulated to SU specifications. That did not deter me though. I use it regularly with the card stock as well as the marker and Stampin’ Blends.
The Old Olive was chosen as a compliment to the Seaside Spray and Purple Posy. I love the layers all working together. As a grounding for the butterfly and sentiment, I used the delicate looking edging cut in the Seaside Spray. I ended up covering more of it than I had intended.
The butterfly and the edging is from the Nature’s Thoughts Dies. They were in the release of dies released just after the beginning of the year that coordinated with stamps from the Mini Catalog or the Annual Catalog.
I appreciate you stopping by today. Please come back tomorrow for the Pals April Blog Hop. There will be quite a few great projects for you to hop through.
HOST CODE
My April Host Code is HKP6K3Z4. Please use this code for orders under $150.00. I will have a small perk for those with orders over $50.00.
I have fallen into the not knowing what day it is. I have been working on projects the last few weeks and have several ready to go. They are just not blogged about. So sorry for being late on this early Monday morning.
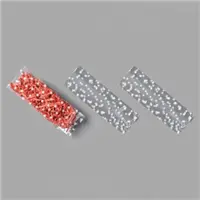
I have had some different treats in mind for the sweet Printed Gusseted Cello Bags. These bags are adorable and are part of the Birthday Bonanza Suite of Products. A large variety of items will fit in them. For me it was all about the tag. Here is my Sweet Treat for you.
And here is a closer look at the tag.
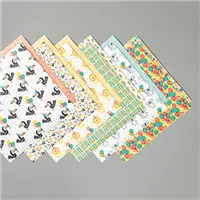
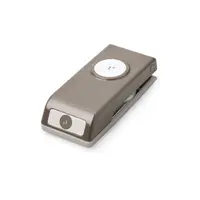
This was a very quick project, which I love! But it is also great for leftover designer paper. I have used the Birthday Bonanza Designer Series Paper. For the flap, I used Terracotta Tile Card Stock to fold over the top of the bag and secured with a hand held stapler. Any desk stapler will do for this. I then layered a piece of the DSP over top of the card stock and secured it with multipurpose glue.
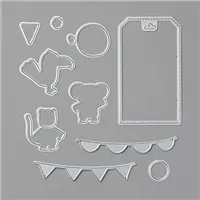
The tag is from the Bonanza Dies. I cut the tag itself from Thick Whisper White card stock. I placed a strip of the DSP ,that had been cut from sizing the flap layer, across the center of the tag. I used the dies to cut a sweet koala bear from the DSP and added him with some dimensionals.
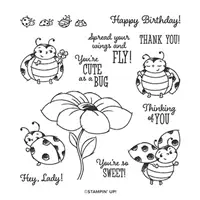
The sentiment is from the Little LadyBug stamp set from Sale-A-Bration. The word bubbles are from the Bonanza Dies as well.
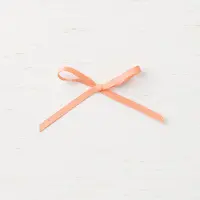
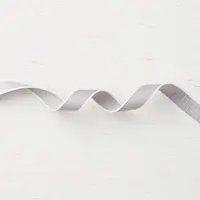
To finish the tag, I added Gray Granite Textile Weave Ribbon through the tag hole . I wanted a little extra, so added a piece of the Grapefruit Grove 1/8″ ribbon and tied a bow around the larger ribbon. The tag is secured to the bag topper with a couple of dimensionals. I thought the tag itself could be a cute little bookmark as well. I have used this tag previously and folded it for a gift tag. You can see that project HERE
Thank you for stopping in today. I hope you can smile from this cute little koala. I wish I could send one to all of you. As an old Stampin’ Up! stamp said “Keep Calm and Stamp On” !
HOST CODE
My April Host Code is HKP6K3Z4. Please use this code for orders under $150.00. I will have a small perk for those with orders over $50.00.
The content in this blog is the sole responsibility of Jackie Beers as an Independent Stampin' Up! Demonstrator. The use of and content of classes, services or products offered is not endorsed by Stampin' Up!