Welcome to InKing Royalty’s April Blog Hop! During this year’s blog hops, we are enjoying a year of celebrations. This month’s projects celebrate Springtime, so I hope you are ready for gorgeous Spring colors, flowers and butterflies – and maybe some sweet baby animals. We are excited to share our creations with you today! After you read my post, I hope you’ll hop over to the next person on the list at the base of this post.
I tried looking in my yard for “Spring” ideas and could only find flowers , birds, and squirrels. Those are all great, but I wanted something different. I opened Facebook to take a break and the first post that popped was a fellow demonstrator with a Kite on the front of a card. The post was from For The Love Of Stamping. As soon as I saw the kite, it reminded me of the Graduation Cap card I did two weeks ago. So I took her idea and designed my own kite card. I used the fold I had created for the other card. New kite flying memories in the making.
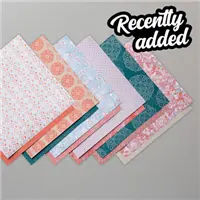
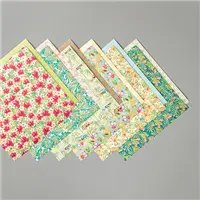
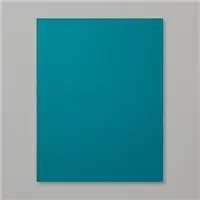
My color choices came from the Woven Threads Designer Series Paper. I debated on the order of the three colors and finally ended with this one. It was more due to the gorgeous Seaside Spray Metalic Ribbon. It looked best on the Purple Posy card stock . 🙂
The kite is a miniature of the Graduation Cap Card and opens as that one did. Here is a view of the open kite.
If you look closely at the bottom tip of the kite, you can see a tiny piece of a clear velcro dot. The thickness of the card stock for the kite made it not want to remain closed. So a tiny piece of a cirlce velcro dot was added there. You really do not notice it even in person.
The card itself does open and has a sentiment there as well. The opening of the kite is just a bonus!
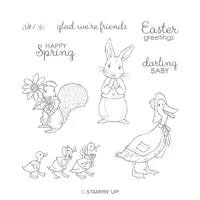
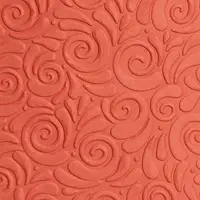
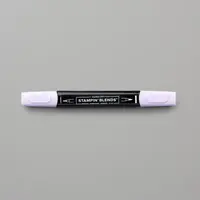
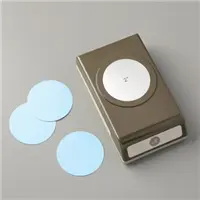
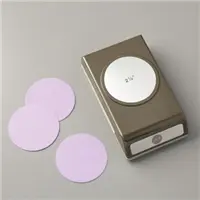
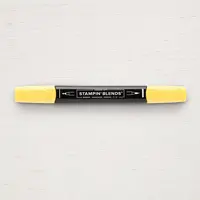
The embossed area is from the Swirls and Curls Embossing Folder and fits with the flying the kite in the wind theme. I finished the card with the Happy Spring sentiment from the Fable Friends stamp set layered on circles. The kite string is the Seaside Spray Metalic Ribbon along with a bow from the Whisper White Seam Binding Ribbon. The finishing touch is the Basic Pearl that I colored using the Light Purple Posy Stampin’ Blend to add to the sentiment.
I appreciate you checking my blog today and hope you will leave a comment. I have added a link to the Graduation card and some directions for the kite below the Blog Hop Lineup. Please continue hopping!
Thank you for stopping by today. I hope you’ll hop along to the next stop on the bloghop, Jennifer Spiller at Westside Paper Creations. There’s lots of inspiration to be found in this group – and you don’t want to miss it!
Thank you for hopping along with us. If you get stuck during the Blog Hop, please use this line-up as a guide:
Click HEREto go to the Graduation Cap Card. The top fold of the kite is the same as the fold on that cap. The other measurements are listed here. If you have any questions, please contact me and I will be happy to assist you.
Directions:
Card base is 4 1/4 X 11, scored at 5 1/2
layers are 4 X 5 1/4, and 3 7/8 X 5 1/8
Kite piece is 2 1/2 X 7 1/2 scored at 3 3/4. Then like the graduation card, make a mark at 2 1/4 and 5 1/4 on each side and make a scored X using the marks.
Also make a mark on each end of the kite layer at 1 1/4
Fold on all the score lines and then cut from the end center mark to the side mark. Do this on each side to make the bottom point of the kite.
The inside of the kite and the top of the kite are the same measurements. Each is 2 1/4 X 3 3/8. Make marks at the top and bottom of the 2 1/4 side at 1 1/8. On each long side make a mark at 1 3/8 on each side.
Cut from the top to the side mark on both sides and the bottom to the side mark on each side. This makes the pointed ends for the kite.
HOST CODE
My April Host Code is HKP6K3Z4. Please use this code for orders under $150.00. I will have a small perk for those with orders over $50.00.
I struggle somewhat with masculine cards. Especially for other than a birthday. It is hard to choose a design that would meet the needs of say a promotion, retirement, even graduation. Today’s card could fit those categories.
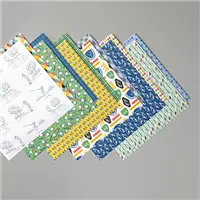
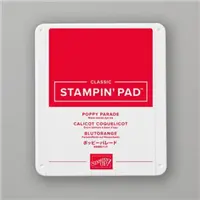
I love these colors from the designer series paper! The paper is the Country Club Designer Series Paper with the addition of Garden Green as the base and Poppy Parade as the stitched layer.
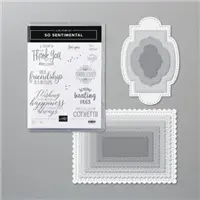
The layers and sentiment are from the So Sentimental Bundle. The dies have been on back order and are now back in stock!! Woohoo. These dies are awesome. They not only have three varied shapes for sentiments but also the stitched and scalloped layers for layering or large sentiments.
I went with the DSP as the focal point of the card and chose two complimentary patterns. I added the Poppy Parade layer to break it up a bit. I generally layer my sentiments, but this cute shape did not need it. Especially with the bold prints behind it.
Thank you for stopping by today. I hope you will give this layered card a try and share your version with me on my Facebook Page, Blue Line Stamping.
HOST CODE
My April Host Code is HKP6K3Z4. Please use this code for orders under $150.00. I will have a small perk for those with orders over $50.00.
Today’s card was inspired by a card I saw from a fellow Stampin’ Up! Demonstator, The Stamping Mom. I love Fun Fold cards and this is definitely one. TheStampingMom called her card a Lever Card. I called mine a Swing Arm Card.
You can see the swing arm or lever on the right of the card. And here is a view of it open
I did not want to leave the back of the focal point on the arm blank. So I stamped a little message there as well. As usual for me, the Designer Series Paper is really the focal point of the card. When I layed these two pieces of the Tropical Oasis DSP together, I knew they were perfect. I did not use any extra layers of card stock for this card.
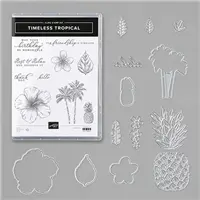
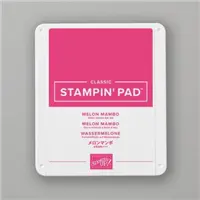
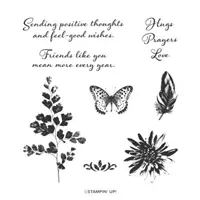
The flower is from the Timeless Tropical stamp set. (As is the leaf and Hello from the arm inside.) I stamped the flower in Melon Mambo and highlighted it with the Light Mango Melody Stampin’ Blend Marker.
To have several parts, the card is extremely simple to put together. I see more of these in my future especially using the retiring designer series paper!! I have added the measurements below.
Thank you for stopping by today. I hope you are getting some stamping in during your home time.
MEASUREMENTS:
card 4 1/4 X 10 1/2, scored at 5″
The Inside base layer is 4 X 5 1/4 (it extends the full length of the back size.
The inside White layer is 3 3/4 X 4 1/2 and is placed towards the center fold.
The Lever/ Arm is 1 X 7, scored at 3 1/2
The Lever / Arm DSP is 3/4 X 3 1/4
The front base layer is 4 X 4 3/4
The smaller front layer is 3 1/4 X 4
Adhere the Arm to the right edge of the back layer by placing the fold on the edge in the center. Adhere the inside layers over the lever.
Use the appropriate shape for your focal point to adhere to the layer. Cut two of the shapes and secure the lever arm between the two.
HOST CODE
My April Host Code is HKP6K3Z4. Please use this code for orders under $150.00. I will have a small perk for those with orders over $50.00.
I am playing along with the GDP236 today. It is a Case The Designer Challenge, which is pretty much a Sketch Challenge. These are my favorite for a new layout to try.
Here is the card I am Casing.
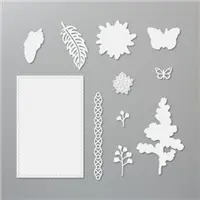
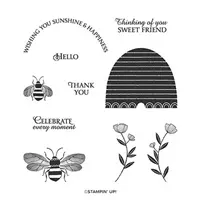
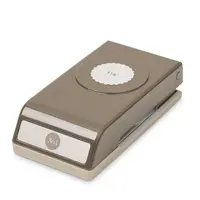
I used the Positive Thoughts with the matching Nature’s Thoughts Dies. This is layered on the Stitched Nested Labels Dies. The sentiment is from the Honey Bee Stamp set and is punched using the 1″ Circle punch and the 1 1/8″ Scalloped Circle punch.
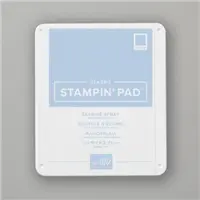
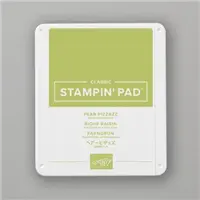
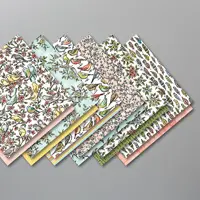
This is the Bird Ballad Designer Series paper. I have come to love the Petal Pink. I think of it as a brighter blush color. The main thing is, it pairs well with almost any color! So I did a variety of colors for my collage. I used Petal Pink, Pear Pizzaz and Smoky Slate to go with the Whisper White. I also used these same Ink colors. The definition on the feather is from laying the feather face down on the ink pad and randomly touching it to push it into the ink. I did not want to totally color it, just to give a little bit of darker color.
To be a bit different, I stamped the flower on the DSP. And yes, you have seen this DSP recently. I have been using DSP that I know is going to retire with the next Annual Catalog debuting soon.
Thank you for stopping in today. I hope you have a good weekend and will return on Monday.
HOST CODE
My April Host Code is HKP6K3Z4. Please use this code for orders under $150.00. I will have a small perk for those with orders over $50.00.
I have a quick, almost Black and White, card to share with you today. It started out as that theme, but ended up Gray and White, with a touch of color.
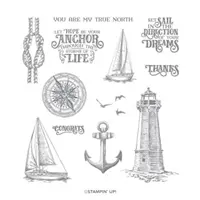
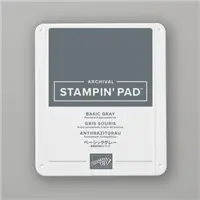
I titled this as a “masculine” card, but it really does not have to be. Especially if someone loves the water and lighthouses. I stamped everything in Basic Gray Ink, which is unusual for me. My go to Gray is Smokey Slate, followed by Gray Granite. But I have a new appreciation for Basic Gray now.
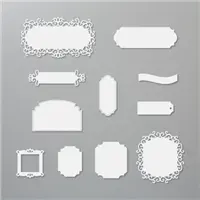
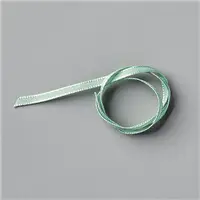
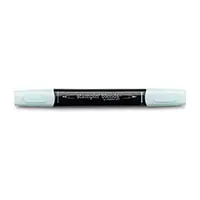
I used the Light Pool Party Stampin’ Blend to scribble some water at the base. I paired that with a mix of gray/green color. The ribbon is Mint Macaron, and the sentiment background is Pool Party. The sentiment is die cut with the Ornate Frames Dies. I love the fact they are layers for smaller sentiments.
Thanks for stopping in today! I hope you can get some crafting in.
HOST CODE
My April Host Code is HKP6K3Z4. Please use this code for orders under $150.00. I will have a small perk for those with orders over $50.00.
The content in this blog is the sole responsibility of Jackie Beers as an Independent Stampin' Up! Demonstrator. The use of and content of classes, services or products offered is not endorsed by Stampin' Up!