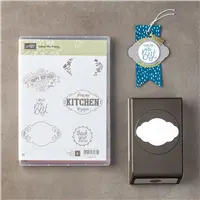
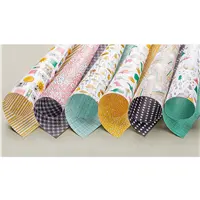
My card for today is Bright and Loud!! I have used the Pick A Pattern Designer Series Paper again and chosen a sheet that is pretty “Loud” on both sides. And I have paired it with the much quieter Label Me Pretty Bundle. The card layers are more than I usually do, but the DSP demanded layers, So I gave it layers .
Label Me Pretty Bundle, 145305
Doesn’t this scream “I’m so pretty !!”? That is what I think of every time I see the Label Me Pretty. It will not get out of my head. Haha !! But joking aside, this Pick A Pattern DSP has something for everyone. There are pages that seem more for children (until you see cards that have been made with it), some that are eye popping, some that are eclectic, etc. It is just perfect! The DSP made it easy to choose the Label colors, Yay!
I began with Whisper White Thick Card Stock cut to 4 1/4 X 11
The DSP is cut to 4 1/8 X 5 3/8
The Whisper White is cut to 3 5/8 X 4 7/8
The DSP is cut to 3 7/16 X 4 11/16
The DSP Band is cut to 7/8 X 3 9/16
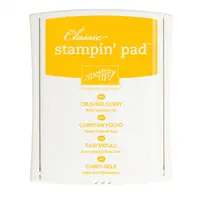
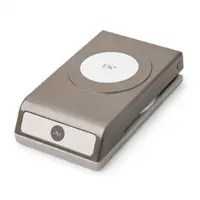
The larger label is stamped in Crushed Curry and punched with the Pretty Label Punch
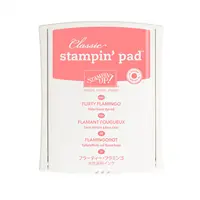
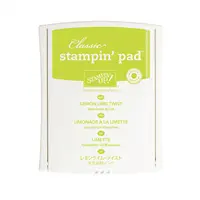
The small label is stamped in Flirty Flamingo and punched with the 1 3/4 Circle Punch and raised with a dimensional.
And that is this Pretty but Loud card. I hope you like it. Thank you for your comments. If you would like to purchase any of these items, now is a great time to do so. June has a special Host Rewards. Check out the photos below.
The supplies I used are listed below. You can click on any item and you will be taken to my Online Store. Thank you.
I am playing along with the FabFriday’s color challenge – you can see the other projects HERE
This is the color challenge banner for FabFriday 114:
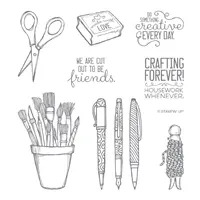
This is my first post with this wonderful Crafting Forever stamp set. I think it is so appropriate for any crafter. And I am sure you know other crafting folks to send a card to.
I used the Baby Wipe Technique again. This time though it is on Glossy White Card Stock, and I just touched it to the card stock. It is a different look, but one I really like. I believe it shows off all of the new In Colors. The Glossy White card stock is an old item that was discontinued a few years ago and now is back. It is wonderful base for a variety of techniques.
I wanted to make a different background and couldn’t choose a color. So I thought of the baby wipe technique and managed to use all of them. I believe this is the first time that I have really liked all the colors in a new set.
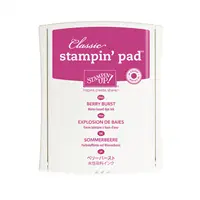
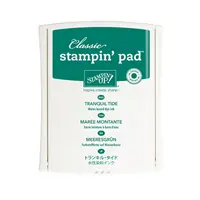
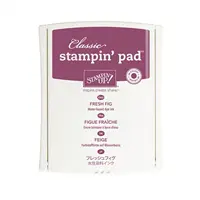
The background technique reminds me of my stamp surface after a few hours of playing! Can anyone relate to that? It was a fun experiment to try and not as messy as it looks either. I took a baby wipe and wadded it up then touched it to the ink pad, then to the card stock. I re-wadded it each time so that I didn’t mess up my ink pads or combine the colors on the card stock. I think I only used 2 baby wipes though. I did use all 5 of the new In Colors. The Powder Pink just doesn’t show up as well in the photo.
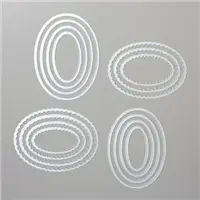
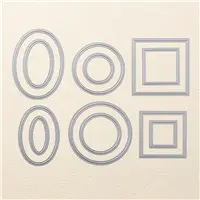
The jar of tools was colored with markers and then cut out using the Layering Ovals Thinlits. And the sentiment, which I thoroughly agree with, was stamped in Tranquil Tide and cut out with the Stitched Shape Thinlits. Both are raised with our awesome dimensionals.
Thank you for stopping by today! The supplies I used are listed below. You can click on any item and be taken directly to my On Line Store.
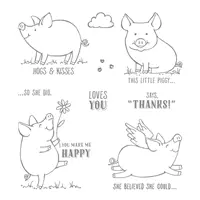
I have been waiting since OnStage for This Little Piggy set. I have had it for a couple of days and have made probably a card a day with it! These little guys are just so cute 🙂
I know the Pink Tourette doesn’t quite look right with Basic Black and Crushed Curry, but what choice did I have for a cute little pig ? HaHa!!!
Doesn’t that cute face on the piggy bring a smile to you? All of the pigs in the set are this cute! The Pick a Pattern DSP helps the young and happy feeling of the card I do believe. It is so eclectic that it is a perfect background for the cute little focal point. This DSP is a sleeper in a way. At first glance it has more child-like designs but when you look at the other side of the paper, at least for me, it was a “WOW” .
There are extra layers to this card, but that could be narrowed down if you didn’t want it to me as heavy. I wanted this to be a really nice card and added the extra background layers to help make it pop.
I started with a base of Thick Whisper White
The Basic Black layer is 5 3/8 X 4 1/8
The Whisper White layer is 5 1/4 X 4
The DSP layer equals between the two pieces a width of 3 7/8 X 5 1/8
The piglet is stamped on Whisper White with Tuxedo Black Memento ink and colored with Pink Pirouette marker
The grass is done with the Old Olive marker
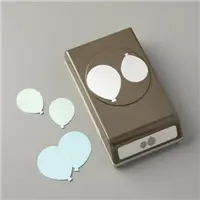
The balloon is stamped in Crushed Curry ink on Whisper White and punched with the Balloon Bouquet punch
The edge of the balloon is shaded (it doesn’t show well in the picture) by dragging the Basic Black marker around the outside of the ballon. It sort of mimics the circles in the DSP.
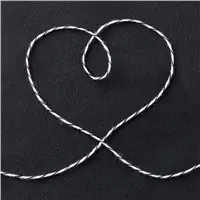
The bow on the balloon is Black and White Baker’s Twine.
I will definitely be posting more Little Piggy cards in the coming weeks. Thank you for stopping by today. I very much appreciate your comments.
The supplies I used are listed below: You can click on any item and be taken directly to my On Line Store.
Welcome to the June 2017 Pals Blog Hop. Thank you so much for joining us today. This month’s theme, Pick a “B”, features projects inspired by Babies, Birthdays and Brides to name few. You may just get a glimpse of new catalog products while you hop with us today.
Whether you’re just starting the hop, or have come from a previous Pal’s blog, you’ll find the line-up toward the end of my post to help you move along.
I chose a Birthday card for my “B” of the day. I may be over-using the new In Colors from Stampin’ Up!, but every year they just get better. (As does the catalog) Wow on everything in this new catalog!! So here is my new Birthday Card:
Happy Birthday Gorgeous, 143662
I love how this card turned out. I think it is bright and happy which equals a SMILE. That is my goal. I used two of the new In Colors with Berry Burst and Lemon Lime Twist. You are going to see a lot of the Lemon Lime Twist! I am in love and find myself continually reaching for it. Quite a few of the items I used today are new to this catalog. WOW!
For this card the base is Berry Burst card stock at 8 1/2 X 5 1/2 folded in half.
The Lemon Lime Twist layer is 5 1/4 X 4
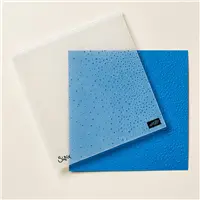
The Whisper White layer is 5 1/8 X 3 7/8 and embossed with the Softly Falling Embossing Folder
The Lemon Lime scalloped oval is from the Layering Ovals Framelits
Happy Birthday is stamped in Tuxedo Black Memento Ink and then cut with the corresponding Layering Oval.
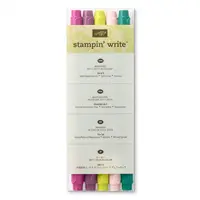
The balloons are stamped in Lemon Lime Twist and Berry Burst and punched with the Balloon Bouquet Punch. I used the In Color Stampin’ Write Markers to draw the string for the balloons.
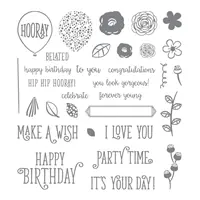
The balloons and Happy Birthday are from the Happy Birthday Gorgeous stamp set.
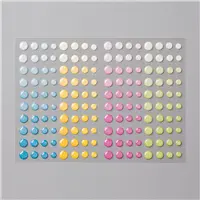
The glitter dots are the new Glitter Enamel Dots and are the palest of the berry color
Thanks again for hopping with the Stampin’ Pretty Pals today. Take a minute to mark your calendar for our next hop on July 12th. We’re having a pattern party! Now hop along using the Blog Hop Line-up below. See you on July 12th for the next Pals Blog Hop!
The card I created for today reminds me of some jeans I had in the late 60’s. I was probably about 12 years old and can still see them in my mind. HaHa !!
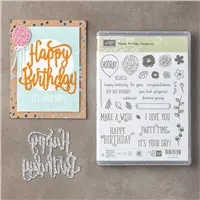
Happy Birthday Gorgeous Bundle, 145301
Can you picture that print and colors on a pair of white jeans? Now you are laughing with me! And yes, I have used Lemon Lime Twist again. I am addicted!!
I hope you will join with me in loving this wonderful bundle. This is the Happy Birthday Gorgeous Bundle. It is the stamp set and the Happy Birthday Thinlits. It is a wonderful combination.
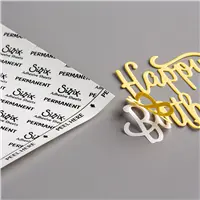
To go perfectly with the Happy Birthday Thinlits is the Multi-purpose Adhesive Sheets. If you are like me, I could never really get the hang of using the Fine Tip Glue Pen on the little tiny words and not make a mess. Yes I used it but the adhesive sheets are SOOOOOO much easier. I cut a piece of the adhesive sheet a little larger than the Happy Birthday Die and adhere it to the scrap of paper I am using and that it that. Once you have the die cut, just peel off the paper and stick it to your card. No Mess and only smiles!
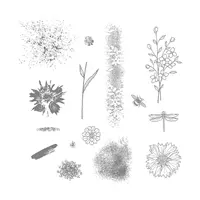
I got a little out of order on the card in talking about the adhesive sheets. Oops! I used the Touches of Texture speckle stamp for some background on my card. I used Lemon Lime Twist ink and then stamped off to soften it a little. I then stamped the outline of the flowers in Berry Burst ink. Since the set is photopolymer it is so easy to line up the inside of the flower and it is stamped in Powder Pink ink. The Powder Pink is the perfect pink. It is still a pretty pink but quite a bit darker than Pink Pirouette. It really does show up.
This is such a quick card and would be easy to make multiples of. This background could be done on a full sheet of Whisper White card stock and then cut into the layers that you need for later. My tip of the day!
Thank you so much for stopping by today. Please do not forget the Host Rewards Extras for June!!
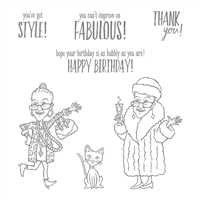
I have to say that I laughed when I first saw this You’ve Got Style set in the new catalog. I love the ladies and the sentiments. I hope I did her justice in today’s card.
You’ve Got Style, 143898
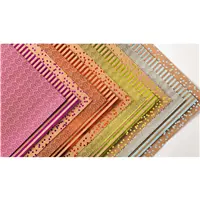
Isn’t she just hilarious? I love her style! And when I was looking for my color inspirations and landed on the Foil Frenzy DSP, I knew it was perfect. Then when it came to putting the card together I could not bring myself to align it normally. The lady just shouted wacky! So that is how she ended up.
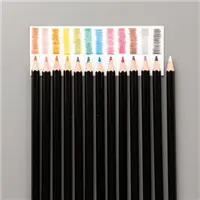
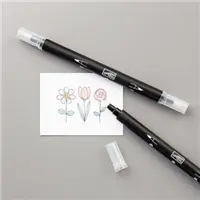
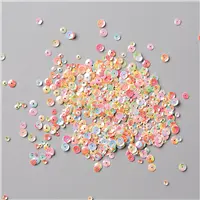
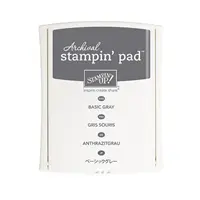
The base is Thick Whisper White card stock. The next layers are each the normal smaller layers of Berry Burst card stock, and Foil Frenzy DSP. The lady has a layer of Berry Burst card stock as well. As does the sentiment. The lady is stamped in Basic Gray Archival Ink and then colored with Watercolor Pencils and a Blender Pen. To give it a little more sparkle I added a couple of the Iridescent Sequins and gave the fir on color, cuffs, and hat brim a touch of Clear Wink of Stella. I believe anyone would have a smile on their face if they received this Sassy Lady in the mail.
Thank you so much for visiting my blog today. If you have any questions, or comments, please let me know. And remember our great Host Rewards Special for June.
The content in this blog is the sole responsibility of Jackie Beers as an Independent Stampin' Up! Demonstrator. The use of and content of classes, services or products offered is not endorsed by Stampin' Up!