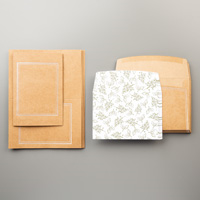
I have trying some new products for today, but am mixing them with carry overs. The main new product is the Magnolia Lane Cards and Envelopes. They are in a great Craft or Crumb Cake card stock with some silver embossing. I love that look of elegant mixed with a more grounded color.
I paired the Botanical Bliss stamp set and dies for a different look to this base. I stamped inside the framed area with Crumb Cake Ink, using the flower from First Frost, to add a bit of background. I die cut the tag and then watercolored it.
I used Shimmery White Card Stock as I think it is perfect for watercoloring. I was a bit different on my watercolor. I scribbled with markers on a clear block and then used the Aqua Painter to pick up the ink. It gives a softer look I believe. However, since you cannot purchase individual markers, it would work perfectly fine to get ink in the lid of your ink pad and pick it up that way.
The Crumb Cake tag is the new Timeless Label Punch. I shortened it to fit on the tag without hanging over the sides. The Metallic Pearls were an add on that I believe worked well. The red ribbon is a retired one that I found a piece in the bottom of my ribbon drawer as I was pulling out retired ones. Couldn’t let that go!!
I also used markers and stamped the flower image onto the front of the matching envelope. I try to remember to add that little touch.
Thank you for stopping in today. I hope you will reconsider, or look at for the first time, these cards and envelopes. It is a great deal.
My June Host Code is M2PNZPVT. Please use this code for orders under $150.00. I will have a small perk for those with orders over $50.00.
I have shifted to the Subtle Family for today’s card. I love the look of the subtle colors, I just tend to pair them with brighter colors. Today though is all Subtle.
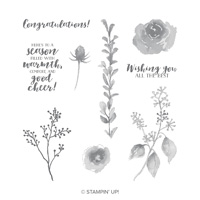
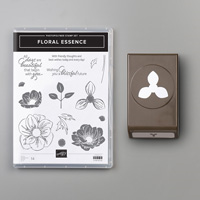
I am showcasing the Floral Essence Bundle. I love punches and am so thrilled that a couple of the new bundles include punches in our new catalog. This one is a flower builder punch. It is just a single punch, so you don’t feel like you are wasting paper with the little pieces. Although there are some great extras in those multi punches!
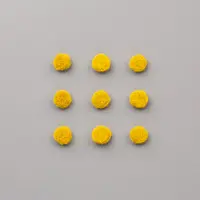
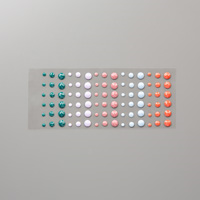
I stamped three of the tri-petal stamp in Memento Tuxedo Black Ink. I colored them with the Petal Pink Stampin’ Blends combo, and punched them out. You can easily do just two , but I wanted a bit fuller flower. I added the new Perennial Essence Floral Centers instead of trying to stamp a center. These fuzzy little guys are just so cute!!
The background is a leaf from the Floral Essence set as well. It matches the Leaf Punch too, great deal! The Stitched Nested Labels are the focal point of this card almost. I used the Subtle Emossing Folder before cutting out with the die. I love all the stitching! And it leaves the stitching on the negative also. So you will be seeing a card with that negative soon as well.
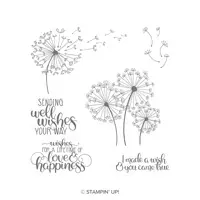
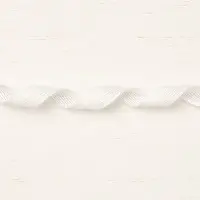
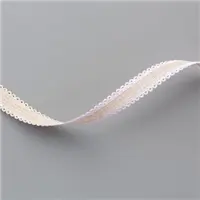
The sentiment is from Dandelion Wishes and one of my favorites. I am also thrilled that the White Flax Ribbon carried over. It is “just enough” to finish the card.
Thank you for stopping in today. Sorry for the later post.
I have a cute little card to share today. But first I need to make a correction to a statement I made on yesterday’s notecard. The Vanilla and Whisper White Note Cards ARE still available in the new catalog. I mistakenly said they had retired. YIKES!!! I am so sorry, and thrilled that I was wrong.
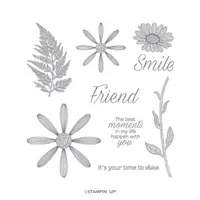
Okay, on to today’s project. I am sharing the Daisy Lane stamp set. This is the new set that matches the original daisy punch, with the bonus of fitting the smaller daisy punch. The small one is new and is a bundle to this stamp set.
After saying that the Daisy Lane has a new matching punch, I did not use it. The flower I chose to use does not fit the punches. It was not hard at all to fussy cut.
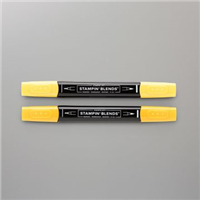
I stamped the ferns in Garden Green and the base of the flowers in Old Olive Ink. The flowers are stamped in Mango Melody and then colored with the Mango Melody Stampin’ Blends. A super easy card to do.
One of my go to ribbons is the Linen Thread. I wrapped it around the top two layers three times and then used three strands to make the bow. Quick and easy and I love the texture that it adds.
Thank you for stopping in today. I hope you will return on Monday and hopefully I will have all of my new products put away and organized to work with. I have been in a mess this week!! Hopefully you have a wonderfully weekend.
My June Host Code is M2PNZPVT. Please use this code for orders under $150.00. I will have a small perk for those with orders over $50.00.
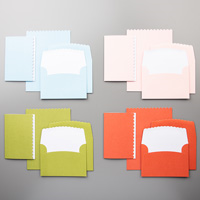
I am sharing another of the Hidden Gems in the new Annual Catalog. Today I am excited to show you the Scallop Notecards and Envelopes. They are replacing the White and Vanilla Notecards that retired, although they may still be available on the clearance rack.
These new envelopes are in four colors that you can match with so many of the Stampin’ Up! colors. Here is my quick little card.
I chose to try the Balmy Blue scallop card to begin with. They also are in pink, old olive and terra-cotta tile. I paired mine with a piece of Whisper White card stock that I stamped the Abstract Impressions flowers on.
I used the new Purple Posy Scallop Linen Ribbon to add some texture to the bottom. This comes in a few of the new colors and is awesome!
OOPS: I made a mistake. I used the Purple Posy Ink on this project. It is the one that there were issues with the formula. So I apologize, but it is not orderable at this time. I am so sorry!!!
My unconventional flowers are stamped in Purple Posy ink and Rococo Rose ink. The Purple Posy is full strength and the Rose is stamped off once. The Old Olive for the stems are some full strength and some stamped off as well.
The scallop notecard is 3 1/2 X 5. I cut my Whisper White layer down to 3 X 4 1/2. It is raised with dimensional also.
Thanks for stopping in today. I will have a more regular card to share with you tomorrow….I hope!! But please do not dismiss these Hidden Gems when looking through the catalog. And if you do not have a new catalog, or a demonstrator, please let me know. I would love to get a catalog to you and help you with your stamping needs.
My June Host Code is M2PNZPVT. Please use this code for orders under $150.00. I will have a small perk for those with orders over $50.00.
I am running around like crazy these last couple of days. So I have the Ultimate Quick and Easy card to share with you. It really cannot get any easier than this.
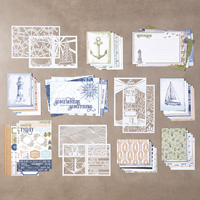
This really sweet card is just perfect for a fellow traveling friend. The best part, there is NO Stamping on it. Well, there is on the inside. I know…..It’s shocking that I would share a No Stamping card. Well, sometimes they are just called for. This is made with the Fabulous Come Sail Away Memories and More Card Pack. These are double sided cards in two sizes. You get a lot of them. There are also stickers, some with place for writing if you are using it for scrapbooking. But they are all gorgeous.
This one is 4 X 6 and I cut it down to 4 X 5 1/4. The only thing I did to the front is to add the gold Metallic Pearl to the center of the compass. I debated on using the silver one, but decided the old time compass would have been brass, so gold fit better.
Please don’t overlook products like this in the new catalog! They are those hidden gems that you come to love. Tomorrow I will have another of the Hidden Gems to share, so I hope you will return.
My June Host Code is M2PNZPVT. Please use this code for orders under $150.00. I will have a small perk for those with orders over $50.00.
Happy New Catalog Day!! I made that up of course, but I am so thrilled to be able to order more new products. And I am sure you are as well.
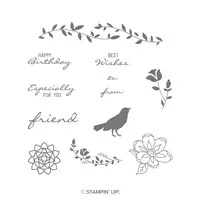
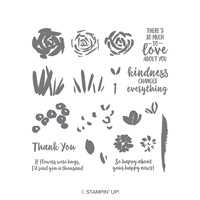
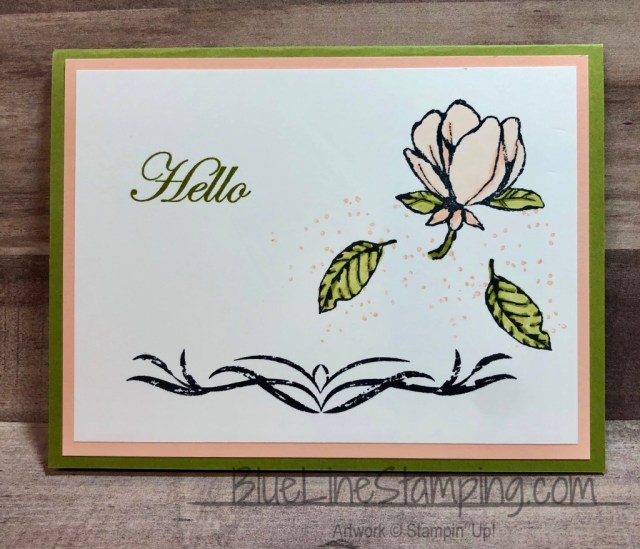
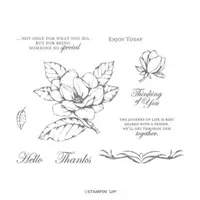
There have been quite a lot of samples of this Good Morning Magnolia stamp set. Last night I only had a few minutes to get today’s project ready. So I tried to do a quick and versatile card. I am very happy with what I came up with.
I see this layout as a group of Thank You , and just Hello type cards for a nice gift. I already have that picture in my mind with a cute decorative box to match.
I went with subtle colors for the magnolia to pair with. The speckle around the magnolia is, surprisingly, from the Birthday Backgrounds stamp set. I stamped off in Petal Pink to get the really soft splatter look. I felt that it needed just a bit of “something else”. So I added the two falling leaves. I like the way it turned out.
Thank you for stopping by today. I hope you will return tomorrow. The complete list of products is at the bottom of the post. There are not very many items used on this one though!
My June Host Code is M2PNZPVT . Please use this code for orders under $150.00. I will have a small perk for those with orders over $50.00.
Click on the Last Chance icon to go to my Online store. This will give you up to date what is left on the retiring lists. And if you would like to place an order, I have a Host Code just below the icon.
The content in this blog is the sole responsibility of Jackie Beers as an Independent Stampin' Up! Demonstrator. The use of and content of classes, services or products offered is not endorsed by Stampin' Up!