I hope you had an enjoyable Valentine Day yesterday. We do not get too excited about these holidays. It was just a nice, relaxing, and WET, day. I am ready to go out and see sunshine!!! I am happy we just have rain and not the snow and storms some are having. I hope all of you are safe and dry!
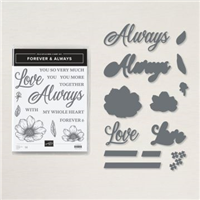
Today’s card is an extra Valentine card I made but did not share. It could also be for a wedding. I paired a few different products from the Forever & Always Bundle and suite.
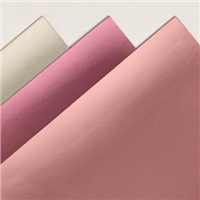
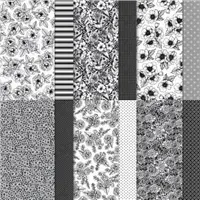
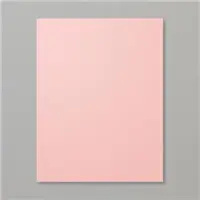
I mixed several blingy pieces on this card. I began with the card base of Blushing Bride cardstock. Next is a layer of the Love You Always Foil Sheet, which is blush or champagne color. The foil is topped with True Love Designer Series Paper in the polka dot.
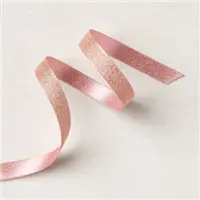
I added a banner with an angle cut made from the Love You Always Foil sheet. It is wrapped with a ribbon bow from the Blushing Bride Metalic Ribbon. The ribbon is beautiful! The back is Blushing Bride and the front is a mixture of blush and gold. I had to fiddle with my bow to keep only the front of the ribbon showing. It is well worth the fiddling time!
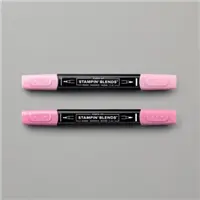
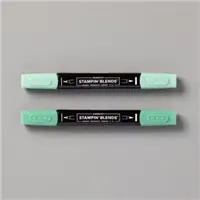
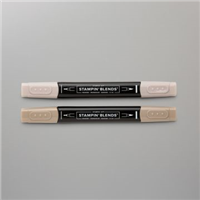
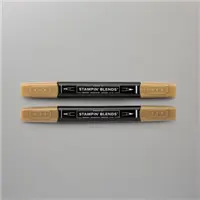
For the focal areas, I stamped the flowers from the Forever & Always Bundle and colored with Rococo Rose Stampin’ Blends. The leaves are colored using Just Jade Stampin’ Blends.
I went a bit rogue on the “LOVE”. I had used the Blush Foil, but wanted to bring out the gold in the ribbon. So I used Gold Foil to cut the background of the LOVE. (If I had a do over, I would use the blush for this as well)
Measurements:
Blushing Bride card base is 4 1/4 X 11
Foil layer is 3 7/8 X 5 1/8
DSP layer is 3 3/4 X 5
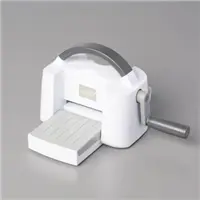
Angle Foil is 2 1/2 X 3 7/8 with a 1″ angle cut (place a mark at 1″ on the right side and put the mark on the cutting line. place the opposite corner on the cutting line as well, cut from mark to point)
Thank you for stopping by today. I hope you like my mix of products and will give these items another look in the catalog. Please let me know if you have any questions.
HOST CODE
My February Host Code is: MRYR7XY2 Please use this code for orders under $150.00. I will have a small perk for those with orders over $50.00
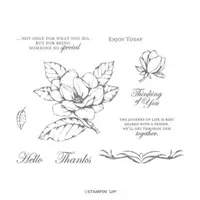
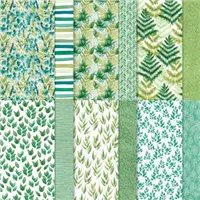
I have not used the Good Morning Magnolia stamp set in quite a while. I wanted a quick Thank You card and this was perfect for the card I had in mind. I also used the favorite DSP, the Forever Greenery Designer Series Paper. That paper has so many beautiful sheets to choose from.
I actually made this card a few weeks ago but had never used it here on my blog. It is a nice and quick one using DSP for the Wow factor and punches to make it easy.
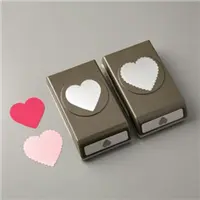
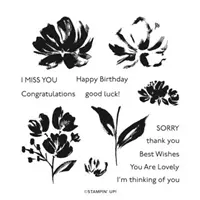
The single flower is stamped using Memento Tuxedo Black Ink and colored using Petal Pink and Just Jade Stampin’ Blends. I used the Heart Punch Pack duo to cut the heart and the background heart. I was thrilled when the flower fit inside the heart!
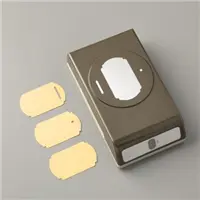
The gorgeous script Thanks is from the stamp set as well. It is punched using the Label Me Fancy punch. To add an extra touch, I added some Champagne Rhinestones to the sentiment tag and the flower.
Thank you for stopping by. I hope you have a great weekend and get some crafting done yourself. Please come back on Monday for another new project.
HOST CODE
My February Host Code is: MRYR7XY2 Please use this code for orders under $150.00. I will have a small perk for those with orders over $50.00
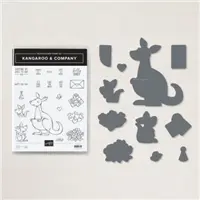
Last week I had asked on my Facebook page, Blue Line Stamping, to name a few stamp sets that you would like to see used. I used one on Monday. You can see that card HERE. And today I am sharing the second one. It is Kangaroo & Company.
I chose to make the Kangaroo as a Valentine Card. But since it doesn’t say that on the front, it could be used for any expression of love. The little envelope is part of the stamp set and I think it is simply adorable, so I wanted to include it. It’s sort of hanging in the air, so I see it as love is being sent. Yes, I know I have a crazy imagination!!! LOL!
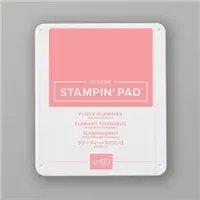
The background for the card is from the True Love Designer Series Paper. I used the new Blending Brushes with Flirty Flamingo and Poppy Parade Inks to blend the colors onto the paper. I love how the dots still show through so well.
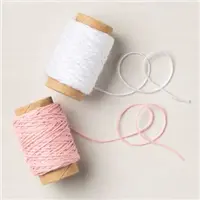
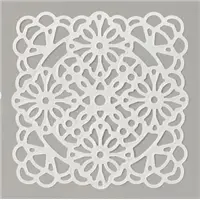
To ground everything, I added one of the Vellum Doilies. These little squares are so versatile and are perfect for this use. I also added the White Baker’s Twine from the Snail Mail Combo Trim Pack.
The kangaroo is adorable alone or with one of the included inserts for the belly slot. I went with the hearts for the “Love” theme. They are colored using Poppy Parade Stampin’ Blend Combo. I also utilized the little “stick” for lack of a better word. It is what the inserts can be attached to so they pull out of the belly slit. Here is a closer look at that.
Isn’t that adorable? The smaller sayings in the stamp set will all work on this little piece. It is long enough to easily hold the attached hearts in place. You do need to pay attention when adding your dimensionals so they do not interfere with it.
Thank you for stopping in today! I really do appreciate it. If you have any stamps you would like to see me create a card for, hop over to my Facebook Blue Line Stamping page and leave me a note. There are not very many that I do not have 🙂
HOST CODE
My February Host Code is: MRYR7XY2 Please use this code for orders under $150.00. I will have a small perk for those with orders over $50.00
Hello, welcome to the Stampin’ Pretty Pals’ Blog Hop! This month our Design Team created “Birthday Bonanza” projects to inspire you to make for all of your family and friends. We hope you enjoy and are inspired by them! Don’t forget to leave comments because we all love hearing from you! At the end of my post, you will find the full line-up to help you “hop” along from Pal to Pal.
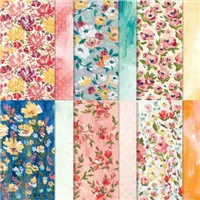
I have a birthday card to share with you today that highlights the gorgeous Fine Art Floral Designer Series paper. I have also used other products from that Suite and created a fun fold that is designed to show off each layer. I hope you like it.
The DSP is always a great place to begin color choices. I chose Old Olive, Misty Moonlight, and Petal Pink to compliment the flowers of the DSP. For the top layer flower, I stamped Petal Pink for the base and used Flirty Flamingo for the highlight areas of the 2 Step Stamping.
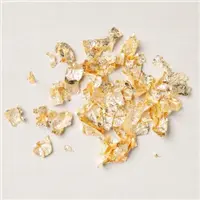
For the first time, I used the Gilded Leafing and Heat & Stick powder. I applied the Versamark Ink with the “center” stamp of the flower. After adding the Heat & Stick powder, heating it, I applied the leafing. It was not as nerve racking as I had anticipated!!! Normally being a bit messy with embossing powder is not good. But with this application a few flecks of the gold leafing looks like they belong on the petals.
The flower layer is cut using the Stitched Rectangles Dies. I used the 3rd Largest one. It is then layered onto a piece of Misty Moonlight. The Petal Pink is the second part of the Fun Fold. You can see that in the next photo.
The colors of the DSP are so vibrant that I wanted you to see what a punch it has when you begin opening the card. This fold is the same one I have used several times as a gift card holder. I did not do that today. But all you need is to slightly shorten the folded under layer beneath the DSP and adhere it on the sides to make the pocket.
Before adhering the front flower layer, I did a bit of “flicking” of color using Stampin’ Write Markers. I used the same colors as the cardstock. Also, going back to the first picture, I used the 2 smallest of the Stitched Rectangle Dies for the sentiment layer on the front.
To finish the card, I wrapped some of the beautiful, and glittery, Blushing Bride Metallic Ribbon around the Petal Pink layer of the fun fold. I wrapped the ribbon and secured it on the front beneath the sentiment. For the little knot of ribbon, I cut a smaller piece and simply tied a knot around the strip of ribbon. The easiest way to add a ribbon in my opinion.
Here are all of the measurements:
Base card of Old Olive is 4 1/4 X 11, scored at 2 1/4 and 5 1/2. (to make a gift card, after scoring cut off 1″ from the left end . After burnishing the scores, fold under the short section and secure the layer with Tear & Tape)
Inside Misty Moonlight layer is 4 1/8 X 5 3/8
Petal Pink section is 3 1/4 X 9 1/2, folded in half
White inside of Petal Pink is 3 X 4
Misty Moonlight beneath Focal Flower is 3 1/8 X 4 1/2
Misty Moonlight beneath DSP is 2 5/8 X 4 1/8
DSP is 2 1/2 X 4
More inspiration awaits! Use the Blog Hop Line-up below to visit the rest of this month’s Design Team. My fellow Pals are excited to show you what they’ve created! Mark your calendars for our next blog hop on March 10th when our theme will be “Cute Critters” where the design team will be sharing projects that will feature critters of all sorts to inspire you. Don’t miss the fun! Until then, please stay safe and have fun in your craft room.
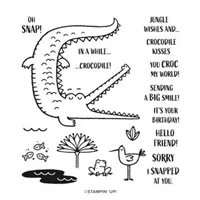
Oh Snap! is perfect for this card. This past year has really messed with my brain and how I seem to operate. I have become LATE on way too many things. This card is one of them. I needed a Congratulations card and am very late getting it made and sent. I hope you are not like me!!
I used the gator and his bird friend to shout Congratulations. They are both colored using Stampin’ Blends. I added some light Pool Party to the bottom of the card to ground them and also serve as some water.
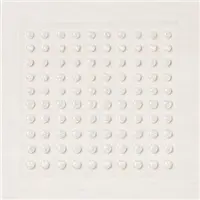
The Congratulations is from the Peaceful Moments stamp set. I layered it onto a piece of Granny Apple Green cardstock. I added a few of the Opal Rounds to be add some bling as well as look like water droplets. I apologize for the poor photo quality as it is hard to see them or the Pool Party at the bottom.
I forgot to take a photo of the inside. Of course I did!!! But, I stamped the Oh Snap, and die cut it along with a Granny Apple Green background using the scalloped small circles in the Layering Circles Dies. I added this to the inside along with a handwritten apology for being so late.
This is a really quick card to make and hopefully will make the recipient Smile. That is always my goal with my projects.
Thank you for stopping in today. Tomorrow is the Pals Blog Hop. I hope you will join me and hop along through all of the blogs for some great card ideas.
HOST CODE
My February Host Code is: MRYR7XY2 Please use this code for orders under $150.00. I will have a small perk for those with orders over $50.00
The content in this blog is the sole responsibility of Jackie Beers as an Independent Stampin' Up! Demonstrator. The use of and content of classes, services or products offered is not endorsed by Stampin' Up!