Today’s card is a super easy card and my first Global Design Project Challenge !! I am excited and nervous. My wonderful upline Brian King challenged us to join in. The first picture is the design layout we are supposed to CASE.
You are allowed quite a bit of flexibility in your interpretation of the challenge design. But it being my first time, I didn’t go too far away from the drawing. Here is my card:
Oh So Eclectic , 143940
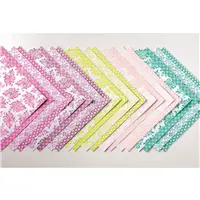
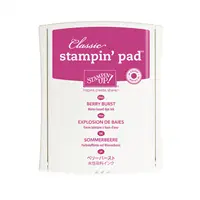
I am in love with the new InColors from Stampin’ Up! The two I used in this card are Tranquil Tide and Berry Burst. I think they are so rich and bright. The DSP is the Fresh Florals Designer Series Paper Stack. It is 4 each of 2 double-sided designs of all 5 of the new In Colors. WOW! They are gorgeous!
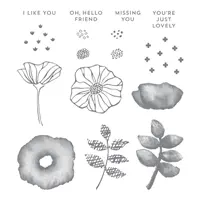
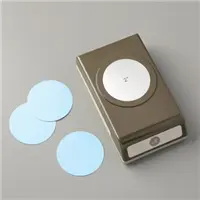
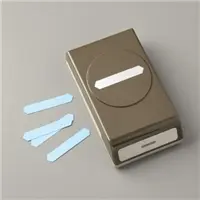
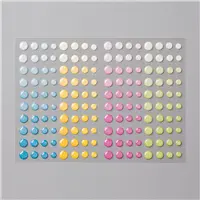
The stamp set is Oh So Eclectic and I just used the two step single flower. The flower is Berry Burst and I colored in the stem with a Pear Pizzaz marker. I then fussy cut the flower and glued it to a 2″ Circle punched from Tranquil Tide card stock. The greeting is from Oh So Eclectic as well and is stamped in Berry Burst. It is punched with the Classic Label Punch. I added a new Glitter Enamel Dot for some sparkle.
You can tell that I did not follow exactly the diagram. Instead of a ribbon and bow I just used a strip of Whisper White card stock to run down the side and behind the focal point. And that is my simple card.
Thank you for visiting today! You can go to the Global Design Project page and check out all of the cards that are linked there.
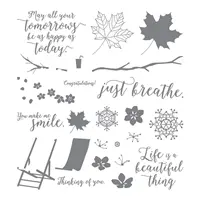
The stamp set I used today is one of my favorites fro the new catalog. And I did not begin to show the versatility of this wonderful all season set. It is Colorful Seasons. I know you are going to love this set as well!!
Colorful Seasons, 143726
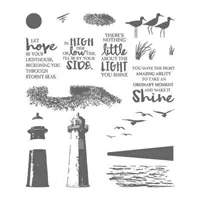
I used the chair from the Colorful Seasons set. It was my card inspiration. I then sponged the sand, ocean, and sky. And I used the Sand and Ocean from the High Tide set. The sun and sea gulls also came from the High Tide set as well. The “Life is a beautiful thing” is a favorite of mine and is part of the Colorful Seasons set.
And that, as they say, is that!! How quick and easy this card was to pull together. Since both of these sets are Must Haves, to me anyway, you can easily make your own beach scene!
Thank you for stopping by today! If you do not have a brand NEW catalog, I would be thrilled to get one to you. I believe this is one of the best catalogs in quite a while. And there is a HOST SPECIAL for the month of June. With a 350.00 order, or party, the Host receives an additional 35.00 of FREE products. WOOHOO!!
The products I used are listed below. You can click on any item and go directly to my online store.
I seem to be doing a lot of FIRSTS lately, and that is a good thing. 🙂 My card today is my first 4 X 4 card that I have posted. It is a very quick and easy card for any reason just by changing the sentiment. But this one is a Happy Birthday.
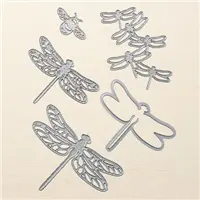
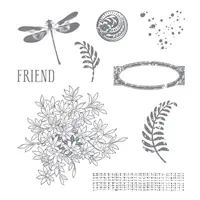
Detailed Dragonfly Thinlits, Awesomely Artistic
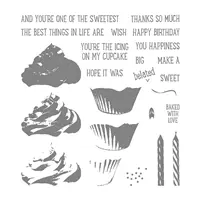
Aren’t those dragonflies awesome? I used Awesomely Artistic set for the flowers , the badge, and the splatter. The Happy Birthday is from the Sweet Cupcake set. And the dragonflies are from the Detailed Dragonfly Thinlits. That is pretty much the card!
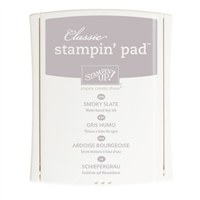
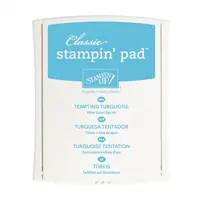
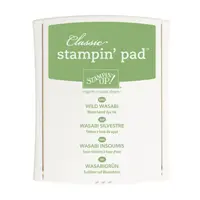
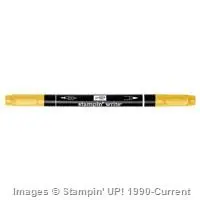
The base is Smoky Slate cut to 8 X 4 and folded in half. The Tempting Turquoise layer is 3 7/8 X 3 7/8, and the Whisper White layer is 3 3/4 X 3 3/4. I am really falling in love with these square cards! I stamped the foliage in Wild Wasabi and then colored it with Pear Pizzaz and Daffodil Delight Stampin’ Write Markers. The splatter is stamped off and done in Smoky Slate. The banner is stamped in Smoky Slate with the words in Tempting Turquoise. It was very easy to fussy cut and then pop up with our Stampin’ Dimensionals.
The dragonflies actually die cut a connection of five. But for this small card it was too much. So I trimmed them down to three and added a glue dot under two of the dragonfly bodies. Glue dots are extremely sticky so no worries about them falling off!
All of the items I used today are carrying over to the new catalog. But don’t forget to check the retiring list for things that are not carrying over!
These are the items I used for this Dragonfly Birthday card.
The title of today’s post comes from the card I have made, but it could be thought of as remembering the outgoing catalog and looking forward to the new! I know both of those are in my thoughts!! Here is today’s card.
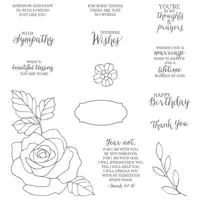
Rose Wonder, 140697
I love how this card turned out. I have to say it is a CASE from my Up, Upline Pam Morris. She swapped this card at On Stage and I loved the simplicity and awesome layout. Thank You Pam !!
All of the products, except the Rose Wonder stamp set, are on the retiring list. So Sad 🙁 I also want to say that I am sending this card to a fellow demonstrator who is going through a really hard situation right now. Please say a prayer for her.
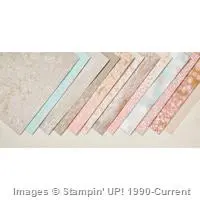
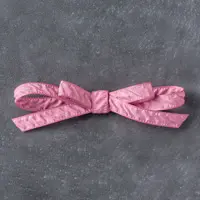
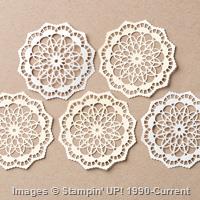
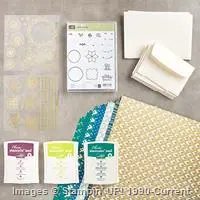
There is not really anything to describe on this sweet card except to say I love everything about it. I really hate to see these Very Vanilla doilies, the ruched ribbon, and this beautiful Falling In Love DSP go away. I highly recommend this DSP if it is still available on the retiring list.
You can click on any of the products below to go to my online store and order up these beauties!
Thank you very much for stopping by today! I love to hear from you and would be honored to help you in your stamping endeavor!
I am behind on trying out the new Eastern Beauty bundle. And I have to say it is amazing! At first glance I thought it really was not my style. But the more samples I saw using the set made me rethink my opinion. So after getting my hands on it and playing… Oh My!! I love it !! The set is so versatile. Here is my first adventure with the Eastern Beauty Bundle.
Eastern Beauty Bundle, 145308
I really like how this turned out and this design could be used for so many different occasions. I don’t know if you can see from the picture, but the petals of the Powder Pink flower are popped open a little. That is from the Eastern Medallion Dies that are part of the bundle. There are 14 pieces to the bundle! I still have not played with the majority of the options. I have seen where other demonstrators have die cut and circle punched several sheets of possibilities. Once June 1 arrives I am sure you will be able to find all of these on Pinterest.
As you can tell my card was very simple with stamping the circles in Powder Pink and Berry Burst. I then stamped and Die Cut the flower. The strip of Lemon Lime Twist DSP was just to tie everything together and balance it out. And like i said earlier, this layout would go with many different sentiments for almost any occasion.
Thank you for stopping by today! We are winding down on the current catalog and the Retiring List. There are some great values to be found there. But you only have a couple more days, it ends on May 31st.
If you do not have a current Stampin’ Up ! Demonstrator and would be interested in a new 2017-2018 Annual Catalog, drop me a note and I will be happy to send you one.
Below are the products I used today. You can click on the card or any of the products to go directly to my online store.
This is my first post that is not a card! Oh MY !! But who does not like to receive cute little treats, especially chocolate. And this is a really quick pouch to make so if would be perfect for a little treat for a group and can be decorated to match the occasion. Here is my Delightful Daisy Treat Pouch:
Daisy Delight Bundle, 145361
Is this not Delightfully Cute ? HaHa…. I received the prototype for this little treat pouch at a swap and there was no name, so I cannot give the original maker credit. (Always put your name on your swaps!)
Too bad you cannot really see the beautiful Delightful Daisy DSP that is the band around the pouch. It is gorgeous!! I will give you the measurements for everything and show a picture of the inside piece. But trust me, this is super quick and easy if you were making multiples !!
The base of the pouch is done in Powder Pink card stock and measures 6 1/2 X 2
Score from each end at 3″, then punch each end with the Scallop Tag Topper Punch
The Band is done with the Delightful Daisy DSP and measures 5 1/4 X 2
Score the band at 1/2, 1, 3 , & 3 1/2. Use your bone folder to score each fold to assure it lines up properly
Add the Tear Tape to the very edge of the end opposite of the 1/2″ score.
Lay the band down with all folds folded and you can see that it overlaps perfectly. Peel off the tape and adhere.
Lay your nuggets down on the pouch and fold the top over then hold it and slide the band on.
Decorate the front as you like!!!
Wasn’t that quick and easy ? Here is a photo of the pouch, or the card stock that is scored and punched.
Delightful Daisy Treat Pouch
Can you see how technical this is???? I am really being silly. This is one of the easiest treat pouches I have ever made. So please give it a try.
For the Daisy on the front, I stamped the daisy twice in Powder Pink and punched out with the daisy punch. I sponged some Daffodil Delight to blend it with the DSP. I stamped the Happy Birthday from the Birthday Banners Set in Powder Pink and just snipped the ends to make a banner. I used glue dots to adhere the daisy and a dimensional in the center of the daisy to hold the banner. Then just slide it over the top of the pouch and tie a bow. The bow is more for securing the candy during transport so they do not slide out the top!! We cannot have that!!
I hope you will try making these cute things and use your creativity to decorate the front. Thank you for stopping by today! I do not have the product list as they are all new items and I was having technical difficulty getting the pictures. I will figure this stuff out eventually! The main thing to remember is the Daisy Delight Bundle !!
The content in this blog is the sole responsibility of Jackie Beers as an Independent Stampin' Up! Demonstrator. The use of and content of classes, services or products offered is not endorsed by Stampin' Up!