I am trying a new technique today. I have seen some really awesome cards on Facebook and Pinterest using the Eclipse Technique. So I tried a small version for my first time.
I realized after the fact that the Pool Party eyes on my cat were not really bright enough. I should have used the Smoky Slate. But I love the soft combination of these colors.
I punched the cat out before stamping and placed it back in the cutout space. I then stamped everything. Before layering, I punched another cat from a scrap of Smoky Slate card stock and glued it to the original one. Then it is raised with dimensionals. I finished the card with the small bow on the end of the cat’s tail. Every kitty needs some decoration .
This is so easy to do . At least my small version is! I have seen some beautiful and elaborate cards and home decor made using this technique.
I could have done better on my Eclipse Technique but I like the small version and think it came out alright. I hope you will give it a try.
MEASUREMENTS:
Card base is Smoky Slate cut to 8 X 4 and folded in half
Smokey Slate layer is cut to 3 3/4 X 3 3/4
Whisper White layer is cut to 3 1/2 X 3 1/2
Thank you so much for visiting today! The supplies I used are listed below and by clicking on any item you will be directed to my online store.
Please do not forget to look at this Awesome special for Paper Pumpkin. New Subscribers can try their first month for 50% off. That means it is only $10.00 to get the first box. The contents are worth well over that amount. There is no obligation to continue the subscription. But I hope you will fall in love with it as I have. If you decide that you do not want it after the first, or even the tenth, you simple go to the website and cancel. It is that easy. So give it a try at this half price rate.
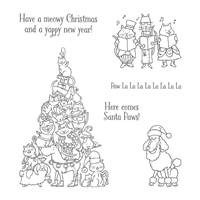
I am definitely an animal lover. So when I see cute animals and Christmas together it is a must have. That is what happened with the new Santa Paws stamp set. Here is today’s card.
Santa Paws, 144889
I just love the cats and dogs tree! I did not color everything. I thought it would be overkill plus it would have taken a really long time! I did stick with the main colors of green and red, with just a few additions.
I consider this a traditional type card with the layers. They are just not centered. Sometimes little tweaks give you an entirely different look. I hope you enjoyed this one.
I had previously done another card using this same stamp set. You can see that card HERE.
Thank you for stopping by today. The supplies I used are listed at the bottom of the page. You can click on any item and it will direct you to my online store.
Please do not forget to look at this Awesome special for Paper Pumpkin. New Subscribers can try their first month for 50% off. That means it is only $10.00 to get the first box. The contents are worth well over that amount. There is no obligation to continue the subscription. But I hope you will fall in love with it as I have. If you decide that you do not want it after the first, or even the tenth, you simple go to the website and cancel. It is that easy. So give it a try at this half price rate.
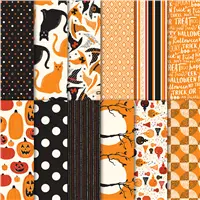
My title is sort of a joke from when we were kids. Or at least when I was, since I find myself getting into that OLD stage at least numerically! But to get to the point…..When I first saw the Spooky Night Designer Series Paper and cards were made with the owl in the tree, my thought was that it should be a cat. So that is what I did for today’s card.
So….what do you think of the cat in the tree, instead of the owl? A twist on the expected.
Yes, I used the traditional Halloween colors for this one. The DSP dictated the color and I was fine with that. I debated on a different cat color. But I love black cats, we seem to always have at least one cat that is black in our menagerie. So it was fitting.
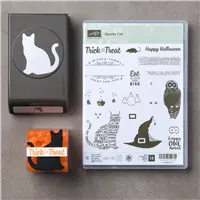
The cat is punched out of the DSP with the Cat Punch, which is part of the Spooky Cat Bundle. This is a super cat and I see using my cat punch year round.
Thank you for visiting today! The supplies I used are listed below. You can click on any item and be taken directly to my online store.
Please do not forget to look at this Awesome special for Paper Pumpkin. New Subscribers can try their first month for 50% off. That means it is only $10.00 to get the first box. The contents are worth well over that amount. There is no obligation to continue the subscription. But I hope you will fall in love with it as I have. If you decide that you do not want it after the first, or even the tenth, you simple go to the website and cancel. It is that easy. So give it a try at this half price rate.
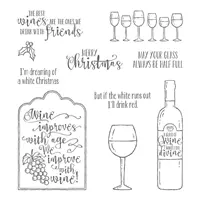
I must say that I loved this stamp set from the first time I saw it. I love wine decorations and this set reminds me of that. I believe it is appropriately named – Half Full. I spent yesterday playing with my stamps and made a couple using this set. Here is my favorite.
This card came together so easily. The wine just had to be a red or muscadine, so I went with Fresh Fig for the wine color and focal color. And since I colored the grapes on the tag, Old Olive was a natural. And that was that. I stamped the wine glasses onto the Old Olive card stock with Old Olive ink.
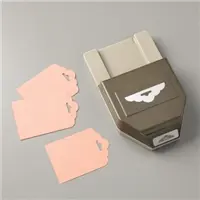
When I first saw the tag I wondered if it matched our Scalloped Tag Topper Punch. It is not mentioned in the catalog as coordinating with it. Well….. yes it does!! Woohoo!! I love unexpected surprises. Of course the way my bow is positioned you cannot tell that the white layer behind the tag is punched with the Scallop Tag Topper , but it is.
The supplies I used today are listed below. If you click on any item you will be taken directly to my online store. If you have any questions, please do not hesitate to contact me. I would love to assist you with your stamping questions or supplies.
Thank you for stopping by today! I love reading your comments and appreciate them very much.
Reminder: There are just a few more days for the Paper Pumpkin Fall Savings.
Please do not forget to look at this Awesome special for Paper Pumpkin. New Subscribers can try their first month for 50% off. That means it is only $10.00 to get the first box. The contents are worth well over that amount. There is no obligation to continue the subscription. But I hope you will fall in love with it as I have. If you decide that you do not want it after the first, or even the tenth, you simple go to the website and cancel. It is that easy. So give it a try at this half price rate.
I have another Fall card for today. Although to Give Thanks is something that could be used year round. I have used the “direct to paper” technique again to showcase this simple punched sentiment.
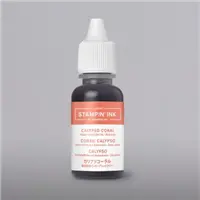
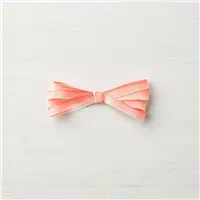
I really like this color combination. It is soft on the “direct to paper” technique but stands out on the card stock surrounding it. And the Calypso Coral Ombre Ribbon is just a must have!! It is gorgeous and so easy to work with.
If you missed my previous “Direct To Paper Technique” card, you can see it HERE.
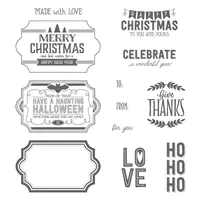
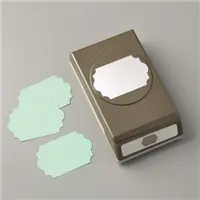
The sentiment is from the Label To Love set. This set has sentiments for a variety of holidays and they all fit the Everyday Punch. The punch is a bundle with the Merry Labels set, but it works with both sets. A double winner!
MEASUREMENTS:
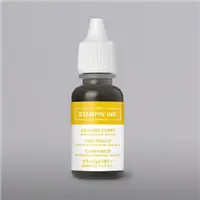
Card base is Crushed Curry cut 8 X 4 and folded in half
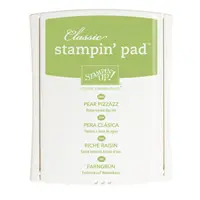
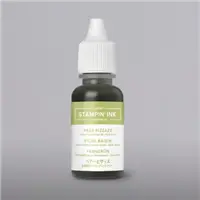
Pear Pizzaz layer is 3 3/4 X 3 3/4
Glossy card stock layer is 3 1/2 X 3 1/2
The supplies I used are listed below. You can click on any item and be taken directly to my online store. If you have any questions, please feel free to contact me. If you do not have a current Stampin’ Up! Demonstrator I would love to help you get started.
Thank you so much for visiting today! I very much appreciate your comments as well. I hope you have a wonderful weekend.
Please do not forget to look at this Awesome special for Paper Pumpkin. New Subscribers can try their first month for 50% off. That means it is only $10.00 to get the first box. The contents are worth well over that amount. There is no obligation to continue the subscription. But I hope you will fall in love with it as I have. If you decide that you do not want it after the first, or even the tenth, you simple go to the website and cancel. It is that easy. So give it a try at this half price rate.
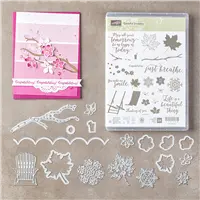
I seem to be on a Fall card making theme. Today’s card is from one of the most versatile stamp sets, or the entire suite, that Stampin’ Up! has. It is the Color Theory Suite and the Colorful Seasons Bundle. I love everything in this suite, but especially the bundle.
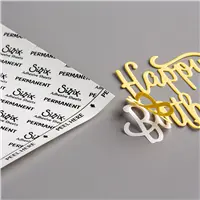
I just adore these delicate leaves from the Seasonal Layers Thinlits part of the bundle. And with the Multipurpose Adhesive Sheets they are a piece of cake to adhere. After I placed the leaves it seemed like I really didn’t need anything else!
I sponged the background of the leaves and then splattered the open space. I know technically you are supposed to do things in 3’s, but I only added 2 of the Enamel Shapes. I just wanted to highlight the sentiment. I say “rules are meant to be broken” …..in some cases!!
Thank you for visiting today! I appreciate your comments very much.
Please do not forget to look at this Awesome special for Paper Pumpkin. New Subscribers can try their first month for 50% off. That means it is only $10.00 to get the first box. The contents are worth well over that amount. There is no obligation to continue the subscription. But I hope you will fall in love with it as I have. If you decide that you do not want it after the first, or even the tenth, you simple go to the website and cancel. It is that easy. So give it a try at this half price rate.
The content in this blog is the sole responsibility of Jackie Beers as an Independent Stampin' Up! Demonstrator. The use of and content of classes, services or products offered is not endorsed by Stampin' Up!