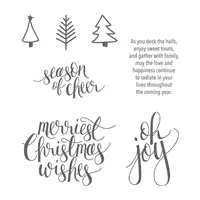
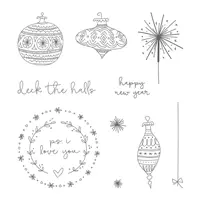
I have a quick and easy card for you today. The Watercolor Christmas set is so pretty and has perfect sentiments for the inside of the card or for the focal point of the front. I tried to keep this card pretty clean and simple.
Watercolor Christmas, 144838
This stamp set is easy to overlook in the catalog. It is with the Watercolor Christmas Project Kit. I think sometimes we look at the kit and skip over the stamp set that is used to create it. I think this set is the “sleeper” of the catalog. So to showcase it I went simple and bright.
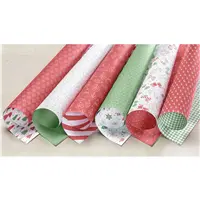
The base of the card is Garden Green, with Cherry Cobbler as the layers. The herringbone pattern from the Be Merry Designer Series Paper is a perfect compliment. I used both a clear Rhinestone to dot the “J” in Joy, and two black rhinestones at the junction of the DSP strips. And I still tell myself that black rhinestones do not belong on a Christmas card…. and then I laugh and say “yes they do”!!
Thank you for visiting today! I very much appreciate your comments. The supplies I used are at the bottom of the page. You can click on any item and be taken directly to my online store.
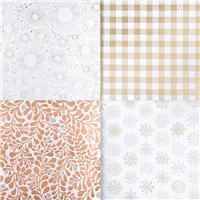
This card is my first using the Year of Cheer Specialty Designer Series Paper. Oh My !! This paper is gorgeous. The picture of my card, and the photos in the catalog, do not do it justice. It is awesome !
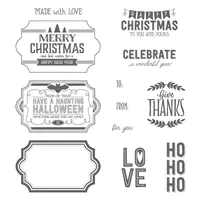
Labels to Love, 144967
My plan was to showcase the beautiful DSP and the oversized banner was what I chose. Because of the gold, I could not decide on a base color. By going with the white, it keeps it clean, but I needed something to highlight the gold. So I decided to add the little bit of black.
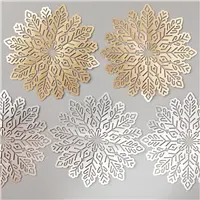
I have been trying to use these beautiful Foil Snowflakes since I got them before the catalog even went live. And all of a sudden there it was, the perfect spot for the snowflake! I added the strip of black as if the snowflake is a wreath or a hanging ornament. I am not sure which idea I prefer.
The sentiment is from the “must have” set Labels To Love. The set covers several holidays. This sentiment I believe can be used at any time. I rarely heat emboss, ( maybe once a year! ). However with the gold in the DSP and the snowflake, I had to emboss the sentiment. I am so proud of myself that it turned out well.
Thank you so much for stopping by today! I very much appreciate you looking at my creations and for the nice comments.
The supplies I used are listed below. You can click on any item and be taken directly to my online store. Thank you again!
I took a whimsical turn for today’s card. I used a whimsical stamp set, Seasons of Whimsy, and used very non-traditional colors as well. I am still surprised that I really like how it ended up.
So what do you think? Did I go over the top on my color choices? I surprised even myself. I am usually more the traditional Christmas colors. But I strayed pretty far on this one!
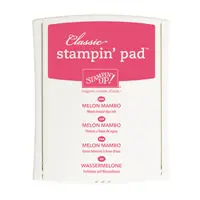
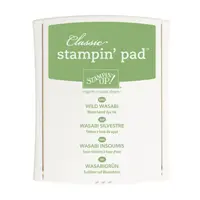
I will try to quickly explain my madness. I started with a watercolor wash using Wild Wasabi Ink on Shimmery White card stock. I then stamped the ornament in Tuxedo Black Memento Ink. The string is in Wild Wasabi. I watercolored the highlights of the ornament with an Aqua Painter and the Melon Mambo Ink. I will also confess that the sparkles stamped in both colors were an after thought. Actually they were after I discovered a stray Melon Mambo to the bottom left of the ornament. So a stamped sparkle comes to the rescue. Then I realized I really liked the addition. So a win/win!!
Thank you very much for visiting today! I very much appreciate your comments. The supplies I used are listed at the bottom of the page. Clicking on any item will take you directly to my online store. Have a Great Day!
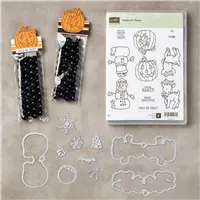
For today’s card I have taken the super cute Seasonal Chums Bundle and made a musical snowman. This set is extremely flexible and just really darn cute!
Seasonal Chums Bundle, 146077
Isn’t that snowman just adorable? And this is only half of him! I know you are saying “huh”? If you have not noticed this set in the Holiday Catalog, these are tags that are the front and back image and are connected at the top. I only needed the front for this card. So I took my paper snips and rounded it off at the top of his hat. You can check out Pinterest for all kinds of treat holders, etc made with this set.
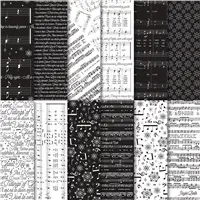
I understand that these are not traditional Christmas Colors, or I don’t think they are. My inspiration was the black music sheets from the Merry Music Specialty Designer Series Paper. It made me think of Christmas and of night. So I thought a white snowman would really pop against the darkness.
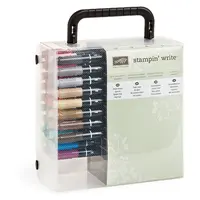
I colored the snowman and bunny with Stampin’ Write Markers in Real Red, Garden Green, Smoky Slate, and Pumpkin Pie. Since there is so little to color, and only one thing to cut out, this is a quick little card to put together.
Thank you for visiting today! I hope you like this card. The supplies I used are listed at the bottom of the page. If you click on any item you will be taken directly to my online store. I hope you have a wonderful day!
MEASUREMENTS:
Thick Whisper White card stock cut to 4 1/4 X 11 and folded in half
Welcome to InKing Royalty’s September Blog Hop! Today’s Tricked Out Treats Blog Hop is filled with spooky, fun projects for Halloween. We are excited to share our creations with you today and hope these projects inspire you. After you read my post, I hope you’ll hop over to the next person on the list at the base of this post.
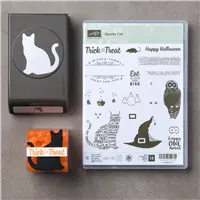
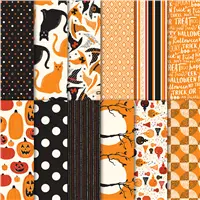
My project for today’s hop is a Test Tube Treat Holder and a 4 X 4 Card to accompany it. The Spooky Cat Bundle has taken me back to my childhood of looking forward to Halloween! I love this entire Suite, but especially the Cat Punch. I have used pretty much the entire suite of products!!
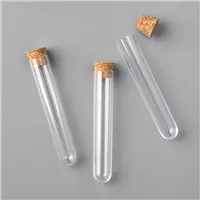
I wanted a holder for Stampin’ Up!s new Treat Tubes and found a similar holder on a Pinterest link. Then I saw several more! Oh my, So I took them all and made my own.
There is not anything new or unusual to the Treat Holder layers or the card. But I will give you the measurements and my directions for the Treat Holder . It might save you from having to go through so many to find one with measurements.
MEASUREMENTS:
The Base is card stock cut to 2 X 9 3/4, and scored at: 1/2, 1 1/2, 3 1/2, 4 1/2.
Fold and burnish on all of the score lines
Punch the top using the Scalloped Tag Topper Punch
Punch the 2nd score section (next to the smallest one) by centering the 3/4″ Circle Punch. It is long enough to reach over the 1/2″ scored section.
Place Tear n Tap on the 1/2″ scored section so that it tucks under against the back flap.
NOTE: If you fold the 1/2″ section under against the back, the other sections will lay flat for easy and straight adherence.
****If this doesn’t make any sense????? Contact me, I am happy to assist you.
Treat Layers: Front – 1 7/8 X 1 7/8, 1 3/4 X 1 3/4, Back – 1 7/8 X 2 1/2, 1 3/4 X 2 3/8
Card Layers: Card – 8 X 4, folded in half, 3 7/8 X 3 7/8, 3 3/4 X 3/34
Thank you for stopping by today. I hope you’ll hop along to the next stop on the bloghop, Karen Browning at https://karenzbrowning.com/
There’s lots of inspiration to be found in this group – and you don’t want to miss it! The supplies I used are listed below the Blog List.
Jackie
Thank you for hopping along with us. If you get stuck during the Blog Hop, please use this line-up as a guide:
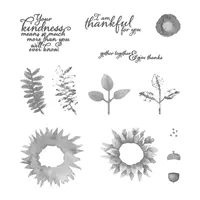
I adore this new Painted Harvest stamp set! Actually the entire suite, but I am only using the stamp set for today’s card. I know you have seen hundreds on Pinterest or other craft sites but I could not help myself in continuing to play with it.
Painted Harvest, 144783
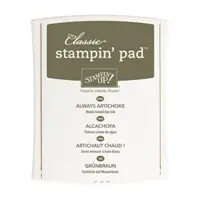
For me, this card is very minimal. I think that is a good change of ideas. I focused on the wreath from Painted Harvest. I stamped both stamps (it is a two step stamp) in Always Artichoke and both were full strength. I then used the little dots that are intended as the center of the sunflower for my berries for the wreath. And a little Linen Thread bow is all it needed for a cute and country looking wreath.
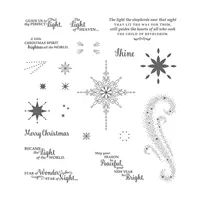
I cut out the Whisper White wreath piece with the Stitched Shapes largest square before I stamped. Since the Painted Harvest set is photopolymer, it is so easy to center it on the paper. The sentiment is from Star of Light stamp set. This was my favorite set from last year and I was thrilled when it carried over into this annual catalog.
The DSP I used is from the Be Merry Designer Series Paper in the annual catalog. I have already used one pack of that paper! I debated on embossing the Always Artichoke layer but in the end just left it plain. I like this simple look.
Thank you for visiting today. I hope you liked my minimalist card and wreath. I love reading your comments, so please let me know what you think. I have listed the supplies I used below. You can click on any item and be taken directly to my online store. Have a great day!!
The content in this blog is the sole responsibility of Jackie Beers as an Independent Stampin' Up! Demonstrator. The use of and content of classes, services or products offered is not endorsed by Stampin' Up!