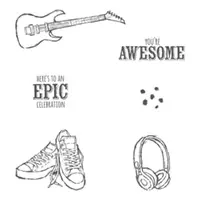
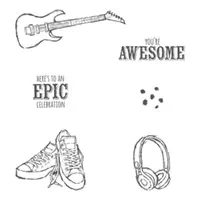
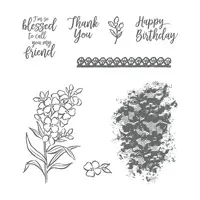
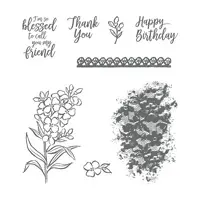
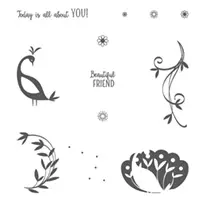
The sentiment on today’s stamp set is what first caught my eye when I was exploring the Sale-A-Bration Catalog. You’re Awesome!! It is from the set “Epic Celebration”. Who wouldn’t love to receive a card with that sentiment as the focal point? It was just too perfect to pass up.
You’re Awesome, 147236
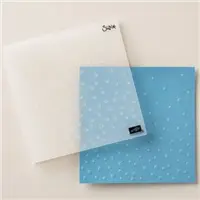
This card uses almost the entire stamp set. I love creating with one stamp set and showing the versatility. This one would be great for a kid, or musician. The background is the new Scattered Sequins Dynamic Embossing Folder. But instead of having the dimension raised up, I turned it over so that it is an impression.
The background splatter is the flicking of the SU Marker created by my friend Julie DiMatteo. The black border around the sentiment is my method of using the SU Marker to go around the edge. This gives some depth without having to hand cut a matching layer for underneath. HaHa….Juie and I are both getting rich over these ideas 🙂
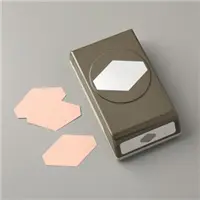
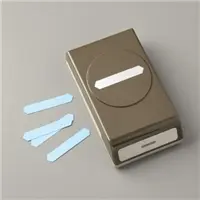
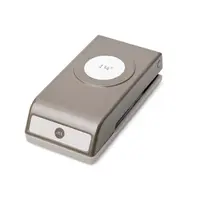
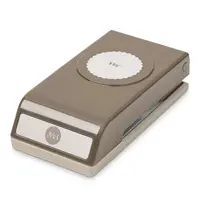
This unique shaped punch I used is from the masculine suite of products named True Gentleman. You will definitely want all of these items. They are wonderful and great for all cards. The punch is named Tailored Tag Punch.
Thank you so much for visiting today! The supplies I used are listed at the bottom of the post.
During Sale-A-Bration is the best time of year to join as a Stampin’ Up! Demonstrator. There are so many perks to this. We call it THE ULTIMATE BUNDLE !! Please contact me and let’s discuss all of the possibilities.
Sometimes making a regular card is very difficult for me. More the idea than the execution! LOL!!! But today I have gone a step further and made what I call a Double Card. It is simple and easy, just takes a minute to get the placement correct. Please let me know what you think.
Southern Serenade, 145921
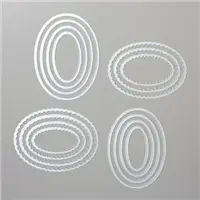
If you can tell from the photograph, there is an oval cut in the front layers so that you see the flower on the inside of the card. When you open the front flap, you see just the flower, and then it opens again to show the sentiment and where you sign. That is why it is called a Double Card. The next two photos show this probably better than I explained it.
So after all of that, I think it is really an unusual card and a nice way to showcase a larger stamp. The most difficult part of this card is lining up the layers so that the ovals are properly lined up. I found that securing the top and middle layer together with temporary adhesive and then cutting is the best. I cut the size of the black layer first. Then cut the larger oval in just the white layer. The die leaves a small indented frame around the opening and this is very helpful in lining up your larger oval. I then repeated the process with the black layer and the base layer by temporarily adhering them and cutting the same size oval from the base layer. Theoretically all will now line up properly….. Hopefully!!
The background stamp is Sahara Sand and is stamped off first. The flower is stamped in Memento Tuxedo Black and then colored with markers.
Thank you so much for visiting today! I hope you liked this little bit different card. The supplies I used are listed at the bottom of the post.
MEASUREMENTS:
Base card in Sahara Sand is 8 1/2 X 5 1/2 folded in half
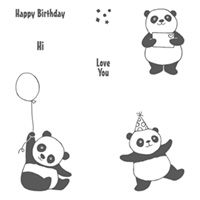
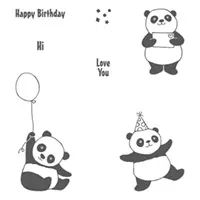
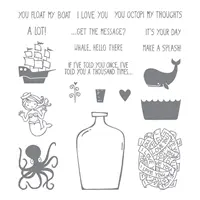
When I saw the little panda holding the balloon, in the Sale-A-Bration catalog, it made me think of a baby. But I could not find a “welcome” sentiment that I liked in my collection. So I started thinking……Have you noticed all of the special ways that expectant parents are doing their pregnancy announcements or baby gender reveals? I love the “thinking outside the box” that goes into some of these reveals. This thought led me down a different road and I did find in the “Message In A Bottle” set what I think is the perfect sentiment.
Party Pandas, 147221
I believe a card like this could be used for pretty much any occasion. But I like to think it would be great for a pregnancy announcement or (in the case of my color choices) a little girl reveal.
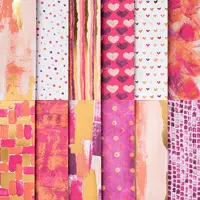
I got my color choices from this beautiful Painted With Love Specialty Designer Series Paper. The gold foil on these sheets are beautiful, but hard to photograph. I added the extra layers to emphasize the coordination of Stampin’ Up! colors and the DSP.
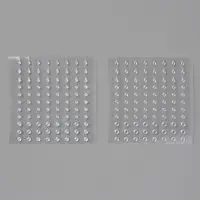
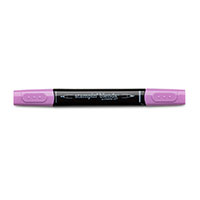
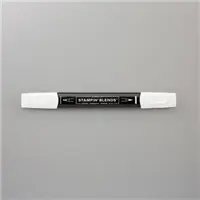
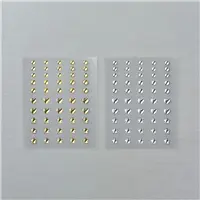
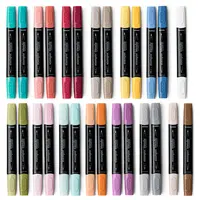
The balloon is colored using the Stampin’ Blends in Rich Razzleberry. I used the color lifter to lighten the center just a bit. Can you see the way the eyes are lit up in the photograph? I used the Glitter and Clear Epoxy Shapes again. The clear, small, round ones are perfect to put over the little dot of an eye. It seems to really highlight the precious eyes of this baby panda. The sentiment is on a strip of paper that I placed the end into the Classic Label Punch going the wrong way to make the banner tips.
Thank you so much for visiting today! I hope you enjoyed this little girl and her surprise. The supplies I used are listed at the bottom of the page.
MEASUREMENTS:
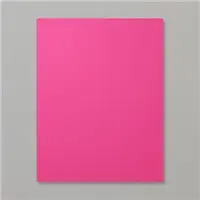
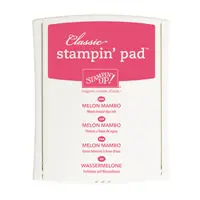
The base card is Melon Mambo cut to 11 X 4 1/4 and folded in half
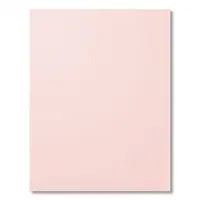
The first layer is Powder Pink and cut to 5 1/4 X 4
Happy New Year! May we all be safe, happy, and be blessed with great friends. And along those lines is my card for today. A very quick, but special, friend card.
This is a 4 X 4 card that packs the punch of a full size one. The gold foil and the foil sheet of DSP from Eastern Palace Specialty Designer Series Paper makes it look extra special! I wanted to just focus on the peacock and I believe this suite of DSP is perfect for that. I stamped the peacock before I decided it was going to be a 4 X 4 size. So the peacock is not square. Sshh…..don’t tell anyone!
MEASUREMENTS:
The base of Thick Whisper White card stock is 8 X 4 folded in half
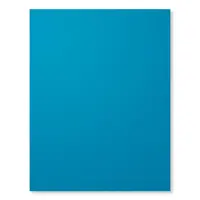
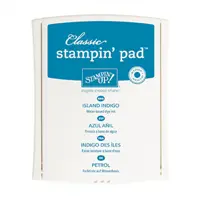
The Island Indigo layer is 3 7/8 X 3 7/8
The DSP is 3 3/4 X 3 3/4
The center Island Indigo is 2 1/2 X 2 3/8
The gold foil is 2 5/8 X 2 1/2
The whisper white is 2 3/4 X 2 5/8
Thank you so much for visiting today! I hope you have a great day of family, food and football !! The supplies I used are listed at the bottom of the page.
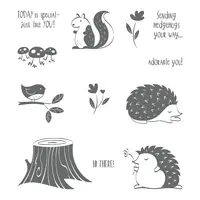
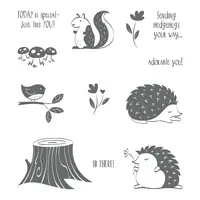
The stamp set I used today is a playful set that is super cute. I did not do it justice. But the sentiments and characters are pure magic. This is a super quick and easy card.
Hedgehugs, 145879
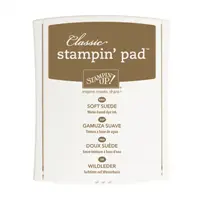
I should have masked the top of the stump, but I hope you can see how cute this little couple is. I stamped them with Soft Suede and then colored with the Stampin’ Blends. The little flower is colored with Stampin’ Write Markers.
Thank you for visiting today! I very much appreciate you checking in. I love to read your comments.
Reminder: There are only two days left to place your reservation for the stamparatus. You will receive it before it goes live in the 2018 Annual Catalog in June.
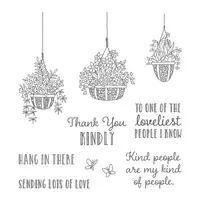
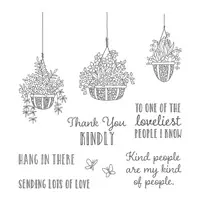
I am still enjoying the new stamp sets awaiting you in the Occasions catalog coming soon. Today I have a simple thinking of you type card. This set is perfect for a little, or a lot, of color and stamping. I went for a little.
Hanging Garden, 146239
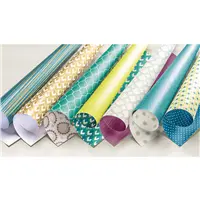
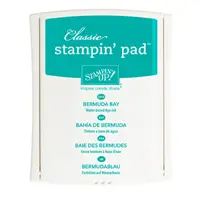
I used a mix of greenish colors today. I have been on a sort of monochromatic kick lately. This is just varying shades of green or teal. I colored the succulent plants with the Old Olive Stampin’ Blends. The basket is trimmed in the Pool Party. The DSP is Naturally Eclectic and has Pool Party and Emerald Envy. The ribbon is Emerald Envy and the card layer is Bermuda Bay. A very odd mix, but I think they all work together.
Thank you so much for visiting today! I hope you like the card and maybe will try some unexpected color blends. The supplies I used are listed at the bottom of the post.
Reminder: There are only two more days left to place your reservation for the stamparatus. You will receive it before it goes live in the 2018 Annual Catalog in June.
The content in this blog is the sole responsibility of Jackie Beers as an Independent Stampin' Up! Demonstrator. The use of and content of classes, services or products offered is not endorsed by Stampin' Up!