Welcome to InKing Royalty’s December Blog Hop! During this year’s blog hops, we are enjoying a year of celebrations. This month’s projects celebrate New Year’s Day, a special day to start anew and prepare for the coming year. We are excited to share our creations with you today! After you read my post, I hope you’ll hop over to the next person on the list at the base of this post.
Before I can tell you about the New Year card I have made, I have to stay in this year for a moment. Today is the birthday of our Team Leader, the Awesome Brian King. So I have a birthday card for Brian to share with him and all of you.
Happy, Happy Birthday, Brian!!!
Since Brian has been working from home most of the year, I doubt he has worn many ties. So I gave him several! I will share the details of this card at a later date. But it is a sneak peek of the Handsomely Suited Bundle.
Now for my New Year’s Card. I could not decide what to do so of course I began looking through the catalogs. I was totally stumped until I came across the sentiment I have used on this card. It is from the upcoming January – June Mini Catalog and the stamp set Dragonfly Garden.
This is Not At All a typical New Year card. But I saw the sentiment and that is my wish for the upcoming year. We need a year of GOOD THINGS!!!!! I hope you will forgive me for breaking the rules a bit. Since I did not really have a stamp I thought screamed Happy New Year, I consider this my New Year’s Resolution, to try to only do good things.
The adorable flowers are from Dragonfly Garden stamp set as well. The DSP is the Dandy Garden Designer Series Paper and is part of the Suite of products. I used two different pieces for my “book fold” card. I love stamping directly onto the DSP, and this piece is light enough in color that you can still see the colors used in the flowers.
Here is a peek of the inside, which shows the “book fold”.
I also added a strip of the DSP on the bottom of the inside. That beautiful ribbon on the front is new to the upcoming catalog also. It is the Blackberry Bliss Striped Ribbon. I placed a few of the Elegant Gems around on the card. One is on the sentiment. They really do glisten a bit, but the light of the photograph sort of blends them in.
I do not have the regular supply list at the bottom because so many of the products are not available to customers until January 5th. But I do have the measurements of the Book Fold for you.
Measurements:
Card base of Bumblebee card stock is 4 1/4 X 11, scored at 5 1/2 and 6 1/2
Whisper White card stock is cut 7/8 X 4 1/8 and 4 3/8 X 4 1/8
DSP is cut to 3/4 X 4 and 4 1/4 X 4
DSP behind the Postage rectangle punch is 1 5/8 X 2 1/4
Fold the card stock on the score lines. Add the layers on the 1″ section. Wrap the ribbon around that area if adding ribbon. Then adhere that section only to the back of the card. Decorate the rest as you choose.
Thank you for stopping by today. I hope you’ll hop along to the next stop on the blog hop, Lynn Kolcun at Avery’s Owlery. There’s lots of inspiration to be found in this group – and you don’t want to miss it!
Thank you for hopping along with us. If you get stuck during the Blog Hop, please use this line-up as a guide:
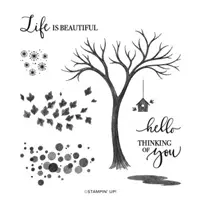
When looking through stamps for today’s project, I came across the Life Is Beautiful stamp set. I have not used it previously. And when I saw the stamp of the birds and birdhouse, I saw a birdfeeder. We have several feeders and always have Cardinals around them. So I am pretending the house is actually a feeder.
I live north of Atlanta and I had commented to my husband yesterday that with all the leaves still on the trees, it did not seem like December. So I went with the Fall look of the leaves to match my imaginary bird feeder!
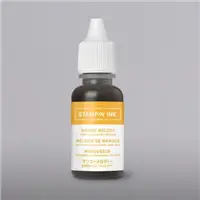
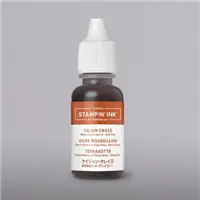
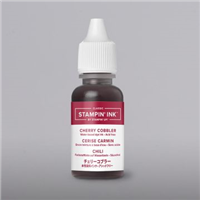
To get the multicolored leaves I used a reinker and baby wipe technique. I folded up a baby wipe on my silicone mat and added reinkers in Mango Melody, Cherry Cobbler, and Cajun Craze. I did a drop of each scattered around. Because the stamp itself is one of the Distinctive stamps, it made an even more rough look to the leaves. I was happy with how they came out.
And yes I made it look even more like a Fall card by using this sheet of the Plaid Tidings Designer Series Paper. I had to though. It matched the leaves perfectly!
Thank you for stopping by today. Please come back tomorrow for another new project.
HOST CODE
My December Host Code is: 4QDB2ZYE Please use this code for orders under $150.00. I will have a small perk for those with orders over $50.00
My card today is a version of a card that we did at the Stampin’ Up! OnStage at Home last weekend. Normally we would have had OnStage in Salt Lake City, but since this is not a normal year by any stretch, it was done virtually. I have to give huge credit to Stampin’ Up! for a great event. They went above and beyond with the content.
One of the stamping spots was a stamp along. We were given the measurements to cut our DSP and other card layers for a surprise layout. I loved the layout and decided to do it again with a different stamp set. I think of the Forever Fern stamp set as the colors of the Forever Greenery Designer Series Paper. So it took a reboot of my brain to totally change the colors. I am happy with the changes.
I used Cinnamon Cider, Mango Melody and Bumblee as my inks and DSP. The pattern in the Designer Series Paper seems to be the rough look I was going for with the colors of the leaves. I got the Cinnamon Cider and the Bumblee from the In Color 6X6 DSP. The Mango Melody comes from the Brights 6X6 DSP. I love having the same pattern in all of the colors. Although it would have looked just as good had I chosen different patterns.
I stamped directly onto the base card. It is the Thick Very Vanilla card stock. I alternated the different stamps and ink to create the pattern going up the left side of the card. For the sentiment layer, I used the same stamps and colors, but I stamped off to give it a softer look. The sentiment is from the Forever Fern stamp set and is stamped in Cinnamon Cider. Before adhering it to the top and bottom DSP layers, I wrapped the Linen Thread around a few times and added a multi-loop bow.
The measurements for the DSP are: 1 1/4 X 3 1/4 for the top and bottom pieces (Cinnamon Cider and Bumblee). The middle layer is Mango Melody and is 1 X 4. The sentiment layer is 2 1/4 X 3.
Thank you very much for stopping in today. Please come back on Monday for some new projects I will have ready to share.
HOST CODE
My November Host Code is: 7C63XEUQ Please use this code for orders under $150.00. I will have a small perk for those with orders over $50.00
I have a Chocolate Cookie treat for you today. I made this card for my cousin, who is like a sister, as a birthday card. She loves plaid, and who doesn’t love cookies!
I love that the cookies have a bite missing. That is definitely something I would have done in my young days. I made five cookies and was able to place them so that the bites were covered except for the top one. I also found a great little tip when I stamped the cookies. The outside edge and the inside do not totally meet. However, the Dark Crumb Cake Stampin’ Blend pairs perfectly with the Crumb Cake Ink. You cannot tell where I touched up the cookie inside.
I used two pieces of the In Good Taste Designer Series paper. I was going for the look of the cookies sitting on a countertop. So I have a wood counter with the stone backsplash. Those designs in that pack of paper are very realistic!
I used the Foam Adhesive Sheets to make the Chocolate sign. Those sheets are so easy to work with and are soft enough that the dies do not have any problem cutting through them. I have had that issue with other brands of the adhesive foam.
The plate is created using the Layering Circles Dies. I cut one from the Perfectly Plaid DSP and another from Early Espresso card stock. A nice wintertime plate of yummy cookies! The finishing touch is the little banner saying “adulting is hard”. I really love that! I stamped it and cut the one end using the Banner Pick A Punch.
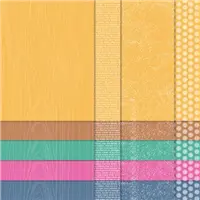
Thank you for dropping by today. I greatly appreciate you looking at my creations and I love to read your comments. Also, from yesterday’s Pals Blog Hop, I used the Curvy Celebrations listed below. They are a sneak peek of the January to June Mini Catalog. However, the Curvy Christmas and the Class Christmas Designer Series Paper are only available from now until January 4 or while supplies last. You can see my card from the hop HERE.
HOST CODE
My November Host Code is: 7C63XEUQ Please use this code for orders under $150.00. I will have a small perk for those with orders over $50.00
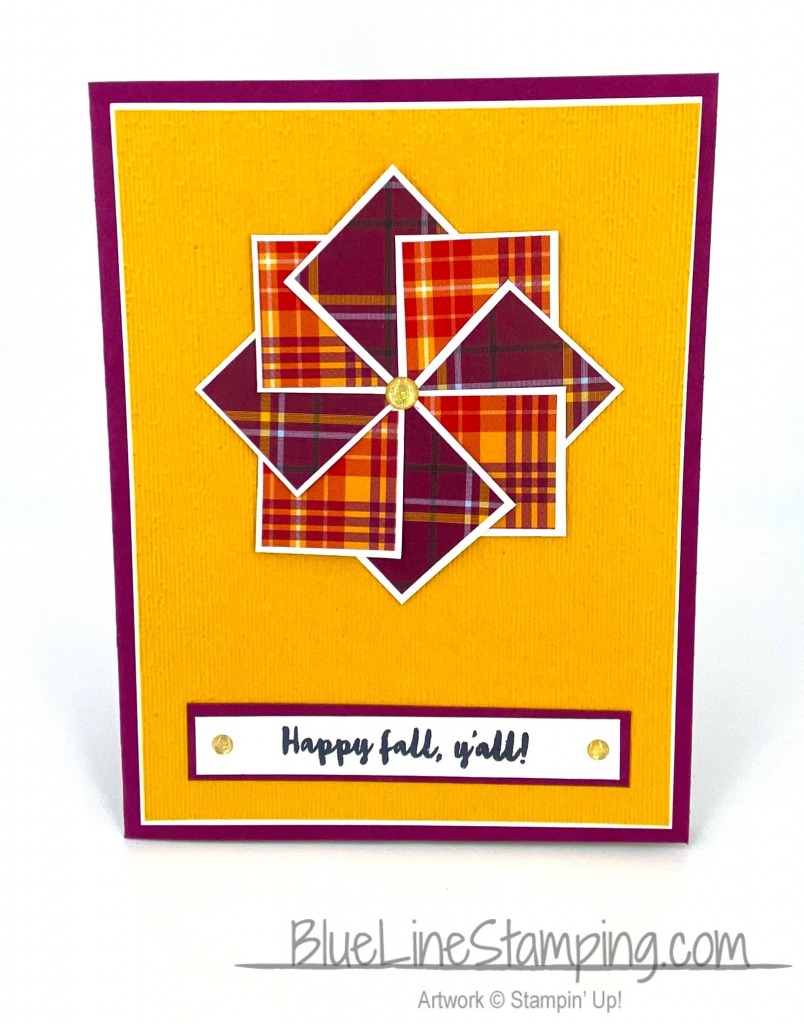
Today’s card is actually two cards made with the same products and an older technique. I have made two Pinwheel cards for you. I generally make two, or at least cut the card stock for two cards. Sometimes one ends in the trash, but both of these cards were successful.
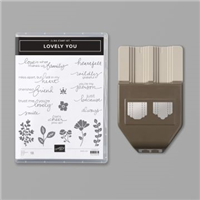
For both cards, I used the same colors and pinwheels. The Mango Melody is embossed with the Subtle 3D Embossing Folder. I did change the sentiments and the layout. This card has a sentiment from the Lovely You stamp set. It pairs with the Banner Pick A Punch, which I used as well.
Here is the second version.
For this card, I changed the orientation to portrait. I also used the Banner Year for the sentiment.
The colors are all based on the DSP. It is the Tis The Season Designer Series Paper along with Rich Razzleberry card stock and Mango Melody card stock. The pinwheels are white squares of 1 1/8 X 1 1/8 and DSP squares of 1 X 1. The center is the Gilded Gems on the first card and Gold Glitter Dots on the second one.
Thank you for stopping by today! I love bringing out different layouts and showing the posibilities.
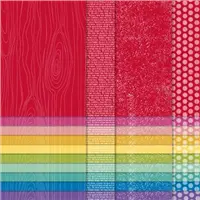
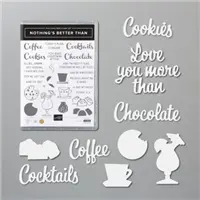
The Curvy Bundle is available beginning today! All of the details are in the flyer below. Please reach out to me if you have any questions.
HOST CODE
My November Host Code is: 7C63XEUQ Please use this code for orders under $150.00. I will have a small perk for those with orders over $50.00
If you follow my blog, and I hope you do!!, then you know how much I love different folds. I have a couple of new ones to share this week. I had a doctor’s appointment last week and forgot my book. So I spent quite a while looking at Pinterest and seeing different ideas to CASE. I generally case layouts and folds, but as stampers we are always getting ideas from different places and things. Today’s Fun Fold is a Case of fellow Demonstrato Patty Bennett. She actually shared her version of this card last Tuesday.
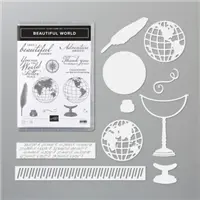
For my version of the Fun Fold, I used the Beautiful World Bundle, and paired it with the World of Good Designer Series Paper. The left side of the front is a new Sneak Peek DSP it is the Classic Christmas Designer Series Paper. It paired perfectly with the other DSP.
Actually the Classic Christmas DSP is part of a bundle of products that will be available for purchase in November.
Here is another view of the Fun Fold.
I love how this fold allows the continuity of this gorgeous DSP. It would work with any paper, but a pattern, that is cut correctly, really looks great. And it is simple to cut once you see the card. I chose the map and the simple black globe from the Beautiful World for a clean and masculine look. The globe layer is a Crumb Cake layer cut using the Stitched Rectangle Dies.
Here is a totally opened up view.
There is not a lot of room to write your note, but I believe it is adequate. This sentiment seems just perfect for the narrow piece of Whisper White.
Here are the measurements for the card and the cutting.
Base of card is 5 1/2 X 8 1/2 scored at 1 1/2 and 4 1/4
Fold and burnish all of the score lines. The short fold, folds backwards onto the front.
Cut the DSP to the proper orientation. In this case to landscape (sideways) and cut to 6″.
Then cut the height to 5 1/4.
Now place back in landscape mode and cut at 2 3/4, and 1 1/8. This leaves the last piece at 2 1/8. All are 5 1/4 high.
Look at the closed photo. You will see that the front DSP goes from the small folded flap over to the right edge of the card. It does not just fit on that narrow flap.
Adhere the pieces beginning with the 2 3/4. Open the card and adhere the 1 1/8 on the right side of the center section. Adhere the last piece to the left side of the back section.
The Whisper White layer with the sentiment is 1 7/8 X 5 1/4.
I added the front left DSP because my focal layer was the same as the base layer. It is the Classic Christmas DSP and is cut 2 1/2 X 5 1/4
Thank you for visiting today. I hope you enjoyed this new fun fold and will do a CASE yourself.
HOST CODE
My October Host Code is SXDVJZF3 Please use this code for orders under $150.00. I will have a small perk for those with orders over $50.00
The content in this blog is the sole responsibility of Jackie Beers as an Independent Stampin' Up! Demonstrator. The use of and content of classes, services or products offered is not endorsed by Stampin' Up!