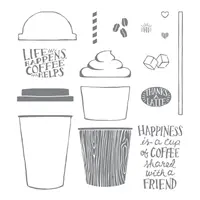
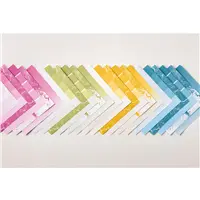
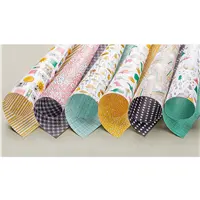
I cannot seem to stop playing with the Coffee Cafe Suite. And as I have said previously, I do not drink coffee! This suite of products is just so irresistible .
Coffee Cafe, 144156
This card is a side fold with a pocket for a gift card. The base is 4 1/4 X 11 and scored and folded at 5 1/2. I then folded the top flap in half. (You can see from the photo at the bottom where the top of the blue is thicker) I cut off the folded end at 1 1/2 which leaves approximately half of the folded under section to slide a gift card into. I secured the flap with Tear and Tape on each side of the flap and close to the edges. This leaves ample room for the gift card without it being too tight a fit.
Once the gift card section is complete, the top layer is simple. Just be careful when you tape the top flap down to only tape the left section!! I have made that mistake myself on several occasions. 🙂
I kept the stamping pretty simple and just added the Soft Sky heart for an accent. The glitter enamel dot is to tie in the Pear Pizzaz. The coffee beans are stamped full strength once on each side and then again without re-inking on each side.
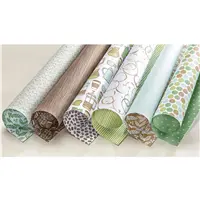
My color combination is from the beautiful Coffee Break Designer Series Paper. I know i am repeating myself, but Stampin’ Up! has the BEST designer series paper!!
Thank you so much for stopping in today! I hope you enjoyed this card. I may not have explained myself very well on the making of the gift card flap. If you have any questions, please contact me.
PAPER PUMPKIN SPECIAL:
There is an awesome new Paper Pumpkin Special for the next few weeks. If you have not been a previous Paper Pumpkin subscriber, you can now try it for 1/2 price. Just sign up between August 11 – September 10.
Welcome to the August 2017 Pals Blog Hop. Thank you so much for joining us today. This month we’re going to “Cut It Out”. Participants will feature projects with “cuts” from punches, dies, Framelits, Edgelits, or Thinlits.
Whether you’re just starting the hop, or have come from a previous Pal’s blog, you’ll find the line-up toward the end of my post to help you move along.
My card for this awesome blog hop is a mixture of stamp sets and punches. I am using the sentiment for the title. It is “Thanks A Bunch”.
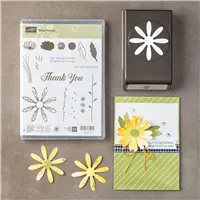
Daisy Delight Bundle 145361
I got my DSP inspiration from the cover of the HGTV Magazine that just arrived. It had flowers made from paint chips. So I immediately thought of the beautiful Color Theory DSP.
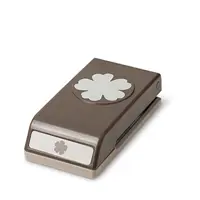
I punched the daisies from the same sheet of DSP. One is the “paint chip” side and the other is the opposite side, which is the paint crackle. Isn’t this paper just wonderful? The pansy is two punches from the same DSP.
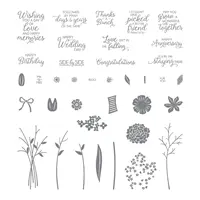
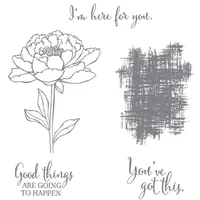
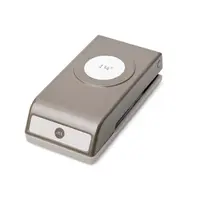
The background, which does not show up very well in the photograph, is from the stamp set “You’ve Got This”. It is a crosshatch design stamped in Soft Sky ink. The stems for the flowers are from the Daisy Delight set. The sentiment is from the Beautiful Bouquet set and is punched out with the 1 1/4 circle punch.
I enjoyed making this card for today’s hop. A little whimsy is a wonderful thing !!!! The supplies I used are listed at the bottom of the post. By clicking on a picture you will be taken to my Online store. Thank you!
Please take a minute to mark your calendar for our next hop on September 13, 2017 for “My Favorite Season”. Now hop along using the Blog Hop Line-up below. Thank you so much for hopping with the Stampin’ Pretty Pals today. Don’t forget to leave us a comment. We’d love to hear what you have to say about our creative “Cuts”.
My Happy Birthday card for today is a little different. It is not the super bright and cheery card you may be used to. The colors are a little deeper and would make a great masculine birthday card.
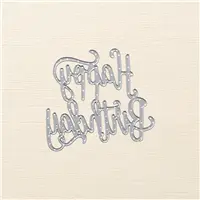
Happy Birthday Thinlit, 143700
The biggest difference is that I split the Happy and Birthday from the Happy Birthday Thinlits. What do you think? I do believe it is just fine to do that. It gives a totally different look.
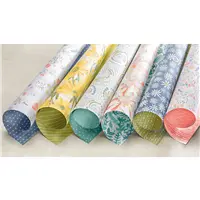
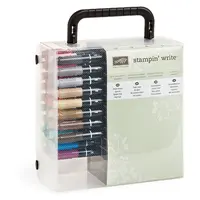
My color inspiration came from the designer series paper. It is from the Delightful Daisy DSP pack. The variation of the green is beautiful. I looked at the different shades and came up with Old Olive, Pear Pizzaz, and Lemon Lime Twist. I used those markers to color the party hat.
The hats are stamped and then colored with the markers I listed above. The center one is stamped , but also has a hat raised with dimensionals on top of it. Stamping underneath gives a much better look than just raising the image with a white space beneath. I used the Clear Wink of Stella on the pompoms of the hats. It really does not photograph though.
I used the Big Shot to cut the Happy Birthday after I had attached the Multipurpose Adhesive sheet to the card stock. (This is a must have for intricate cutouts) I used my paper snips to cut the two words apart and attached them to the layers. I placed them as high, and then low, as I could to make room for the middle panel.
Thank you very much for visiting with me today. I hope your day is awesome!!
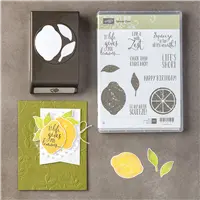
I had the Lemon Zest Bundle on my first order from the new Annual Catalog. I fell in love with the sentiments immediately. Then I didn’t get around to using it until recently. Previously I did a quick card using our Note cards and Envelopes. However, this card is pretty quick to make as well.
Lemon Zest Bundle, 145360
For today’s card, I stamped the lemon slice on Whisper White with So Saffron. I debated on just stamping off, but thought the lighter tone would do better. I then stamped the two sentiments on each end of the Whisper White strip, and then layered the three strips together.
I used the Daffodil Delight and Old Olive Stampin’ Write Markers to splatter old olive onto the sliced lemon sheet and daffodil delight onto the sentiment strip. Other than stamping and punching out the lemon and leaves….that is it! See I said it was quick and easy!!
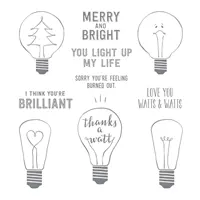
I promise this is the last Christmas card for a little bit. At least until I get my pre-order of the Holiday Catalog anyway !! This one is a 4 X 4 card. I have really become attached to the smaller cards. I used the new stamp set Watts of Occasions for this card. The little lightbulbs are simply too cute to resist.
Watts of Occasions, 143867
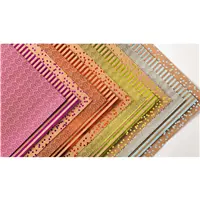
I probably should have given the tree a little bling, but the Foil Frenzy Designer Series Paper is so bright that I was afraid it would not even show up! This foil paper is so pretty and has a great Bling Factor! Technically the foil paper is Lemon Lime Twist. Shocking isn’t it? But it really works with whatever green you put it with.
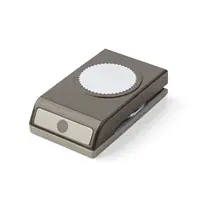
The background for the bulb is the new Starburst Punch. It is a super addition to the Stampin’ Up! punch collection. I stamped the lightbulb in Memento Tuxedo black and colored it with the Stampin’ Write Markers. The sentiment is from the set as well. It is stamped in Daffodil Delight and backed with Real Red. Such a simple card!
MEASUREMENTS:
Always Artichoke = 8 X 4
Daffodil Delight = 3 3/4 X 3 3/4
DSP = 3 1/2 X 3 1/2
Thank you for checking with me today. The supplies I used are listed below. You can click on any item and be taken directly to my OnLine Store.
The content in this blog is the sole responsibility of Jackie Beers as an Independent Stampin' Up! Demonstrator. The use of and content of classes, services or products offered is not endorsed by Stampin' Up!