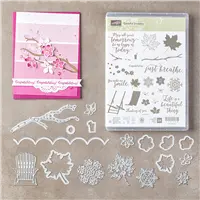
I seem to be on a Fall card making theme. Today’s card is from one of the most versatile stamp sets, or the entire suite, that Stampin’ Up! has. It is the Color Theory Suite and the Colorful Seasons Bundle. I love everything in this suite, but especially the bundle.
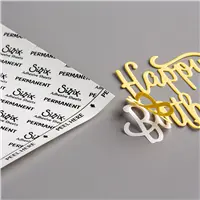
I just adore these delicate leaves from the Seasonal Layers Thinlits part of the bundle. And with the Multipurpose Adhesive Sheets they are a piece of cake to adhere. After I placed the leaves it seemed like I really didn’t need anything else!
I sponged the background of the leaves and then splattered the open space. I know technically you are supposed to do things in 3’s, but I only added 2 of the Enamel Shapes. I just wanted to highlight the sentiment. I say “rules are meant to be broken” …..in some cases!!
Thank you for visiting today! I appreciate your comments very much.
Please do not forget to look at this Awesome special for Paper Pumpkin. New Subscribers can try their first month for 50% off. That means it is only $10.00 to get the first box. The contents are worth well over that amount. There is no obligation to continue the subscription. But I hope you will fall in love with it as I have. If you decide that you do not want it after the first, or even the tenth, you simple go to the website and cancel. It is that easy. So give it a try at this half price rate.
I love when Fall smells hit the air! Although living in Atlanta we do not really get very much Fall. But I am going to pretend for today’s card.
Merry Cafe’, 144965
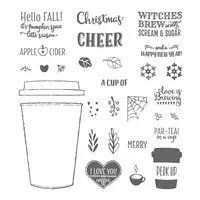
Can you smell the pumpkin latte? I love anything Pumpkin….pumpkin pie, pumpkin cake, pumpkin decorations!! So when I saw this sentiment in the new Merry Cafe’ stamp set, I knew that would be the focus of my first card .
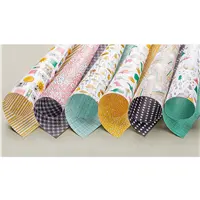
Thankfully the card is not as dark as these colors look ! Yikes….. With sufficient white space it works I believe. The DSP is Pick A Pattern Designer Series Paper. It is bordered in black and black also borders the Whisper White to ground both of them.
I stamped and die cut the wrap for the cup, using the Coffee Cups Framelits. Since that and the tag are raised, I chose to stamp the cup and lid directly on the whisper white.
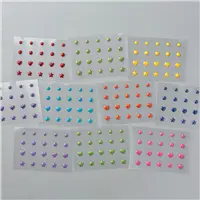
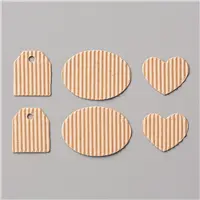
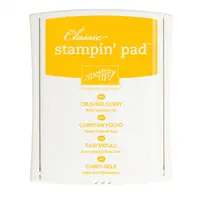
The leaves are stamped in Crushed Curry , which is stamped off one time, just for a little cup decoration. Linen Thread attaches the tag, which is from the Corrugated Elements accessories. I adore those! And the added heart is from the Regals Enamel Shapes.
Thank you for stopping by today! I hope you have an awesome day. I have the supplies I used listed at the bottom of the post. You can click on any photo and be taken directly to my online store.
MEASUREMENTS:
Card base is Sahara Sand cut to 5 1/2 X 8 1/2 and folded in half
Basic Black is cut to 5 1/4 X 4
DSP is cut to 5 X 3 3/4
2nd Basic Black is cut to 4 1/2 X 3 1/4
Whisper White is cut to 4 1/8 X 3 1/8
Please do not forget to look at this Awesome special for Paper Pumpkin. New Subscribers can try their first month for 50% off. That means it is only $10.00 to get the first box. The contents are worth well over that amount. There is no obligation to continue the subscription. But I hope you will fall in love with it as I have. If you decide that you do not want it after the first, or even the tenth, you simple go to the website and cancel. It is that easy. So give it a try at this half price rate.
Today I am showcasing one of the new Christmas Tag sets in the Holiday Catalog. It’s only a couple of days until you can place your Holiday orders!!
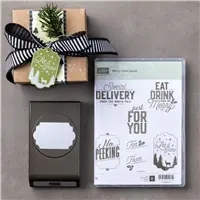
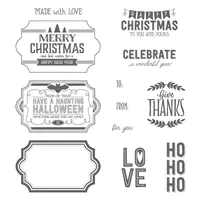
Merry Little Labels Bundle, 146030
This set is the Merry Little Labels stamp set and can be bundled with the new Everyday Label Punch. By bundling the two you receive 10% off. And you will want both of these products.
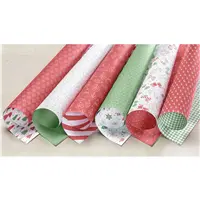
This is a very simple card with the Be Merry Designer Series Paper and Whisper White card stock. The focal point is simply the tag and we are finished.
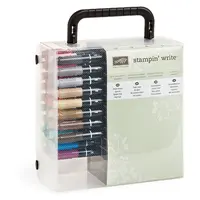
I colored the tag using my Stampin’ Write Markers. I colored the trees in Old Olive without thinking that the Designer Series Paper is Garden Green. But I think most shades of green go well together.
MEASUREMENTS:
The base is Whisper White Thick card stock cut 5 1/2 X 4 1/4 and folded in half
The green DSP is 5 1/4 X 4
The white layer is 4 3/4 X 3 1/2
The red DSP is 4 1/2 X 3 1/4
Thank you for stopping by today! I appreciate your comments and love hearing from you.
Please do not forget to look at this Awesome special for Paper Pumpkin. New Subscribers can try their first month for 50% off. That means it is only $10.00 to get the first box. The contents are worth well over that amount. There is no obligation to continue the subscription. But I hope you will fall in love with it as I have. If you decide that you do not want it after the first, or even the tenth, you simple go to the website and cancel. It is that easy. So give it a try at this half price rate.
I did a technique on today’s card instead of a lot of stamping. The Direct To Paper Technique has been around forever. It works best on Glossy card stock, and SU has recently brought Glossy back to our catalog. YAY!! So I thought I would share the technique with you. I have added a little twist to it. I have the spotlighted the first card and then the three in a group photo are further down.
Glossy Card Stock, 144240
The Direct To Paper technique is like making your own Designer Series Paper. You simply swipe the ink pad across your card stock. I used just the edge of the pad and made a random swoosh. How easy is this???
The twist I mentioned is that instead of using the regular ink pads, I used the Stampin’ Spots. The ones I used are from my Paper Pumpkin kits. (Yet another reason to join the Paper Pumpkin monthly kit club!!) Although you can purchase Uninked Stampin’ Spots in the catalog and ink them using your Classic Stampin’ Ink Refills. I prefer the spots as it gives me a little more control. But it is personal preference and depends on the look you want to achieve. This is another technique that will never look the same way twice! Love that !!
Island Indigo has always been a favorite of mine, and when I added these two colors with it I was in Love!. FYI, if you are unfamiliar with Glossy card stock, it does make the colors look a little dull instead of bright.
I made two 1/4 sheet backgrounds, and then cut one into two squares for the 4 X 4 cards. Here are the three cards I made while I was playing.
Glossy card stock, 144240
I apologize for the glare on the full size card, my lighting is not great. But I hope you will give this technique a try again ,or for the first time.
***This is a great time to remind you of the Paper Pumpkin Special. Try your first month for only $10.00 !! You can cancel at any time. Besides the cute stamp sets that you get in the monthly box, you will also get at least one (and sometimes more) Stampin’ Spots in each month’s kit. I have a link below where you can order the next Paper Pumpkin.
MEASUREMENTS:
Full size card is 4 1/4 X 11 folded in half, and the layers are 4 X 5 1/4, and 3 3/4 X 5
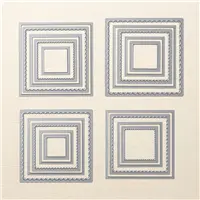
The two smaller cards are 4 X 4 with the base 8 X 4, the layers are the largest scallop and largest straight from the Layering Squares Framelits. The glossy is 2 1/2 X 2 1/2
Please do not forget to look at this Awesome special for Paper Pumpkin. New Subscribers can try their first month for 50% off. That means it is only $10.00 to get the first box. The contents are worth well over that amount. There is no obligation to continue the subscription. But I hope you will fall in love with it as I have. If you decide that you do not want it after the first, or even the tenth, you simple go to the website and cancel. It is that easy. So give it a try at this half price rate.
Today I have CASED Julie DiMatteo from her Wednesday Night Facebook Live. If you have not viewed any of Julie’s videos, please go to YouTube or her Facebook page and check them out! She is awesome and has quite a few 3-D items. Look for ThePaperPixie.com. But Wednesday was the Watercolor Smooshing technique. And I have to say that it is addicting!!
Layering Love, 141965
I will not even try to explain how to do this background. I will say to go to Julie’s Facebook page and view the video. You can click HERE to see it. I do LOVE the way it turned out. And each time the results are totally different.
This is what I love about paper crafting. We get to just play with product and we end with cute cards.
Thank you for visiting today. The supplies I used are listed below. You can click on any item and be taken directly to my Online Store. I hope you have an Awesome Day!!
Please do not forget to look at this Awesome special for Paper Pumpkin. New Subscribers can try their first month for 50% off. That means it is only $10.00 to get the first box. The contents are worth well over that amount. There is no obligation to continue the subscription. But I hope you will fall in love with it as I have. If you decide that you do not want it after the first, or even the tenth, you simple go to the website and cancel. It is that easy. So give it a try at this half price rate.
The content in this blog is the sole responsibility of Jackie Beers as an Independent Stampin' Up! Demonstrator. The use of and content of classes, services or products offered is not endorsed by Stampin' Up!