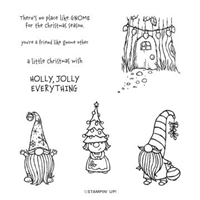
I have fallen in love with the Gnome For The Holidays stamp set after passing it by a few times in the catalog. Today I have paired a sweet little gnome with the Snowflake Splendor Designer Series Paper. And yes, it is one of the DSP that are on SALE for 15% Off. You can see all of the ones that are on sale at the bottom of the post.
I think this little guy is just too cute!! And matching his clothing with the gorgeous colors from the DSP is a perfect pairing. All I did as an add on are to add a few of the Adhesive Backed Snowflake accessories.
This card is a quick one. A couple of layers of paper, two stampings, a little coloring, and finished card! This will probably be one of my mail out Christmas cards for this year.
Here are the measurements for this little card.
Base card is Thick Whisper White cut 4 1/4 X 11
Pacific Point layer is 3 1/4 X 5 1/2
DSP layer is 3 X 5 1/2
Highland Heather layer is 2 1/4 X 3 1/2
Stamped layer is 2 X 3 1/4
I have all of the supplies used listed at the bottom of the page. And just below here are all of the DSP that are on sale through the end of this month.
Thank you for stopping by today! I hope you have a great weekend. Please come back on Monday for another new project.
HOST CODE
My October Host Code is SXDVJZF3 Please use this code for orders under $150.00. I will have a small perk for those with orders over $50.00
I have a cute card with a small extra fold for you today. This is one that I have done previously. Just not recently. It is a way to show off both sides of Stampin’ Up!s gorgeous Designer Series Paper.
I love just the corner turned down to give you a view of the other side of the DSP. This is of course the Tis The Season Designer Series Paper. And it is part of the 15% OFF Sale through the end of the month. All of these sheets are beautiufl!
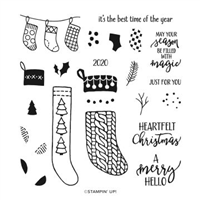
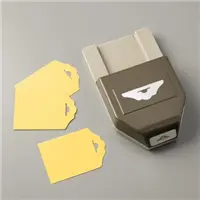
I used the Tag Buffet Stamp Set for the Ornament. I thought a pretty ornament hanging from the folded edge would make a nice, clean looking card. I colored the ornament with Stampin’ Blends to match the two colors of the card. Shaded Spruce and Cherry Cobbler are these gorgeous colors.
For the sentiment I went with the A Merry Hello Stamp set. It is a Host Rewards set from the Mini Catalog. As I was deciding on the sentiment to use, I noticed the “2020”. I have always been a huge fan of Christmas Ornaments! The Hallmark ones were always special. And I always got one with the year on it. When I saw the year, that is what I thought of. So of course I made a special year ornament. This year will definitely be one to remember!
Here is a quick view of the inside as well. I showcased the Cherry Cobbler side of the DSP using the strip I cut off. I also used an additional sentiment from the A Merry Hello Stamp set.
Measurements:
Base card is 5 1/2 X 8 1/2 scored and folded at 4 1/4
Whisper White layer is 5 1/4 X 4
DSP layer is 5 1/8 X 3 7/8, folded at top right corner enough to show sentiment
Inside Whisper White is 5 1/4 X 4
Inside DSP is 3 7/8 X 7/8 ( piece cut from 6X6 for front)
Thank you for stopping by today! I will have another project to share tomorrow, so I hope you will check in then.
HOST CODE
My October Host Code is SXDVJZF3 Please use this code for orders under $150.00. I will have a small perk for those with orders over $50.00
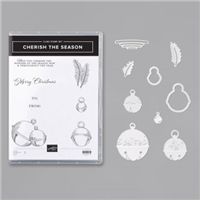
I hope you have noticed the Red and Green Foil Paper in the Mini Catalog! I worked with it for the second time on today’s card. It is so very nice! The first project with it was the Christmas Tree I used last week on the Pals Blog Hop. I added a Green Foil Tree to the Hand Sanitizer and the matching Gift Tag. Today I have chosen to use it on some Jingle Bells.
Those bells look amazing in the Green and Red Foil paper. I stamped the greenery from the tree in Shaded Spruce and then just glued the bells to the branches. It was really easy to make the “tree” branches using the stamp of two stems. And I really love Shaded Spruce for the tree color.
The sentiment is from the set Christmas Means. Those are all adorable sayings from different Christmas Movies.
Measurements:
Card base in Shaded Spruce cut 4 1/4 X 11 and scored at 5 1/2
Real Red layer cut to 4 X 5 1/4
Tis The Season DSP cut to 3 3/4 X 5
Shaded Spruce center piece cut to 2 3/8 X 4 1/2
Whisper White stamped layer cut to 2 1/4 X 4 3/8
Thank you for stopping by today! Please come back tomorrow for another new project. I have all of the products I used listed in the Supply List at the bottom of the page.
HOST CODE
My October Host Code is SXDVJZF3 Please use this code for orders under $150.00. I will have a small perk for those with orders over $50.00
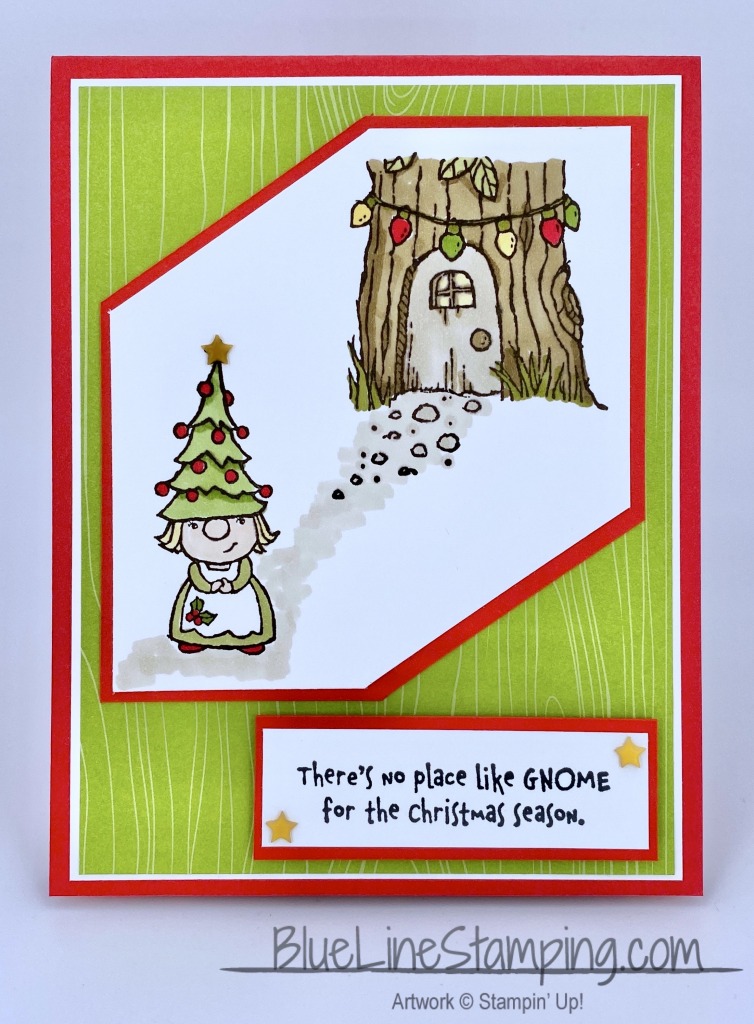
I don’t know about you, but I see some stamps or other products and say to myself that I don’t think I would use that. The stamp set I am showcasing today is one of those. When I first saw it in the Mini Catalog, I thought it was adorable, but didn’t think I would really use it. And I can imagine that you know where this is going!!!! Yes, after seeing everyone’s creation, I had to have this set.
I have already used this set twice and just received it on Monday! The other project is for a class I am having on Saturday. So I cannot share it until next week. The stamped images are exactly what I envisioned for this card. But the layout gave me fits!
I tend to stamp images and then cut them down to a smaller size. I could not decide how to best cut this one. And I thought it was too large with too much white space to leave it square. In comes the handy dandy Paper Trimmer.
I played around with how to cut the angles. And was afraid I was going to totally mess up my work. All I can say is Go For It!!! After I got the first cut completed, I was happy. It is different and I am good with that.
Oops, I never told you what colors I used! The background is Poppy Parade and the DSP is Granny Apple Green. I wanted this one to POP! Other than the funky cutting, I added a some extras to create the picture I wanted. The Granny Apple wood grain DSP is from the Brights 6X6 Designer Series Paper. I thought it went perfectly with the tree. I also added the stars from the All The Trimmings embellishments. There was already a star on top of the lady’s hat. I just covered it with one of the embellishments. And since I didn’t want the sentiment to feel neglected, I added a star on each end of that layer.
Thank you for stopping by today! I hope you like my angles on today’s card. Yesterday was the Pals Blog Hop and it was FULL of Awesome Projects. If you didn’t see it, you can go back there fromHERE.
I have all of today’s supplies listed below the DSP Sale information. You have about two weeks of the sale, so don’t miss out.
HOST CODE
My October Host Code is SXDVJZF3 Please use this code for orders under $150.00. I will have a small perk for those with orders over $50.00
Hello, welcome to the Stampin’ Pretty Pals’ Blog Hop! This month our Design Team’s theme is “Tag, You’re It” – tags or 3D projects to get you inspired for the upcoming gift season. We hope you enjoy and will be inspired by them! Don’t forget to leave comments! We love hearing from you. At the end of my post, you will find the full line-up to help you “hop” along from Pal to Pal.
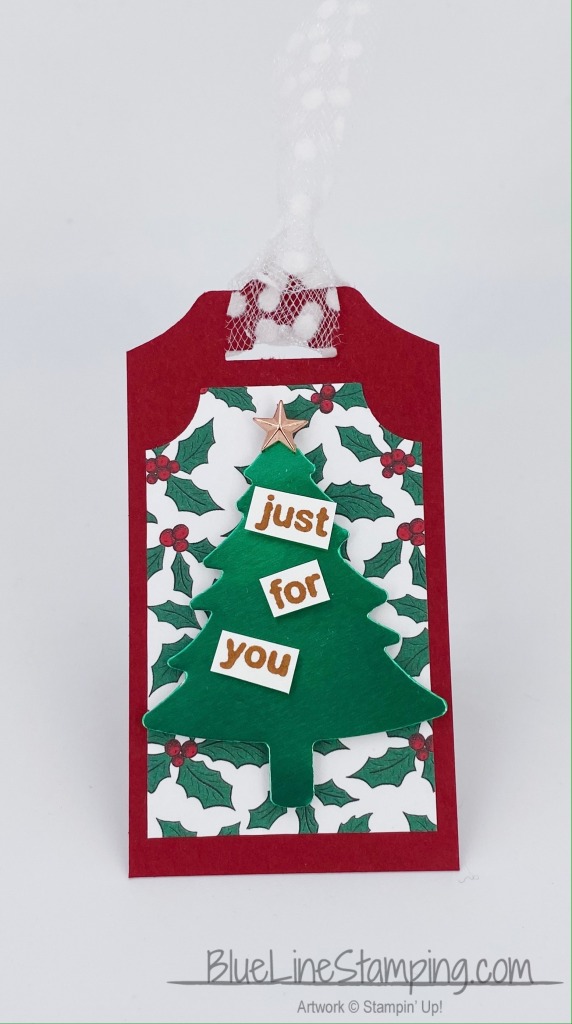
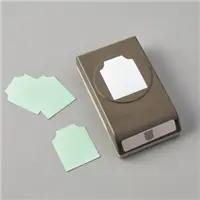
I decided to go with a Tag and a 3D Project. I made a tag and a box that holds a Bath & Body Hand Sanitizer. And who doesn’t need that right now!
This is the box which holds the hand sanitizer. I adapted it from The Paper Pixie’s Tombow Glue Box, with Julie’s permission. The tree is using the beautiful Green Foil. The “garland” is from the Peace & Joy Stamp set. I used my paper snips to trim the two words, they are separate anyway. I decided they would work perfectly for the garland on the tree. Plus they coordinate with the Bronze Star.
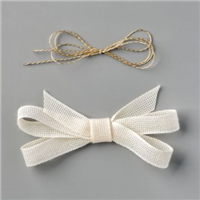
You can see from this photo how the front flap tucks behind the top of the Christmas tree to close. The bottle fits easily inside of the box. You can also see the White Polka Dot Ribbon. LOL!! It cannot be seen in the first picture due to the white background. There is actually a bow on the top of the lid.
And here is the matching Tag. Both items use Cherry Cobbler card stock along with the Tis The Season Designer Series Paper, as well as the White Polka Dot Ribbon. Also…..the “bronze” or metallic look to both of the “garlands” stamping is not a metallic ink. It is the Cinnamon Cider Ink!! That is an amazing find to me.
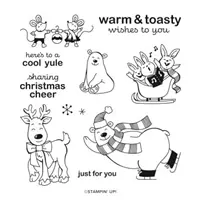
The garland phrase on this tree is from the Warm & Toasty stamp set. I have actually made a dozen of these tags for a friend to use. I added a white layer, the same size as the DSP layer on the front, to the back with a “To / From” stamp. She fell in love with my prototype for this. That was nice!
I hope you like today’s projects. I would love it if you left a comment. And I have added the template and measurements for the box just below. Then please continue on to the Blog Hop Lineup.
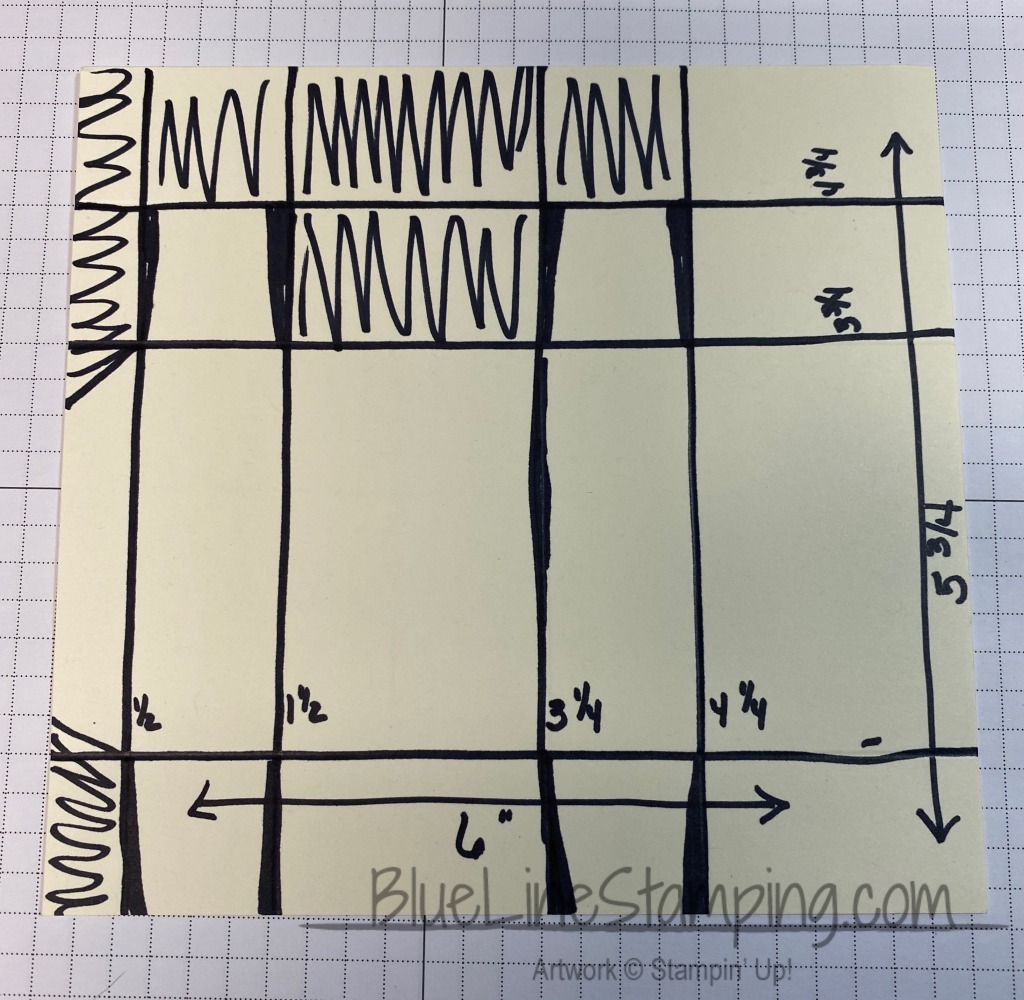
Box Template and Measurements:
Measurements for the Box:
The card stock is cut 6 X 5 3/4
Score the 6″ side at 1/2, 1 1/2, 3 1/4, 4 1/4
Score the 5 3/4″ side at 1, 3 3/4, 4 3/4
Follow the templates below for cutting
DSP is : 2 @ 1 1/2 X 2 1/2, 2 @ 3/4 X 2 1/2, 2 @ 3/4 1 1/2
More inspiration awaits! Use the Blog Hop Line-up below to visit the rest of this month’s Design Team. My fellow Pals are excited to show you what they’ve created! Mark your calendars for our next blog hop on November 11th when our theme is “Pile It On!” Participants will showcase projects with lots of layers, embellishments and/or texture. Don’t miss the fun! Until then, please stay safe and have fun in your craft space.
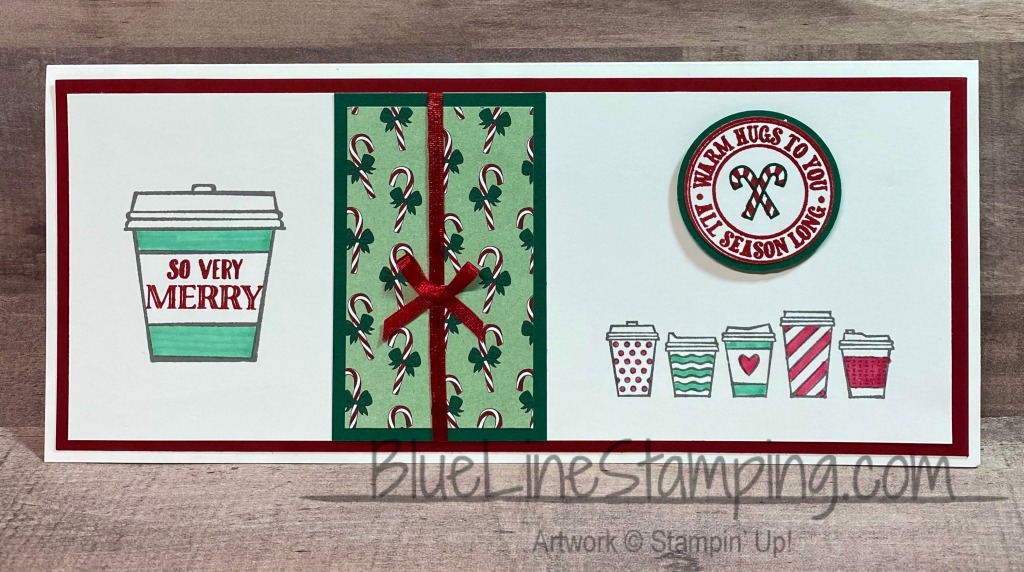
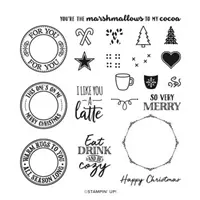
I have another Slim Line Card to share with you today. One thing that this card achieved is that I am now very much loving the Press On Stamp set! I see a lot of cards using this set in my future. The stamps and saying are adorable.
I just love these little, and not so little, coffee cups. Actually they could be filled with anything warm over the Fall and Winter seasons. The larger cup has a couple of sentiments that will fit in the opening as well as some cute designs. I believe the Warm Hugs small stamps, like the candy canes, would be adorable there as well.
As you can see, I mixed in a few other products to achieve my final results. The little strip of DSP is from the Tis The Season Designer Series Paper Stack. And the circle sentiment is from the Warm Hugs stamp set. I have used it a time or ten so far! LOL!!
I colored all of the cups with the Stampin’ Blends in a couple of colors. I used the DSP to choose the colors and went with Cherry Cobbler and Shaded Spruce. I varied the colors of the cups just for some fun and cuteness.
The measurements for today’s card are:
base card is 7 1/2 X 8 3/4 scored at 3 3/4
Cherry Cobbler layer is 3 1/2 X 8 1/2
Whisper White layer is 3 1/4 X 8 1/4
Small Shaded Spruce layer is 2 X 3 1/4
DSP layer is 1 3/4 X 3
Scraps for circles of sentiment
Thank you for stopping by today. I hope you had a good weekend and a wishes for a good week ahead.
Don’t forget about the Designer Series Paper Sale! All of the papers showing below are 15% OFF!!!!! Please let me know if you have any questions.
HOST CODE
My October Host Code is SXDVJZF3 Please use this code for orders under $150.00. I will have a small perk for those with orders over $50.00
The content in this blog is the sole responsibility of Jackie Beers as an Independent Stampin' Up! Demonstrator. The use of and content of classes, services or products offered is not endorsed by Stampin' Up!