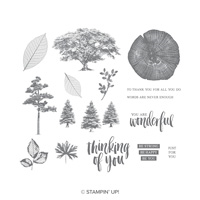
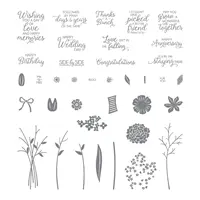
I don’t know about you, but it can be difficult for me to make a masculine card. Occasionally they pop right out, but generally I have to really think about it. I have found a stamp set that is a great resource for masculine cards. The Rooted In Nature set is just perfect in my opinion for rugged, nature, masculine cards. Today’s card is for my sweet husband’s birthday. Although I did not put birthday on the front.
Rooted In Nature, 146482
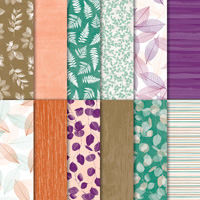
I paired the trees with the Nature’s Poem Designer Series Paper. If you saw yesterday’s post, it was using the Nature’s Poem DSP as well. And it was a totally different look!!
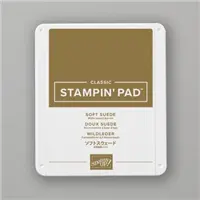
To get the effect I did for the trees, I colored them with the Mossy Meadow and Soft Suede Stampin’ Write Markers. The center front tree is full strength and the others are repeated without re-inking. I did do a second re-ink. You get three stampings with one inking. The third is very light. I hope you will play with this technique and let me know what you think of it.
Thank you for stopping by today. I hope you will come back tomorrow. All of the supplies are listed at the bottom of the page.
The World Card Making Day 10% Off Sale is going on now. You can see the list of products by clicking HERE. This goes to my Online Store and all of the specials are on the home page.
I have a different type post for you today. It is paper crafted table accessories. Wether or not we are ready for the holidays, they are quickly approaching. This means a variety of special dinners or gatherings. For me at least, these tend to be more the buffet style. And that brings me back to the topic.
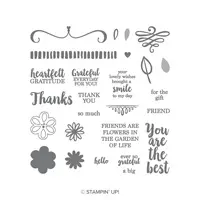
A Big Thank You, 147377
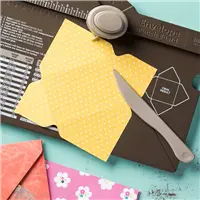
I paired two super projects together. The Hand Sanitizer is from Julie DiMatteo (The Paper Pixie) and the silverware holder is my design. You can see Julie’s post HERE for her fabulous video tutorial. I created the napkin/utensil holder based on something a friend had. I widened it so that it will hold more utensils. My photo has clear plastic utensils (sorry about that in terms of being able to see them!) and a napkin easily.
Obviously you could change up the colors for both of these projects to suit your occasion. The utensil holder is great for buffets as I mentioned earlier. This way everything is together and you do not drop the lose pieces. And of course, we can always use the hand sanitizer!
I have the measurements for the napkin/utensil holder listed below. Again, Julie has a great video on making the hand sanitizer holder if you click the link above. They are both very easy to make and the decorations can be up to you. I hope you will give them both a try.
Thank you for visiting today. I very much appreciate it and hope you will continue to stop by and check out my projects.
MEASUREMENTS:
Crumb Cake base is 4 1/4 X 11, scored at 6 and 10.
Fold and burnish the scorelines. The 1″ piece folds to the front.
Using Tear & Tape, place the tape against the edge of the section between the two score lines. Before adhering, place a folded napkin inside. This gives you room for the napkin, etc without tearing the envelope.
Prior to taping down the little flap, wrap the ribbon and secure it.
The DSP is 3/4 X 4 for the little flap and 3 X 4 for the front
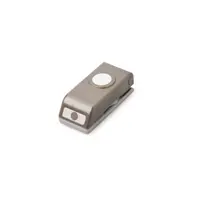
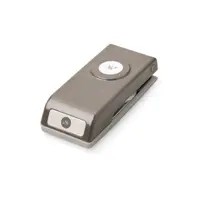
Round the top corners wit the Detailed Trio Punch
World Card Making Day 10% Off Sale:
You can see all of the current specials by clicking on my OnLine Store. The home page shows all of the current specials. Click HERE and you will be taken there.
I have a quick and bright card to share with you today. I inked up the Falling For Leaves stamp set for the first time. I can just imagine several ways of using the large leaf. Oh My!! But today’s is quick, and simple. I am not saying clean though. LOL !! I did the smooshing technique and I usually get a little messy with that.
Falling For Leaves, 147680
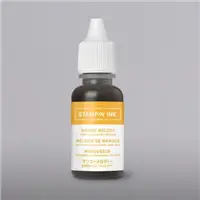
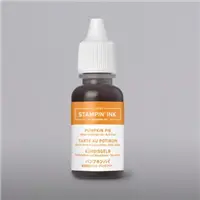
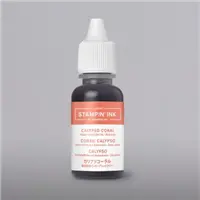
As you can see, my smooshing is messy! I intentionally only did it to one side for a bit different look. I used Pumpkin Pie, Mango Melody, and Calypso Coral re-inkers for the technique. I actually made a couple of backgrounds at the same time. This one turned out the best I believe.
Thank you for stopping by today! I greatly appreciate it. All of the supplies I used, as limited as they are, are at the bottom of the post. I hope you will come back tomorrow to see a new project.
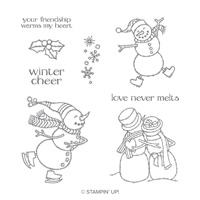
I have another card with the adorable Spirited Snowman stamp set. These little guys are just so cute that I made several on my first play with them. This is the second card.
Spirited Snowman, 148072
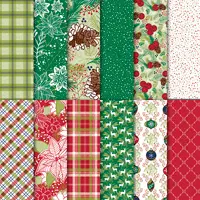
He looks like he is having such a good time skating along! I can see this card done in any color. All you have to do is color the scarf and hat to match your card stock or designer series paper. This DSP is the Under The Mistletoe DSP. I know I have used it quite a bit, but it is so wonderful that I cannot resist it.
I know it may look odd, but I debated on using the two different colors of layers. I thought about doubling the Real Red and Old Olive in both places. But then I thought about the “fun” of the DSP and decided to go wild. LOL!!!
Thank you for stopping by today! I appreciate it very much and I love to read your comments. I have the measurements and the supply list below.
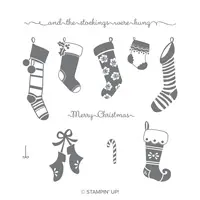
I do not usually do posts using the Host Rewards Stamp Sets, as not everyone can easily purchase them. You need a party, or an individual order, of $150.00 minimum to purchase these sets. But this particular set immediately caught my attention when I first viewed the Holiday Catalog. I just love the sweetness and childhood memories it invokes.
Hung With Care, 147882
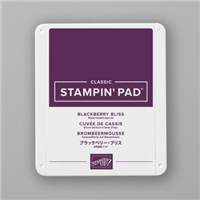
Aren’t these little stockings just adorable? They make me smile right away. Even though the layers of this card are very simple, I will admit it took a few minutes to make this card. It was more due to me wanting two tone stockings. I colored each stocking with the Stampin’ Write Markers in Shaded Spruce and Blackberry Bliss. That takes a few minutes to do each one. It would definitely be quicker to do solid color stockings.
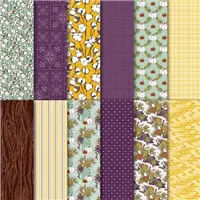
The designer paper I chose was for the color, again Blackberry Bliss. It is from the Country Lane Designer Series Paper. You know I love my DSP!!
I have the measurements and the supply list further down for this card. If you would like to try to get this stamp set, I would be thrilled to help you. Please let me know and we can talk about the options. Thank you for stopping by today and I hope you will return tomorrow.
MEASUREMENTS:
Base layer of Shaded Spruce is 5 1/2 X 8 1/2 folded in half
The content in this blog is the sole responsibility of Jackie Beers as an Independent Stampin' Up! Demonstrator. The use of and content of classes, services or products offered is not endorsed by Stampin' Up!