Welcome to InKing Royalty’s May Blog Hop! This year’s Blog Hop themes are inspired by a single word – and this month our projects are centered around REMEMBER. This word can mean different things to different people – fond memories, respectful tributes, special occasions that we’ll never forget. We are excited to share our creations with you today! After you read my post, I hope you’ll hop over to the next person on the list at the base of this post.
I love today’s blog hop theme. To me, Remember is the same as memories. So in looking through my stamps for something that fit that description, I ran across a perfect stamp set. It is retiring, so I love that I am getting one more use out of it.
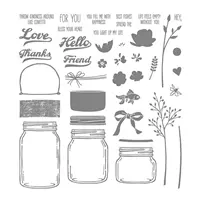
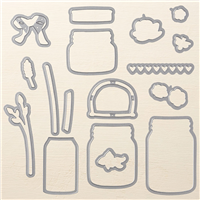
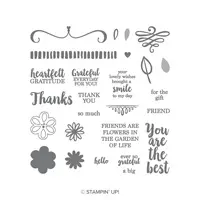
This Jar Of Love Bundle has been a go to set for me for a while. I just love Ball Jars!! That is the memory for this card. When I was a kid, we did everything from drink, to catch lightning bugs, plant terrariums, use as fish bowls, and last but probably the most use was as a vase for flowers. My Mom loved the blue Ball jars. She kept those for flower vases or to hold candy. Those were special. I think she would like today’s use of the jar.
To get the look I wanted for the Blue jar, I stamped and embossed the jar with White Embossing powder on Vellum card stock. I then went back with the LOVE in Smoky Slate Embossing Powder. It did not turn out as I thought it would. But I like the very light result even better. I adhered the vellum jar to a jar die cut in Coastal Cabana. I put rolled up glue dots in each corner to hopefully not be seen.
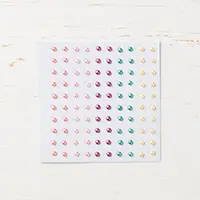
I stamped and die cut the flowers in two colors on each flower. I stamped the leaves directly on the white. Some of the flowers are raised with Dimensionals and some are flat on the white. The yellow flowers all received an Artisan Pearl for the center. It doesn’t show well, but all of the flowers received just a touch of Wink of Stella to give them a bit of sparkle.
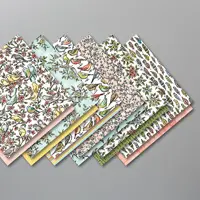
The background paper is a sneak peek from the next Annual Catalog. It is the Bird Ballad Designer Series Paper. It had just enough of Coastal Cabana / Bermuda Bay blue in it to work perfectly.
Thank you for stopping by today. I am last on the roster today, but depending on where you started you may not have been to number 1 yet. I hope you’ll hop along to the next stop on the bloghop, Brian King at Stamp With Brian. There’s lots of inspiration to be found in this group – and you don’t want to miss it!
My May Host Code is XKQZNUBZ . Please use this code for orders under $150.00. I will have a small perk for those with orders over $50.00.
Click on the Last Chance icon to go to my Online store. This will give you up to date what is left on the retiring lists. And if you would like to place an order, I have a Host Code just below the icon.
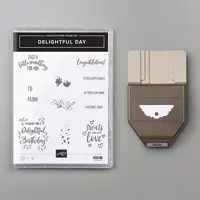
The new products I am using today may be one that you have not seen yet. At least I have not seen very many samples made with either of them. It is the new Delightful Day Bundle. It includes the Delightful Day stamp set and the Delightful Tag Topper Punch. I LOVE the punch. It is similar to the Scalloped Tag Topper Punch, which is one of my all time favorites.
I love using tags on the front of a card. Depending on how they are adhered, they could become a bookmark or decoration. This one is adhered with dimensional, but could just as easily be attached another way.
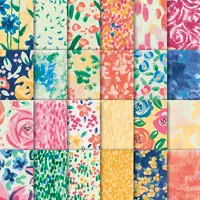
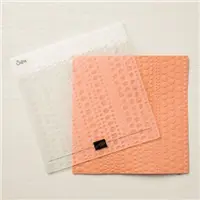
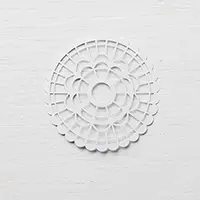
This card is a super quick and easy one. I used the Dot To Dot Embossing folder to give dimension and cuteness to the background. The DSP is Garden Impressions. It is punched with the Delightful Tag Topper Punch as well as the white layer. I placed one of the Pearlized Doilies behind just to give some more visual interest. I debated on another layer to my tag but opted for the simple doily.
The tag pieces are 2 X 4 1/4 for the DSP and 1 3/4 X 3 3/4 for the Whisper White layer. I added a loop of baker’s twine in place of ribbon. I also added the clothespin from my old stash. I think the new mini binder clips would be perfect. Unfortunately I had not ordered them yet 🙁
Thank you for stopping by today. I hope you will give this sweet and simple card a try.
My May Host Code is XKQZNUBZ . Please use this code for orders under $150.00. I will have a small perk for those with orders over $50.00.
Click on the Last Chance icon to go to my Online store. This will give you up to date what is left on the retiring lists. And if you would like to place an order, I have a Host Code just below the icon.
I have a CASE today of a card I received in Charlotte at OnStage from a sweet friend. Vicki Townsend’s card was different in decorations and the sentiments, but the fold idea came from her swap card.
The card was a bit difficult to photograph because of the folds, so I finally took the picture with it laying flat. It was well worth the trouble though. I love this fold. If you follow my blog, you know that folds are my favorite thing to add to a card!
You also know that I occasionally do DSP scrap cards. Well, here is another one! It is great for the leftover pieces. I have all of the meaasurments further down in the post.
Here is the open card.
You can see that there are two places on this card that you could write. Or you can place another DSP piece on the smaller white space and use the larger one to sign on. I almost stamped onto the white panel, but had cut two Crumb Cake circles by mistake. I saw that as a subconscious need to add both of the circles to the card. LOL!! I like the layered circle as opposed to simply stamping on the card stock. It gives a bit more dimension to the card.
Measurements and Directions:
Card base is 4 1/4 X 5 1/2
Crumb Cake layer is 3 1/4 X 4 1/2
Multi fold white piece is 4 1/4 X 11, scored at 1 1/2, 3, 5 1/2, 8. Fold and burnish and then make mountain valley folds
DSP layers are 4 X 1 1/4, 4 X 2 1/4, 4 X 2 3/4
Thank you for stopping in today! I really appreciate you following my blog. Please come back tomorrow for another project.
My May Host Code is XKQZNUBZ . Please use this code for orders under $150.00. I will have a small perk for those with orders over $50.00.
Click on the Last Chance icon to go to my Online store. This will give you up to date what is left on the retiring lists. And if you would like to place an order, I have a Host Code just below the icon.
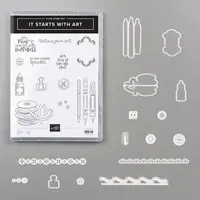
I have another new stamp set (bundle) I am breaking out for you today. It is the set It Starts With Art! It is adorable in every way. This set would work for almost any crafter. I love flexibility.
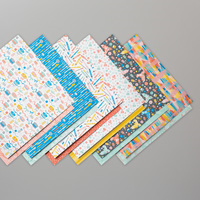
I fell in love with this sheet of the Designer Series Paper. It is named Follow Your Art DSP, and has everything in it that is in the stamp set. This piece just screamed out to me. I love the bold strokes of color!!
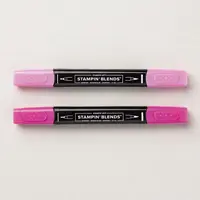
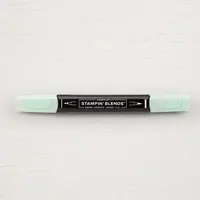
Other than the bright colors I chose, the card is pretty simple. I stamped the stack of ribbon and colored each one with Stampin’ Blend Markers. I had to add some Wink of Stella to make them Sparkle! , since that is what the sentiment says. How cute is that??
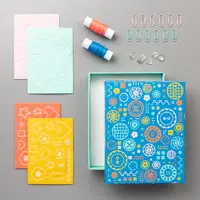
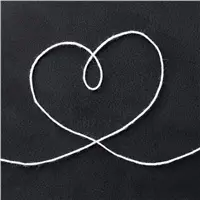
Did you notice the little charm hanging from the paperclip? Those are both from the Follow Your Art Embellishment Kit. I normally am not too excited about the embellishment kits. I tend to stick to ribbon and bling. These were just too cute to do without. I ran a piece of White Baker’s Twine through the loop of the charm to tie it to the paperclip. Just for good measure, I added a glue dot beneath the charm to keep it from moving around.
Thank you for stopping by today and always! I hope you will return next week for some more ideas.
My May Host Code is XKQZNUBZ . Please use this code for orders under $150.00. I will have a small perk for those with orders over $50.00.
Click on the Last Chance icon to go to my Online store. This will give you up to date what is left on the retiring lists. And if you would like to place an order, I have a Host Code just below the icon.
The next two days I am breaking out some new stamp sets. I know other demonstrators have been using them for a few weeks. I wanted to give some last minute LOVE to the retiring products first. And I will continue to do that. But I thought you would like to see some new items, and I was getting antsy wanting to play with them!!
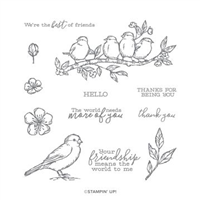
I assume that you guessed the stamp set from the title of the page today! Aren’t these birds adorable? And the designer series paper is a WOW!!! Stampin’ Up! colored several of the pages with the Stampin’ Blends and then photographed it for the paper. Extreme Talent!!
I chose the branch full of birds and decided to make them Robins. I know the colors are not perfect, but I love coloring. You will probably see many variations of colors as I play with this set more. The Designer Series Paper, Bird Ballad, is great with birds, feathers, flowers, etc. I chose the feathers today because of the colors and it leaves white space to match the birds.
Thank you for stopping by today. I hope you have a great day and will return tomorrow. I have another new stamp set to share!
My May Host Code is XKQZNUBZ . Please use this code for orders under $150.00. I will have a small perk for those with orders over $50.00.
Click on the Last Chance icon to go to my Online store. This will give you up to date what is left on the retiring lists. And if you would like to place an order, I have a Host Code just below the icon.
The content in this blog is the sole responsibility of Jackie Beers as an Independent Stampin' Up! Demonstrator. The use of and content of classes, services or products offered is not endorsed by Stampin' Up!