I do not have a new card or project to share today. I just wanted to wish all of you a very, Merry Christmas! I hope that you are able to spend time with family and friends and enjoy the day.
I do have a few of my favorite Christmas cards from this year for you to look over if you want. I have taken a couple of days to de-stress. And will be back with you next week.
I hope you enjoyed a little review. Wishing you a wonderful and loving day! Merry Christmas!!
HOST CODE
My December Host Code is: 4QDB2ZYE Please use this code for orders under $150.00. I will have a small perk for those with orders over $50.00
Today I am taking a short break from Christmas cards and projects. I have received a couple of orders of upcoming products, including Sale-A-Bration items. So I am sharing some of that with you today.
I love this little donkey!! He is sitting there looking like I feel. I have been busy for the last couple of weeks, and us old retired people are not supposed to be that busy!
The little guy is from the Darling Donkeys Sale-A-Bration stamp set. That means he and his friends can be yours FREE with a $50.00 purchase once the new catalog and SAB go live on January 5th.
I am also showcasing some of the new Designer Series Paper that will be available for anyone who joins during Sale-A-Bration! It is a real Sneak Peek of the next Annual Catalog in May. So a long way off sneak peek.
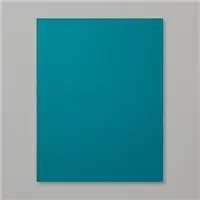
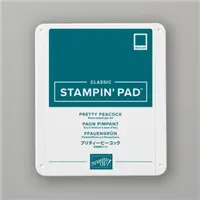
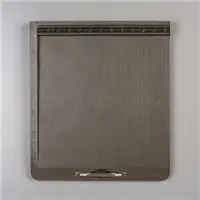
For this layout, I cut my layers with the Pretty Peacock at 5 1/4 X 4, and then both sheets of DSP to 5 X 3 3/4. I then placed the opposite corners of the DSP on the paper trimmer cutting line and sliced it in half. Now I have two extra pieces to make another card like this.
Thank you for stopping by today. Please come back tomorrow for another new project.
HOST CODE
My December Host Code is: 4QDB2ZYE Please use this code for orders under $150.00. I will have a small perk for those with orders over $50.00
I have been working on finishing my Christmas Cards, Gift Tags, and gifts for pharmacy and doctor offices. I have a huge mess in my craft room. I was supposed to be finished with everything by now, but life gets in the way sometimes!
A friend loves my projects and I usually give her some gift tags each year. So that is my project to share with you today. And Yes, I have already given them to her. I wouldn’t want her to be as late as I am in wrapping gifts! 🙂
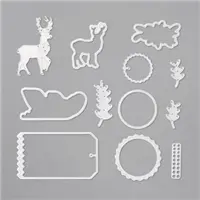
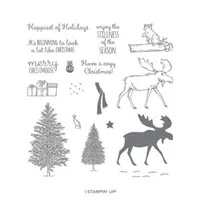
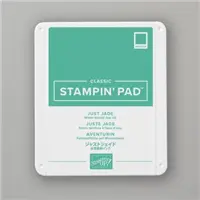
I kept the tags very simple. Although I think they are pretty cute. My favorite part is the tag itself. It is the tag from the Die Set North Pole Wonder. I will hold on to this set simply for that tag! I paired it with the tree from the Merry Moose stamp set. It is stamped in Just Jade Ink. The sentiment is a favorite little one, little in size I mean. It is from the Festive Post stamp set.
I finished the tag with the star from the All The Trimmings Embellishments. I used some old White Baker’s Twine to corral the ribbons. I used the Bumblebee In Color Ribbon and left them not tied for ease in attaching to the packages in whatever way she wanted. I can tell you that trying to gather those ribbons together to make them look even a little neat was not in the least easy!! They did not want to cooperate at all.
I couldn’t simply give the bundle of tags! So I created a little box to slip them into.
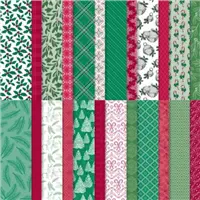
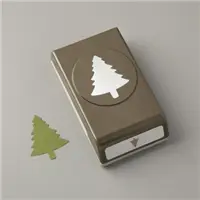
The little box is made from Just Jade card stock with Tis The Season Designer Series Paper on the front and back. I stamped the same little sentiment on a scrap of Whisper White and punched it out using the Pine Tree Punch. I also added the same little star on the tree. There are ten tags in the little box and it is pretty small.
Here are the measurements for the little box:
card stock cut to 4 7/8 X 3 1/2
score on the 3 1/2 at 1/2″
score on the 4 7/8 at 1/4, 2 3/8, 2 5/8, 4 3/4
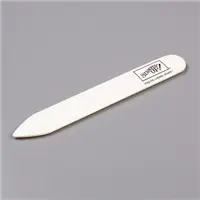
Fold and burnish the score lines.
with the 1/2′ score line at the bottom. Cut up each line to that score line.
Cut out the two tiny pieces.
Adhere the sides and the bottom.
The DSP is cut 2 wide by 3 1/8 tall
Adhere the DSP before putting the box together
Thank you for stopping by today! I hope you are enjoying this time of year and have a minute to stop back in tomorrow.
HOST CODE
My December Host Code is: 4QDB2ZYE Please use this code for orders under $150.00. I will have a small perk for those with orders over $50.00
Everything is so crazy right now that I forgot to write today’s post! I feel like I would lose my head if it wasn’t attached. But that aside, I have one of my favorite cards to share with you.
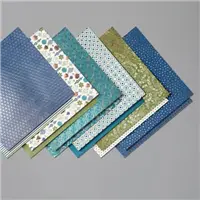
I realize that the DSP I used, Brightly Gleaming, is sold out, and the Sound of The Season Dies may be as well. I apologize for that. However, the layout of this card is very adaptable to whatever you may have on hand. The front panel can be resized to fit your stamp or dies.
I love the look of this card and by that I mean the way it is layered. The base of the card is a 5 1/2 X 8 1/2 that you score at 4 1/4. Then cut off 1 1/4 from the front and put aside for another project. Now cut off 1 1/2 and keep for this card. The DSP is cut to 5 1/4 X 1 1/4 and you need two pieces. Adhere one piece to the section still attached to the base and the other to the cut off piece.
The measurements for my center piece are the Copper Foil is cut to 3 X 3 3/4. The DSP is cut to 2 3/4 X 3 1/2. Adhere those together. The way I put the pieces together is to lay the bottom of the base at the bottom edge of my desk pad. Now place the lose piece of card stock with DSP along the bottom and flush with the bottom and sides. Dry fit the top section to see where to place you Stampin’ Dimensionals, or your adhesive of choice. Add your adhesive and adhere it to the top and bottom.
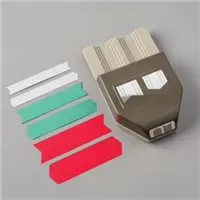
My finishing touch was a banner for the Merry Christmas. I used the Banners Pick A Punch, which makes this so very easy to do. The only difficult part was making sure I had the dimensionals in the correct place to catch the top layers of the card. I almost attached the bottom edge to the inside!!! I also added the Embroidered Ribbon as the bow for the ornament.
The inside layer is a regular 4 X 5 1/4 piece. Just remember to choose a stamp that fits behind your center piece with room for your signature and any extra writing.
Here is a view of the inside. I added a bit of pretty stamping along the bottom of the inside, but still have enough room to write.
Thank you very much for stopping by today. Please come back on Monday for new projects. If you have any questions regarding this one and the direction, message me and I will be happy to assist you.
HOST CODE
My December Host Code is: 4QDB2ZYE Please use this code for orders under $150.00. I will have a small perk for those with orders over $50.00
I shared this card yesterday as an addition to the Blog Hop New Year’s Card. I do love how this one turned out, so I wanted to give you all of the fun details. I will not have the stamp and punch in the supplies though. They are not available to customers yet. So they are not in my file for supplies. Sorry!!
This card was for Brian King, my Stampin’ Up! upline. Yesterday was his birthday.
I almost did not get purchase the Handsomely Suited Bundle. Now I am so happy that I did. I had so much fun making this card. It is not overly bright, but it still makes me Smile!
There are two long tie images in the stamp set. I used them alternately to create the background. I started with a piece of DSP from the Peony Garden Designer Series Paper pack. Who would have thought??? I was originally looking for the gray paper in that pack. But when I saw this piece, I knew it would work and my card took a different turn.
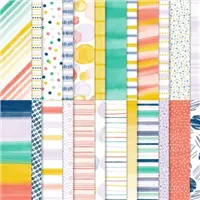
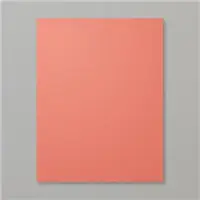
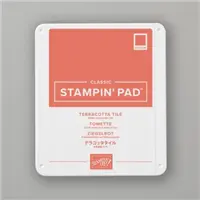
To pull out the Terracotta Tile flecks in the paper, I stamped the ties in that color of ink. I then went looking for other DSP with that color in it. I have a lot of scraps of DSP, and that was perfect for this card. I found two pieces in the Play With Pattern 6X6 DSP pack. The polka dot paper that is behind the sentiment is one. And the bow ties are from the other piece. I thought the white background of the bow ties would brighten up the card.
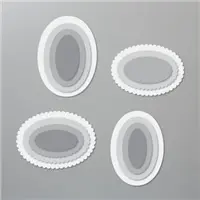
The sentiment is from the stamp set. I love when you can make a full card from one stamp set! I don’t always do that, but love the possibilities. The background for the sentiment is another upcoming product, the Double Oval Punch. It is a Must Have!!!! I added the Smoky Slate layer to the back of the two ovals to tie in the base of the card and break up all of the Terracotta Tile. I used the Layering Ovals Dies and it matched perfectly with the punched ovals. WooHoo!!
This was a fun card to make and the layout is a very versatile one. I will be using this one again. Thank you for stopping by today. Please come back tomorrow for another new project!
HOST CODE
My December Host Code is: 4QDB2ZYE Please use this code for orders under $150.00. I will have a small perk for those with orders over $50.00
The content in this blog is the sole responsibility of Jackie Beers as an Independent Stampin' Up! Demonstrator. The use of and content of classes, services or products offered is not endorsed by Stampin' Up!