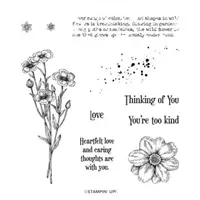
Flowers are always a good basis for a birthday card since generally something is blooming year round. I have chosen the Quiet Meadow stamp set for an easy birthday card to share with you today.
Paper
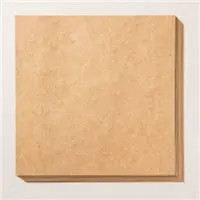
I am beginning in reverse order today since I mentioned the stamp set in the introduction. The Kraft Paper, which is in the Mini Catalog, is one I have not stamped on previous to this card. It is a bit thicker than our regular paper. However, it is wonderful to stamp on. And it does not overly absorb the ink to give a smeared or watery look. I have definitely waited too long to use this paper!!
Colors
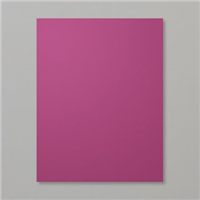
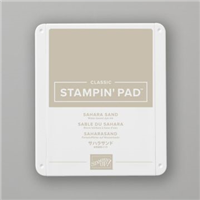
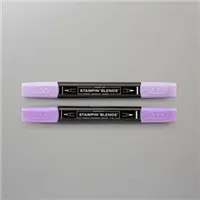
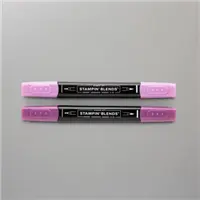
I wanted bolder colors to pair with the Kraft paper instead of more subdued or masculine ones. You cannot get much bolder than Rich Razzleberry! And then I added Basic Black as the layer. This really helped the colors to separate. The background stamping is done with Sahara Sand for a more subtle look. Of course I had to use Memento Tuxedo Black for the flowers for them to stand out. And they are colored with Highland Heather Stampin’ Blends. I tested on scrap and the Rich Razzleberry became way too dark on the Kraft paper. So make note of this.
Stamps
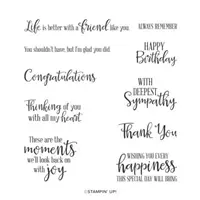
All of the stamps I used, with the exception of the sentiment are from the Quiet Meadow stamp set. I love the background stamps for a softer collage look. And for me to not use a Designer Series Paper is amazing! I simply made my own paper. The sentiment is a simple one and it took me a few minutes to find one. It needed to fit the Double Oval Punch. I found it in the Peaceful Moments stamp set.
Finishing Touches
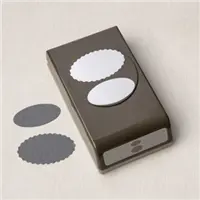
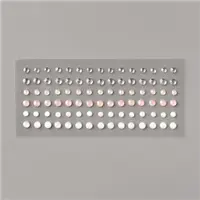
To finish this card I went with Linen Thread. That is a regular Go To for me. It is great to work with. I wrapped it around the card three times and then tied a three strand bow. As I said above, the sentiment is finished by using the Double Oval Punch. And the final touch is a single of the Elegant Gems placed next to the Happy Birthday.
HOST CODE
My October Host Code is HSUBS7GX. Please use this code for orders under $150.00. I will have a small gift for those with orders over $50.00 in addition to the Perk Rewards Program. You can read all of the information at the top of the page in the Menu Bar under SHOP / Perks.
Thank you for stopping by today. I hope you enjoyed today’s project and will come back. I do read and reply to all of the comments individually. They mean a lot to me. Please reach out if you have a question.
After a break from Halloween cards to participate in the Pals Blog Hop yesterday, I have a fun Cat Halloween to share. If you missed the blog hop, you can start with my card by clicking HERE and then following the lineup.
Stamps
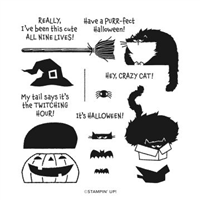
I know you have seen me use this Clever Cats stamp set a few times, or more! The cats are just adorable and I love cats. And especially Black Cats. They are always the sweetest. This guy fits perfectly to sit on just about anything. So today he is sitting on the pumpkin. All of these images are included in the stamp set. The sentiment is included as well, along with some other precious ones. This is one stamp set that will reside with me for quite a while.
Colors
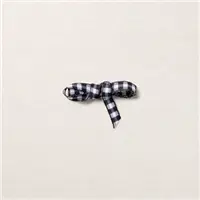
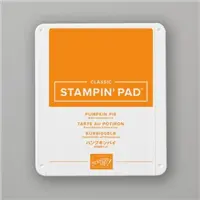
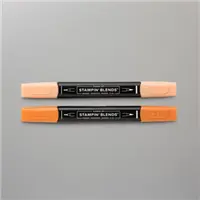
To go along with the Halloween theme, as well as the Black Cat, I went with the traditional Orange and Black as my color pallet. The cat and pumpkin were stamped using Memento Tuxedo Black Ink. I colored the pumpkin with Pumpkin Pie Stampin’ Blends. For the sentiment I wanted a bit more orange, so stamped it using Pumpkin Pie Ink. The final touch is the Black & White Gingham Ribbon. Just to be different I did a double loop bow and am happy with how it turned out.
HOST CODE
My October Host Code is HSUBS7GX. Please use this code for orders under $150.00. I will have a small gift for those with orders over $50.00 in addition to the Perk Rewards Program. You can read all of the information at the top of the page in the Menu Bar under SHOP / Perks.
Thank you for stopping by today. I hope you enjoyed today’s project and will come back. I do read and reply to all of the comments individually. They mean a lot to me. Please reach out if you have a question.
Welcome to the Stampin’ Pretty Pals’ Blog Hop! This month, the theme is Fantastic Fun Folds and 3D Projects. We really hope that you enjoy and will be inspired by them! As you hop from blog to blog, don’t forget to leave comments because we love hearing from you. You will find the lineup at the end of my post to help you “hop” along from Pal to Pal.
The card I have made to share with you today is technically a Fun Fold. There are options for making it and I went with a simple version. My version removes part of the “Fold” making it more of a Fun Cut than Fold. LOL!! Of course I would be different. But I hope you like it.
Fun Fold
This fold is called an Envelope Fold. I got the fold idea from a Splitcoast Stamper post of Dina Kowal. It can be either cut into a point on the front, like I have done. Or it can be scored and folded , where I cut off those sides, and then the DSP triangle is added over the folded sections creating a pocket. I wanted the clean look of the point for the front of the card.
Here is a look at the inside of the card. I have a PDF for the card further down in the post.
The corner DSP pieces are what you also see on the front. I love that this fold still allows plenty of room for your inside stamping and writing.
Stamps, Dies and Ink
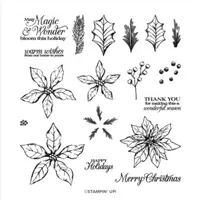
The stamp set is what used to be a Bundle. It is the Poinsettia Petals stamp set and matching Poinsettia Dies. All of the stamping is done using Cherry Cobbler Ink. The poinsettia on the inside is “stamped off” first to create a bit lighter color.
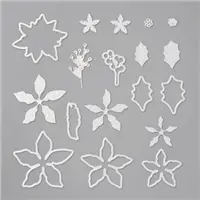
I used Cherry Cobbler cardstock for the die cut flowers on the front of the card. The Poinsettia Dies are awesome in the details they give to the flowers. There are two separate dies for each flower. They can be used singly or together, as I did.
Paper and Embellishments
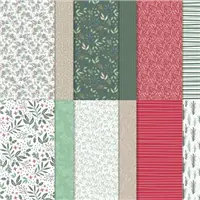
For me, the beginning of most cards is the Designer Series Paper. For this card, other than the Fun Fold, that was the case. I love the Tidings of Christmas 6X6 paper stack. And the piece I used is my favorite. The mix of soft and regals colors are perfect.
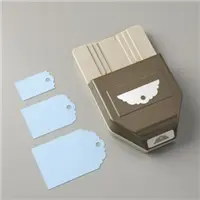
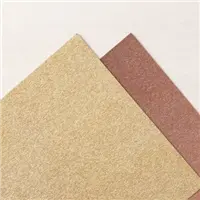
To finish with some bling, I added the flower centers by using the awesome Gold Metallic Specialty Paper. It comes paired with a Rose color as well. They are beautiful and have awesome details. The die used is included in the die set. For the smallest flower, I used the ribbon hole on the Delightful Tag Topper Punch to make a center.
Directions
Instead of me trying to explain everything in the post, I have created a PDF for you. Please forgive any grammatical errors. And let me know if you have any questions. Click on the picture below and it will open the PDF.
More inspiration awaits, so use the lineup below to visit the rest of the Design Team. The Pals are excited to show you what they’ve created! Then, please mark your calendars for our next blog hop on November 10th. Our theme will be “Home for the Holidays” when our Design Team creates a project to celebrate the upcoming holidays. Until then, have fun in your craft space.
Thank you for stopping by today. I hope you enjoyed today’s project and will come back. I do read and reply to all of the comments individually. They mean a lot to me. Please reach out if you have a question.
The idea for today’s card was for a very soft and simple card using a new stamp set. The stamp set is in the Annual Catalog, I had just not gotten it until recently. My original idea did not work, so on to plan B and not a “soft” card. LOL!!!
Stamp Set and Dies
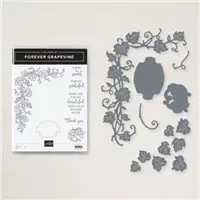
The stamp set, actually a Bundle, that I used is the Forever Grapevine set. It contains this awesome grapevine and then several wonderful sentiments. There are matching dies to fit the grapevine as well as the little sentiment die cut I used. I love the little curly pieces of vine behind the sentiment. They are also included in the Die set. Little add ons like these pieces really make the sentiment pop without any extra bulk.
Colors
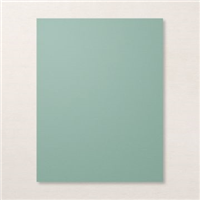
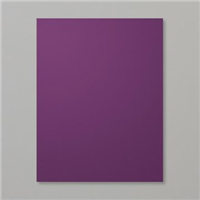
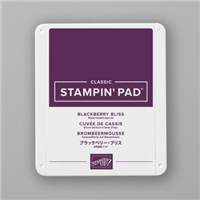
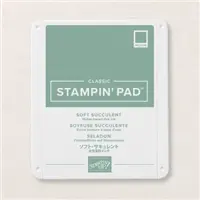
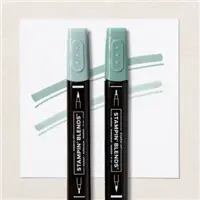
To carry the Grape theme, I went with Blackberry Bliss and Soft Succulent. Blackberry Bliss can be either for red grapes or my favorite – a Muscadine. The grape vine would have been fine with a darker color. However I like mixing a soft and strong colors together.
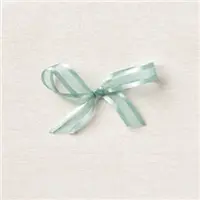
I cut the Basic White layer shorter so the ribbon would not cover part of the vine. This Open Weave Ribbon in all of the 2021-2023 In Colors, is so wonderful to work with. A small bow really makes a great finishing touch I think.
HOST CODE
My October Host Code is HSUBS7GX. Please use this code for orders under $150.00. I will have a small gift for those with orders over $50.00 in addition to the Perk Rewards Program. You can read all of the information at the top of the page in the Menu Bar under SHOP / Perks.
Thank you for stopping by today. I hope you enjoyed today’s project and will come back. I do read and reply to all of the comments individually. They mean a lot to me. Please reach out if you have a question.
It is the best time of year. The beginning of Fall and the upcoming Fun Holidays makes me a happy person. I have been playing with a variety of holiday cards the last week. Today I have a Halloween one to share.
Stamp Set
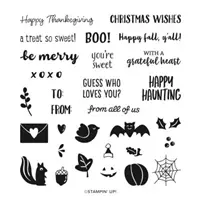
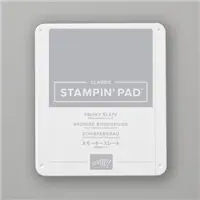
The stamp set I used, for the little bit of stamping on this card, is the Banner Year stamp set. It is a carryover from a Mini Catalog. And I am so happy it is still with us. The images and sentiments cover most of the year for holidays. I have chosen to simply go with the Boo sentiment. It is stamped using Memento Tuxedo Black Ink and then Smoky Slate for the second part. A little bit of paper trimming and that is all the sentiment needed.
Paper
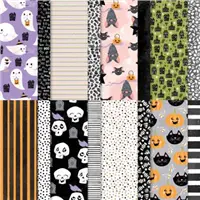
This gorgeous and Fun paper is from the Cute Halloween 6X6 paper pack. I really do love the colors used here. They are soft and fun and definitely Not Scary! No scary stuff for me. I will also add that I am not a fan of bats. We had one that liked to hang out on one of the eave vents on our house. Yikes!!! These fun smiling bats along with the sweet colors makes me smile!
Embellishments
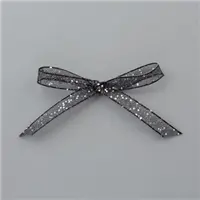
To go along with the great Designer Series Paper, I added the Black Glittered Organdy Ribbon. This ribbon is so sparkly and a perfect compliment to the paper. It is a bit stiff, but still makes a great bow. The other bit of shiny bling I added is to the sentiment. It needed a touch of something to keep it from being boring. A Rhinestone is always a pick me up, and it did it’s job on the sentiment. A really simple card that with the paper, ribbon, and bling becomes a really cute card. I hope you like it!
HOST CODE
My October Host Code is HSUBS7GX. Please use this code for orders under $150.00. I will have a small gift for those with orders over $50.00 in addition to the Perk Rewards Program. You can read all of the information at the top of the page in the Menu Bar under SHOP / Perks.
Thank you for stopping by today. I hope you enjoyed today’s project and will come back. I do read and reply to all of the comments individually. They mean a lot to me. Please reach out if you have a question.
The content in this blog is the sole responsibility of Jackie Beers as an Independent Stampin' Up! Demonstrator. The use of and content of classes, services or products offered is not endorsed by Stampin' Up!