Welcome to the Families First Pals Blog Hop for April 2017. We are thankful you stopped by to take a look at our 2017 Blog Hop monthly themes. This month we are featuring projects that are all about our families. This is a great time of year to think about what to make for Mother’s Day, Father’s Day, or upcoming graduations. And, family vacations are just around the corner… how would you want to remember those special family moments? We hope to provide you with lots of ideas and that you enjoy our creations.
You may just be starting the Blog Hop or may have come from the previous link from the Line-up on the Pals Blog Hop listing shown below. The full lineup will help you move along from blog to blog so you may see all the projects.
Thank You for stopping by my blog today. This is an AWESOME blog hop and I am thrilled to be a part of it.
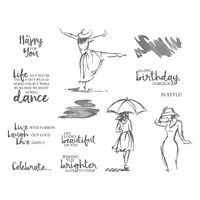
My card is Happy Mother’s Day with the Beautiful You stamp set. I fell in love with this set the first time I opened the Occasions Catalog. The free spirit this lady shows reminds me so much of my Mother, and the saying is perfect for her! So of course, I had to make a card representing that. Mine is not your typical Mother’s Day card. By changing or just removing the “Mother’s Day” at the bottom, it would work for many occasions. And here it is:
Beautiful You, 143657, $28.00
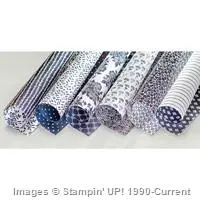
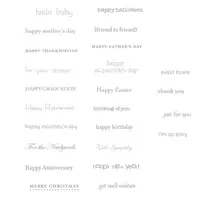
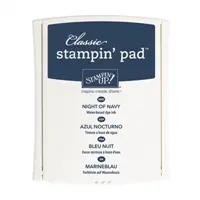
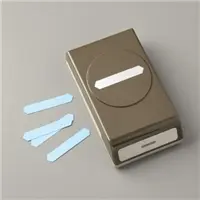
I just adore the Floral Boutique DSP and will truly miss it when this current annual catalog ends. I began this card with the Thick Whisper White card stock. I layered the DSP and then decided it needed a base so I added a narrow layer of Night of Navy card stock. The lady is stamped on Whisper White card stock and I used a sponge dauber to shade around her with Night of Navy ink. This layer also received a narrow border of Night of Navy. When I first started layering the card I had the lady layer on straight. But then I thought “This is a free spirit lady, she wouldn’t be a normal layer”, HaHa!!! So I layered her at an angle. The sentiment is stamped on Thick Whisper White card stock and punched with the 1 3/4 circle punch. The Happy Mother’s Day banner at the bottom of the card is from Teeny Tiny Wishes stamp set. I hope that set never goes away!! It has everything in it. I punched it out with the Classic Label punch and just cut the left side straight to match up the edge.
I hope you enjoyed my card and will continue on in the Blog Hop! Thank you for stopping by. If you like my card, I would love to hear from you.
My supply list is below the blog hop list. you can choose any item and it will take you directly to my online store.
Thanks for visiting. To continue with the hop, please refer to the Blog Hop Line-up below. We hope to see you on next month’s Pals Blog Hop!
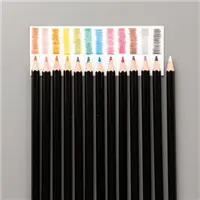
We learned this wonderful watercolor pencil technique at our last InKing Royalty Team meeting from Jennifer Spiller. She is such a talented artist! She showed us how to use our framelits in a totally unexpected way. We traced around, or inside, the framelit of your choice with a watercolor pencil. Next you color inside, and this can be light, dark , or in between. Then take an aqua painter and spread the color around. It is so much fun to play with this technique. I hope you will give it a try once you see my card.
The card is so fun to make and is actually pretty quick to make as well. Here it is:
Watercolor Touches of Texture
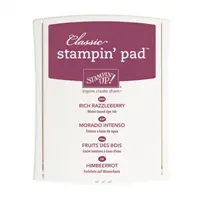
I chose the layering squares framelits and used the Rich Razzleberry watercolor pencil. You can use either Watercolor paper or Shimmery White card stock for this technique. On this card I did use watercolor paper. I traced around the framelit and then went around it again a littler darker. Next I just took the aqua painter and went to town. To me at least, you should “go outside the lines” ! It gives it a definite watercolor look. I have found that I need to occasionally wipe off the aqua painter because I tend to get too much water. This is just something you have to play with to find your own method!!
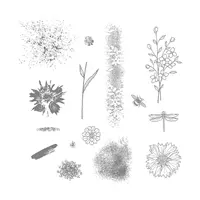
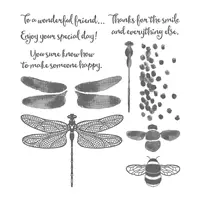
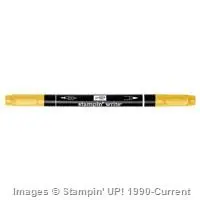
Once the square was dry, I stamped the flower from Touches of Texture in Memento Black ink and then the solid of the flower and the splatter are also Rich Razzleberry ink. I did go back with my Daffodil Delight Stampin’ Write Marker and color in the center of the flower. I stamped the sentiment from the Dragonfly Dreams stamp set.
I did not feel that this card needed any additional layers. So I just mounted it onto a Rich Razzleberry base card.
I hope this card has given you a SMILE today! Thank you for visiting my blog and I do love to hear from you in the comments.
I think many customers, and myself included, tend to forget about the Host Exclusive stamp sets. Because you can use your reward dollars on anything in the catalog, these sets get lost. I try to remember to remind my customers that these sets are a great Bang for Your Buck! They are discount priced and can only be purchased by the Host. So please give these stamp sets another look before the current Annual Catalog ends. With the new Annual Catalog there will be New Host Rewards sets available.
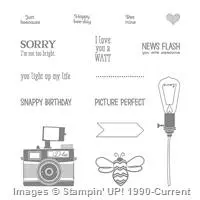
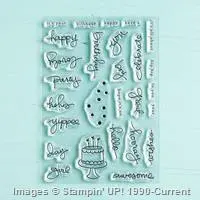
Today’s card was made with the Host exclusive set Pun Intended. This set is so cute and works especially well with our Note Cards and Envelopes (p.176) for just a quick card.
Today I used this cutie pie set and paired it with the Moroccan DSP.
Pun Intended, 141804, $9.50
It may look wacky, but I intentionally did not center the camera circle in the other one. In my mind at least, it looks like a lens. HaHa, or I’m looking at it oddly!
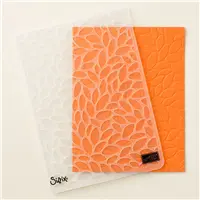
Anyway, I used Moroccan DSP with Mint Macaron and Very Vanilla card stock. The Mint Macaron circle is embossed with Petal Burst Embossing Folder to add some depth.
OOPS !!! I did not realize until last night that my Friday post did not post! And guess what? It was operator error!! I know, shock, shock . HaHa! I will get the hang of this before long.
Today’s card is made with Endless Birthday Wishes. This set originally came out when Stampin’ Up! was debuting a new set outside of the catalogs.. It was a few years ago. Anyway, I was so happy when this one made the Annual Catalog. It is just such a versatile set.
I have to preface this card with: the Cupcakes and Carousels DSP was the inspiration. I saw this sheet of paper as Rays of Sunshine. Then when I wanted to use the cake from Endless Birthday Wishes it became the bright light from the candles on the cake. For some of you that may be a huge stretch of imagination but it was the little lightbulb in my head. So here it is:
Endless Birthday Wishes, 140273, $16.00
Isn’t that card just a hoot! It says “It’s All About You” and the spotlight rays of light coming from the candles on the cake make me smile. I hope you enjoy it as much as I did making it and sharing with you.
I have been stamping for several days and am trying to find a different look. That is so hard !! I have needed a few birthday and sympathy cards to mail, but have also been working on my Card Club cards for this coming weekend. Those seem to be the hardest ! Yikes !!! So I decided to back off and just do something really simple. This is what I came up with. Hopefully you will like it as much as I do.
Definitely Dahlia, 139911, $15.00
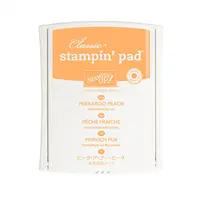
I stamped the Definitely Dahlia stamp in full strength Peekaboo Peach onto Shimmery White Card Stock. I thought about stamping off first but decided the black ink of Happy Birthday would be able to show through just fine. The picture does not do the Shimmery justice. The flower and even the Birthday have a shimmer to them. I really have grown to love this paper!! You cannot see very well from the photo, but there are Pearl Basic Jewels just above Happy. This card was a super quick one and took longer to cut the papers than to put the entire card together. Yay for quick cards!!
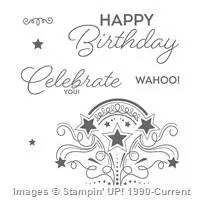
The Definitely Dahlia stamp is another sleeper stamp I believe. It is with the background stamps in the Annual Catalog. But I really do not think of it as a background stamp. Of course it is wonderful for a bold background statement like I used here, or it could be used to make your own designer paper. The Happy Birthday is from the Birthday Blast set from the 2017 Occasional Catalog.
I used the Shimmery White card stock to stamp on and the Whisper White Thick card stock as the card base. The striped paper is from the 2016-2018 In Color DSP. To help the top layer pop a little and to tie in the Happy Birthday done in black, I added a narrow border of black card stock behind the shimmer white. And this is raised up with dimensionals, one of my favorite things.
The content in this blog is the sole responsibility of Jackie Beers as an Independent Stampin' Up! Demonstrator. The use of and content of classes, services or products offered is not endorsed by Stampin' Up!