I have another Gift Card Holder to share with you today. They are one of my most favorite things to make. That is partly because I use them quite often. Because of that, I like to do different versions so the recipient doesn’t think I only know how to make one kind. Plus they are just fun to do!!
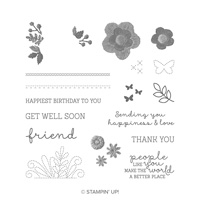
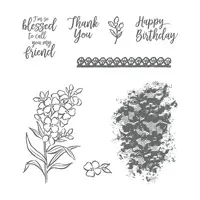
Needle & Thread, 148724
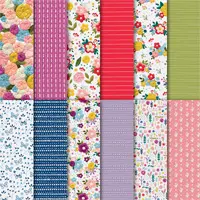
Isn’t this designer paper precious? It is the Needlepoint Nook Designer Series Paper. Of course it is part of the Need & Thread suite of products. The stamp set is Needle & Thread and looks like needlepoint in the stamped flowers. I know the photograph doesn’t show it very well. The flowers on the DSP look like fabulous embroidery, and the colors are very vibrant. It seems like you should be able to touch the threads!
The outside of this card with the double fold, looks similar to a gift card and regular card fold that I have done several times. But I normally do not put matching DSP on each of the sides so it looks like a Gate Fold. I CASED this from a gift card holder I found on Pintrest by Michelle Wright, another Stampin’ Up! Demonstrator. The inside is different from her version though. It is similar to ones I have done in the past. Especially the holder for the gift card. Here is the inside view.
I like to make sure my gift card is not going to accidentally fall out of the card. The end with the card is my preferred method for placing the gift card. The raised circle on the right DSP piece is what you see on the front and what helps hold the card closed. TIP: When you are placing that circle , only put dimensionals on the one side of the circle to allow room for the flap to fit under it. I have all of the measurements listed below.
Thank you for visiting today! I very much appreciate it and hope you will return tomorrow. All of the supplies are listed at the bottom of the page.
Measurements:
Card base is 4 1/4 X 11, scored at 2 3/4 , and 5 1/2
On the 2 3/4 scored end, trim off 3/4″
Fold and burnish the score lines. The 2 3/4 end folds to the inside.
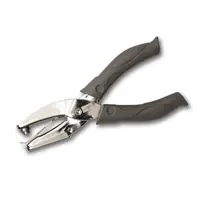
Use the 1 1/4 circle punch to punch a half circle as a finger groove
Apply tear& tape to the very edges on each side of the section. Place the gift card holder, or a business card, inside as you adhere that piece. That insures you have room for your gift card without stressing the paper.
Cut 3 card stock pieces at 2 1/2 X 4
Cut 2 DSP pieces at 2 1/4 X 3 3/4
Cut 1 white card stock at 2 1/4 X 3 3/4 for the message inside
I hope you enjoyed your Holiday!! For me it was very relaxing, but then I do not have children ,at least not the two legged variety 🙂 !
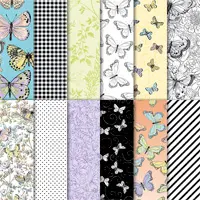
Today I am sharing the beautiful Sale-A-Bration Butterfly Designer Series Paper. All of the products, at least the majority, are new products from either Sale-A-Bration or the Occasions Catalog. You all should be receiving your new catalogs any day now. If you are in need of one, and do not currently have a demonstrator, please contact me. I would love to get one in the mail to you.
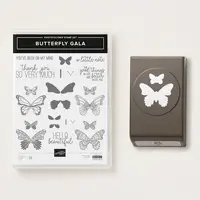
Butterfly Gala Bundle, 150599
I LOVE this paper. I do not think you can see all of the beautiful colors incorporated in it, but trust me! It is beautiful. And it is FREE with a $50.00 purchase. Well, I can assist you with that purchase.
Butterfly Gala Bundle = 35.00
Gingham Gala 6X6 DSP = 11.00
White 5/8 Flax Ribbon = 7.00
Total $53.00
And it’s a Winner: You have just earned the FREE Designer Series Paper. Plus all of the Gingham DSP pairs with the Butterfly DSP. So please think about this as a way of getting the free products.
Thank you for visiting today. I have included the complete supply list at the bottom of the page.
This is a short and sweet post today. I wanted to wish you all a Very, Merry Christmas. And to Thank You for visiting my blog. I am sharing the Christmas Card I sent out this year.
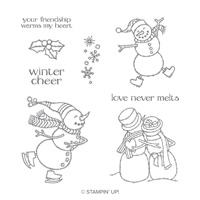
Spirited Snowmen, 148072
“Friendship Warms My Heart” is such a great sentiment to me. I love that so many of my friends are more like family. So this was perfect. I really hope it made the recipient smile.
Thank you for visiting today. I have included the supply list at the bottom if you have this set and want to save the idea for next year’s card.
I usually have some baked goods to give as Host gifts during the holidays with a cute gift tag I make. This year I have not made very much. I do have some for tomorrow, so of course I had to make a cute tag to go with it. To me, tags are simply miniature cards. At least the one I made today is designed like that.
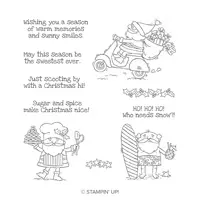
So Santa, 147821
I think these Santas are just adorable and will really miss this great stamp set when it retires. When I first saw this cute guy I knew immediately he would be on my baked goods tags. I could not resist.
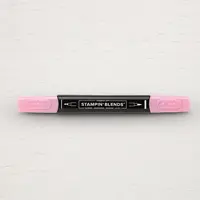
The stamping and layout are very simple for this. If I needed quite a few of these I really would not want to spend a lot of time making them. This one is stamped, colored with Stampin’ Blends, and then layered. That is all it took.
Thank you so much for stopping in today. I hope you are having a great holiday and will continue to enjoy time with family and friends. I will have a quick post tomorrow for your morning coffee. I will be sharing the Christmas card I mailed out this year. As always, the complete supply list is at the bottom of the post.
I am a bit late in showing Sneak Peeks of the upcoming Occasions and Sale-A-Bration catalog . So today I have Fresh Friday! A new card with new products, and sort of a new layout. So here we go!
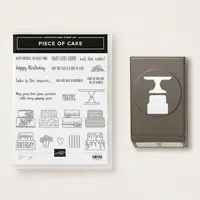
Piece of Cake Bundle, 150579
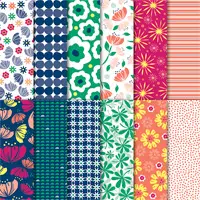
Do you think this card is cheery enough? LOL! I started with this gorgeous DSP from the Happiness Blooms Designer Series Paper. I have always loved the Pineapple Punch and this was a great way to use it as a background and focal point at the same time.
The sentiment and punched cake are the Piece of Cake Bundle. It is a must have! The adorable little flower is Frosted Flower Embellishments and is perfect for the little bit of addition to the cake. Even better, it comes with adhesive attached. Woohoo!!
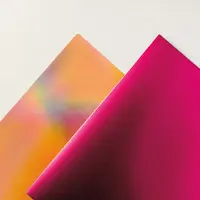
The cake and cake stand are punched from a Sale-A-Bration freebie of Grapefruit Grove & Lovely Lipstick Foil Sheets. Ordering the paper and Stamp / Punch Bundle pretty much get you to the $50.00 needed for the Free foil sheets. So bookmark all of this for the January 3 go live date!!!
Thank you so much for visiting today. I hope you have a great weekend and Christmas. I will be here and please stop in if you have a chance. Almost all of the supplies are listed at the bottom of the page. I could not grab the Frosted Flower Embellishments, and the Birthday Cheer stamp set. That is the background that is stamped on the Pineapple strip.
The content in this blog is the sole responsibility of Jackie Beers as an Independent Stampin' Up! Demonstrator. The use of and content of classes, services or products offered is not endorsed by Stampin' Up!