Today’s card is one I made for a very special person. A friend’s son is in the military and was injured pretty severely. He is back in the U.S. and has already undergone several surgeries, with more to come. There is not much I can do for him or the family. But sending a card is right up my alley. Even if I am a bit late in doing so. Please put this young man in your prayers if you would.
So here is the card.
Waterfront, 146386
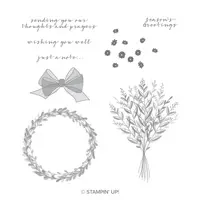
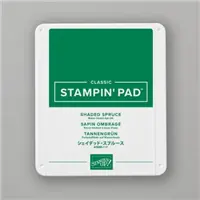
I love this font on the Wishing You Well. It is from the Wishing You Well stamp set. Although I should have left a white space for it. The Shaded Spruce is sort of covering it. Also, I failed to mention the main set I used is the Waterfront stamp set.
Here is the inside piece.
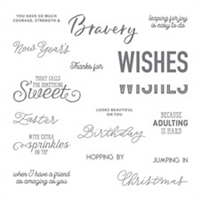
This gorgeous sentiment is from the More Than Words stamp set. It is on the retiring list, but I think it will be hanging around my house a bit longer!
Thank you for stopping by today! I have listed all of the products at the bottom of the post.
My May Host Code is XKQZNUBZ . Please use this code for orders under $150.00. I will have a small perk for those with orders over $50.00.
Click on the Last Chance icon to go to my Online store. This will give you up to date what is left on the retiring lists. And if you would like to place an order, I have a Host Code just below the icon.
If you place an order with me, please use the April Host Code of 3KNKXJFH. If your order is $75.00 (of product) or more, I will send you a small gift. If it is over $150.00 (of product) I will send you a small gift, but DO NOT use the code. 150.00 is the minimum host rewards so you get the host rewards.
I have a window card to share with you today. At least that is what I call it. You can purchase card bases with opening already cut in them, but we have the tools to do that ourselves easily. Please let me know what you think.
Country Livin’ 141925
With the exception of the window, this is a very simple card. There are a couple of techniques added however. But first the window. The birthday card that I shared on Friday had a Melon Mambo scalloped circle as a layer. I used that negative to sponge color onto the white inside layer of this card. I then used the same layer to cut the window from my card base. I was going to add another layer over the top, but instead just added the ring around the window. That is done by using the two closest sizes of the scalloped circle dies. Easy Peasy!!
Here is a view of the inside. I have not stamped another sentiment yet.
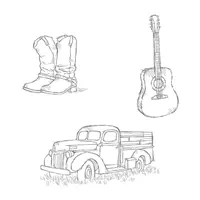
I love this stamp set, Country Livin’. It is unique to most of the Stampin’ Up! sets. It goes for male and female cards and is perfect for quick and easy cards. Sadly it is on the Retiring List 🙁
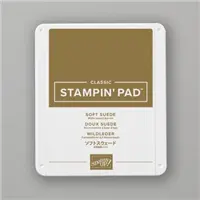
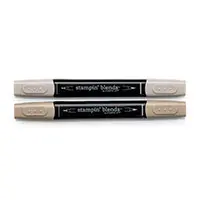
I stamped with Soft Suede Ink and then colored with the Crumb Cake Stampin’ Blends. Ideally I would have stamped first, masked the boots, and then sponged the background. Of course I didn’t think of that until after I had made the background. A bit of the blue carries through onto the boots, but in a way it adds the “worn” look the boots need.
Thank you for stopping by today. I appreciate you and hope you will return tomorrow. I have the complete list of supplies at the bottom of the page.
My May Host Code is XKQZNUBZ . Please use this code for orders under $150.00. I will have a small perk for those with orders over $50.00.
Click on the Last Chance icon to go to my Online store. This will give you up to date what is left on the retiring lists. And if you would like to place an order, I have a Host Code just below the icon.
If you place an order with me, please use the April Host Code of 3KNKXJFH. If your order is $75.00 (of product) or more, I will send you a small gift. If it is over $150.00 (of product) I will send you a small gift, but DO NOT use the code. 150.00 is the minimum host rewards so you get the host rewards.
I have a cute little birthday card for you today. It is really very simple and uses some designer series paper. It also has a sneak peek of a new punch!!
Birthday Cheer, 148604
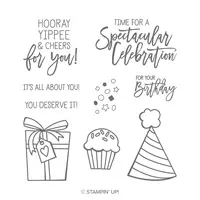
I can envision this card in pretty much any color. I love the simplicity of it. The stamp set Birthday Cheer is not available as a bundle due to the dies being sold out. But the stamp set itself is perfect for cards like this. I love making a single image the focal point of a card. This one has this package, a cupcake, and a party hat along with some great sentiments. Any of those would make great focal points. And could be used for a variety of occasions. That is always a major plus to me!
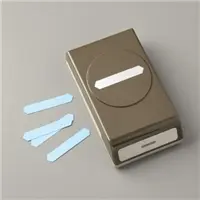
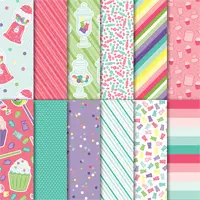
I used the How Sweet It Is Designer Series Paper and then cut out the image with the Layering Cicles Framelits. The sentiment is from the same stamp set, but is punched with a NEW punch! How exciting!! It is the Timeless Label Punch. I adore it! It is tall enough for a double line sentiment, which is fabulous to me. It is longer than is showing on my card. I had to tuck some of it under the DSP layer. But I love the look it gives like this. The hidden part is the same end as what you see.
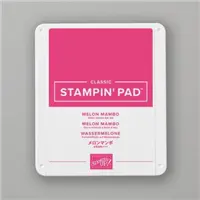
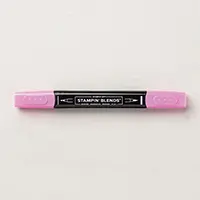
I stamped the gift in Melon Mambo and colored the ribbon with the Light Lovely Lipstick Stampin’ Blend. I am not sure how clearly you can see the heart on the gift tag of the present. But it is colored with the Blend also and has one of the Heart Epoxy Droplets laying over it. A great way to add some dimension.
Thank you for stopping by today! I hope you have a great weekend and will return on Monday for another new project. The supplies I used are listed at the bottom of the page.
My May Host Code is XKQZNUBZ . Please use this code for orders under $150.00. I will have a small perk for those with orders over $50.00.
Click on the Last Chance icon to go to my Online store. This will give you up to date what is left on the retiring lists. And if you would like to place an order, I have a Host Code just below the icon.
If you place an order with me, please use the April Host Code of 3KNKXJFH. If your order is $75.00 (of product) or more, I will send you a small gift. If it is over $150.00 (of product) I will send you a small gift, but DO NOT use the code. 150.00 is the minimum host rewards so you get the host rewards.
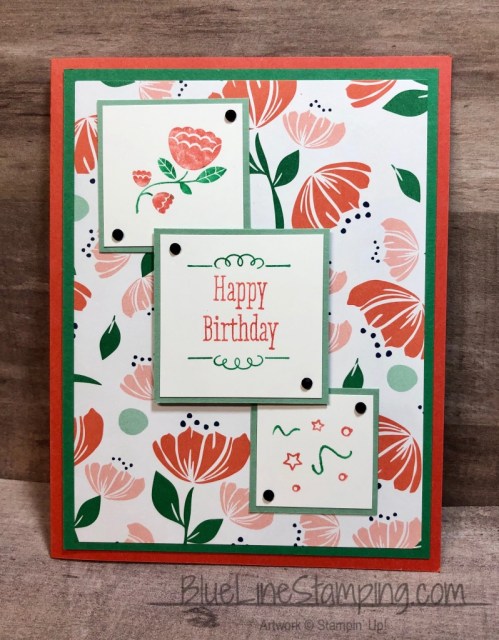
I am sharing another card I made with my Stamp Club this past Sunday. This one is a bit of a different layout and the ladies seemed to like the different look.
Treat Time, 146626
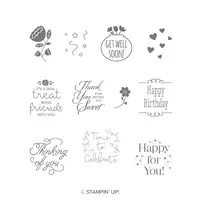
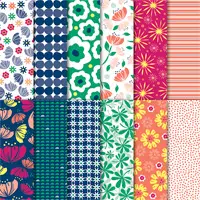
This card is saying goodbye to two items the are retiring. The Happiness Blooms Designer Series Paper and the Treat Time stamp set. The Treat Time is part of a bundle but I only used the stamp set.
The three different size squares are not a trick from the photograph. They are three different sizes. I intended to have one large and two the same size, but the stamps did not really fit that idea. So instead of having too much white space on the bottom one, I went with a smaller square. I really like the outcome! Also, I colored the red rubber stamps with Stampin’ Write Markers. This is a very old technique that I rarely use anymore. Sadly, you cannot purchase the markers individually. So they are not listed on the supply list. But having all of your favorite color family is almost a must for me.
There are a lot of measurements, but they are squares, so the makes it quite a bit easier in my book. Here are the measurements.
5 1/2 X 8 1/2 scored and folded in half
5 1/4 X 4
5 X 3 3/4
1 7/8 X 1 7/8
1 3/4 X 1 3/4
1 5/8 X 1 5/8
1 1/2 X 1 1/2
1 3/8 X 1 3/8
1 1/4 X 1 1/4
The center square is raised with dimensional and the other two are partially underneath it and adhered flat. A Tip: Put the dimensional more into the center and adhere the center piece first for alignment. Then simply slide the others a bit underneath.
Thank you for stopping by today! I am so excited to say we are just about a month away from the debut of the next annual catalog. In the meantime, the Clearance Rack has been refreshed and there are still a lot of great items to be had from the Occasions and current Annual Catalog. I have a HOST CODE if you would like to place an order with me. Please use Host Code XKQZNUBZ if your order is under $150.00. If it is over that, then do not use the host code so you get the rewards.
The complete supply list is at the bottom of the post.
Click on the Last Chance icon to go to my Online store. This will give you up to date what is left on the retiring lists. And if you would like to place an order, I have a Host Code just below the icon.
If you place an order with me, please use the April Host Code of 3KNKXJFH. If your order is $75.00 (of product) or more, I will send you a small gift. If it is over $150.00 (of product) I will send you a small gift, but DO NOT use the code. 150.00 is the minimum host rewards so you get the host rewards.
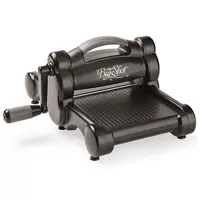
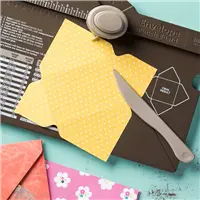
One of the tools that is retiring soon is the much loved Envelope Punch Board. I must say that I cannot remember the last time I used it for an envelope vs making a box or treat holder. So that said, I will miss this versatile tool. To say goodbye I have made another little box with it.
I do not know who created this version. I had it on my desk for some time. I’m sure my friend and fellow demonstrator Julie DiMatteo has a version. I will have the simple directions listed below.
So here is the cute little box. It just happens to hold a Ghirardelli Chocolate!
Envelope Punch Board, 133774
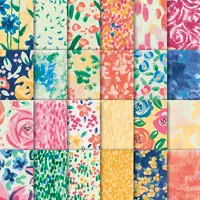
This paper is the Garden Impressions 6X6 Designer Series Paper Stack. It is perfect anytime but especially for spring. And depending on the size of the box you are making it may be a perfect size. I used a 4 1/4 X 4 1/4 piece, plus used one of the cutoff pieces for the bellyband.
Here is the inside view:
These are very quick to make. The most time is just deciding on which beautiful paper you want to use! I have the measurements and simple directions below.
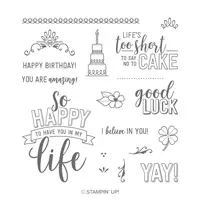
I am giving you a sneak peek of a new stamp set as well. It is the Celebrate With Cake. It will be available in the upcoming annual catalog. It is one of the several that Stampin’ Up! has designed for a stamper with the #simplestamping in mind. I LOVE it!!!
Directions:
4 1/4 X 4 1/4 card stock or DSP
Start at the 1 3/4 mark on the Envelope Punch Board, punch and score
Slide down to the 2 1/4 mark, punch and score.
Now just rotate to all sides and punch and score by lining up the score lines
Fold and burnish on all the score lines
Cut away the four small corner squares
Decide which is the top.
Round the edges of the top and bottom sections using the Envelope Punch Board Corner Rounder feature.
Lay your piece of chocolate inside and dry fit the sides and bottom sections.
Add glue or adhesive of choice to the two side pieces where the bottom piece will cover it.
Cut a 5 1/4 X 3/4 strip for the bellyband
Dry fit the bellyband by using your fingers to crease it as you fold it around.
Adhere the two ends together and cover the seam with your decoration
Thank you for stopping in today. I have included all of the products used at the bottom of the post. If you have any questions about products or my directions, please do not hesitate to contact me.
The Clearance Rack has been UPDATED again!!!
Click on the Last Chance icon to go to my Online store. This will give you up to date what is left on the retiring lists. And if you would like to place an order, I have a Host Code just below the icon.
If you place an order with me, please use the April Host Code of 3KNKXJFH. If your order is $75.00 (of product) or more, I will send you a small gift. If it is over $150.00 (of product) I will send you a small gift, but DO NOT use the code. 150.00 is the minimum host rewards so you get the host rewards.
The content in this blog is the sole responsibility of Jackie Beers as an Independent Stampin' Up! Demonstrator. The use of and content of classes, services or products offered is not endorsed by Stampin' Up!