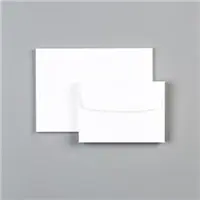
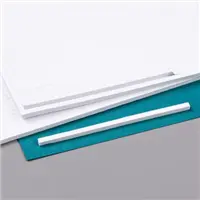
Today’s card is a quick, cute and easy to make multiples of. I am using the Whisper White Notecards and Envelopes. The star of this card though is “leftovers” from other cards. I love “Leftovers” !!!
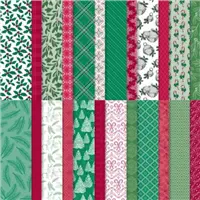
The “Leftover” is the DSP in the center. If you are a regular follower of my posts, you may recognize it from Wednesday’s Pal Blog Hop. This is the die cut center of the “frame” for Santa Claus. You can see that post HERE.
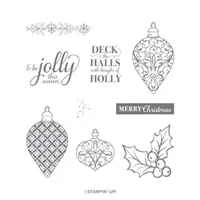
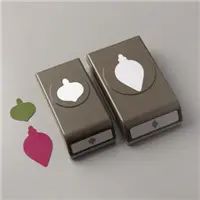
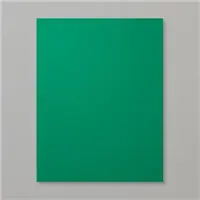
I keep all of my pieces that are die cut leftovers in a little basket on my desk. I was looking for a quick, but cute, card for today and spied this piece. I added the background of Real Red card stock for a bit more color. The ornament is from the Christmas Gleaming stamp set and is punched with the small ornament punch. (This is one of the Returning Favorites Bundles in the Mini Catalog)
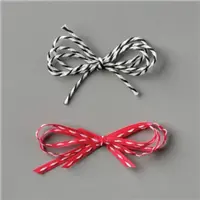
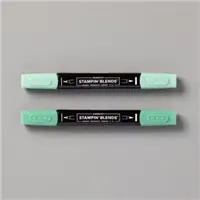
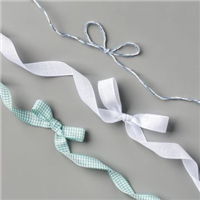
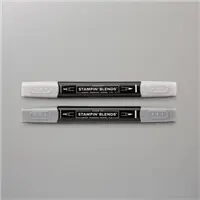
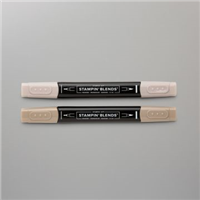
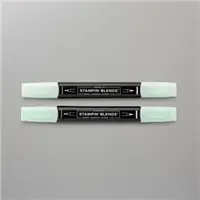
The ornament is stamped in Real Red and colored with the Light Just Jade Stampin’ Blend. I stamped the sentiment and since it is just a rectangle, cut it out with my paper snips. To give it the backing, I simply adhered it to the Real Red card stock and fussy cut again. The finishing touch of the ribbon bow is a cutie! It is from the Playful Pets Trim Combo and has been used on many other projects.
Thank you for visiting today. I really appreciate it and would love for you to leave me a comment.
HOST CODE
My August Host Code is 6M4NU6C2 Please use this code for orders under $150.00. I will have a small perk for those with orders over $50.00
It is so hot and muggy these days here in the south that I have been wishing for Fall. In prepping for my card club and going through stamp sets, I stopped on a new one that made Fall seem a bit closer.
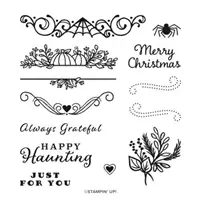
The stamp set I stopped on was Celebration Tidings. It is a very versatile set that pairs with the Celebration Dies that are a varying size of the same layering die. I chose to use the floral image and this gorgeous sentiment. I love the beautiful cursive font used here.
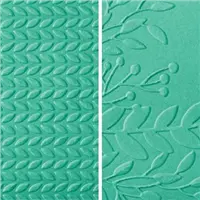
The background is the Greenery pair of Embossing folders. There are two different , smaller size, embossing folders. This is the one I named #1. Because it is narrow, it leaves a mark along the top and bottom if you use a full size layer of card stock as I did. I was careful to get the card stock centered in the die, so the line is on the top and bottom like it is supposed to be there!
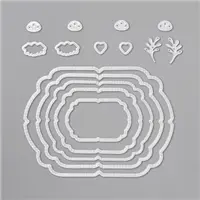
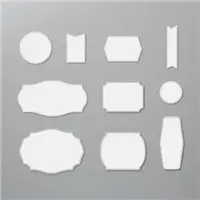
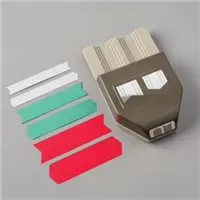
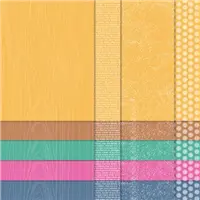
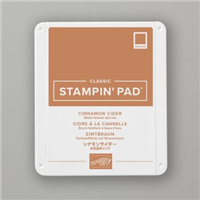
The dies used for the image and the background are the Tasteful Labels Dies. The DSP is the Cinnamon Cider DSP from the 2020-2022 In Color 6×6 DSP. I adore the texture shown in the paper. I used the Banner Pick A Punch for the sentiment layer.
Thank you very much for visiting today! I love to hear from and appreciate your comments.
HOST CODE
My August Host Code is 6M4NU6C2 Please use this code for orders under $150.00. I will have a small perk for those with orders over $50.00
Hello, welcome to the Stampin’ Pretty Pals’ Blog Hop! This month our Design Team is showcasing “My Happiest Season.” We hope you enjoy and will be inspired by them! Don’t forget to leave comments! We love hearing from you. At the end of my post, you will find the full line-up to help you “hop” along from Pal to Pal.
I love Christmas, and always have. I even collect Santa Claus figures of any kind. To choose my favorite season of the year there was no question what my card would be about. It was just down to which stamp set to use.
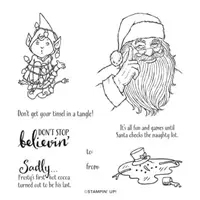
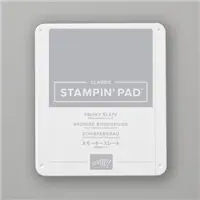
I went with the Don’t Stop Believin’ Stamp Set from the Mini Catalog. I could not resist this Santa image. I love all of the images in the set, but this one was tops. It is a fairly large stamp and I wanted it to be the focal point. Saying that, I ended up adding several extras. But I think he is still the star. I stamped Santa with Smoky Slate Ink and colored with Stampin’ Blends. The fur and his beard have a touch of Wink Of Stella for some shine.
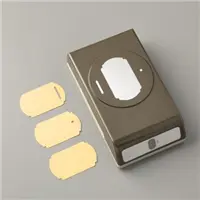
To cut the “frame” for Santa, I used the new Celebration Labels Dies. I cut the opening from Tis’ The Season Designer Series Paper. I also used the Foam Adhesive Strips to raise the cut out from underneath. This is a great alternative to using quite a few Stampin’ Dimensionals.
The holly is from one of the Returning Favorites stamp sets. It is from Christmas Gleaming. I was so happy that set was one of the returning ones. I used those holly leaves several times last year. The holly and berries are colored using Stampin’ Blends.
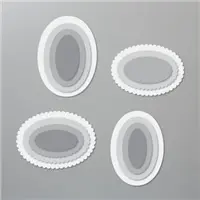
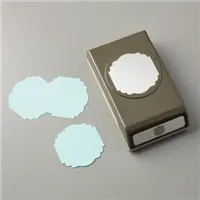
The finishing touches are the ribbon and sentiment. The white ribbon is one of three from the Flowers For Every Season Ribbon Bundle. I paired it with the red from Playful Pets Trim Combo. And finally the sentiment is from the Don’t Stop Believin’ set. I cut it with one of the Layering Ovals. I don’t usually leave a sentiment a single layer like this. But I didn’t want to add any more layers to this one.
Thank you for stopping by my blog! Please leave a comment and let me know your favorite Santa!
More inspiration awaits! Use the Blog Hop Line-up below to visit the rest of this month’s Design Team. My fellow Pals are excited to show you what they’ve created! Mark your calendars for our next blog hop on September 9th when our theme is “It’s the Sentiment that Counts.” The Design Team will showcase a sentiment as the focal point of their project. Don’t miss the fun! Until then, please stay safe and have fun in your craft room.
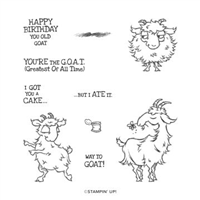
I am back with the Goats today. This stamp set is so darn cute. I have used it a couple of times already and the recipients all say they love the cards and laugh at the cute goats.
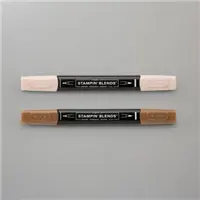
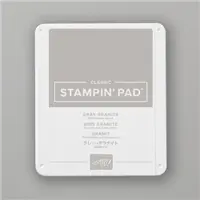
These cute guys, or gals, would work for pretty much anyone’s birthday. At least for those of us that are a bit older! I think they are just adorable, and I love the sentiments. The goats are stamped with Gray Granite Ink and just the highlights are colored with Crumb Cake Stampin’ Blends.
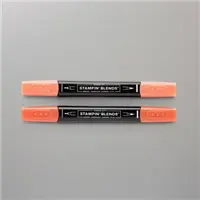
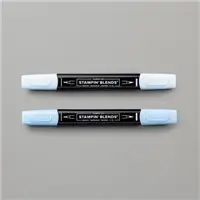
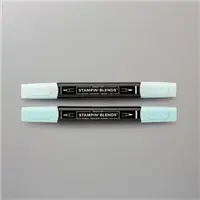
I colored the base just a bit with Light Pool Party Stampin’ Blend. I love this color for giving the shadow look around images. I used it here to sort of ground the guys.
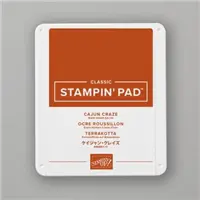
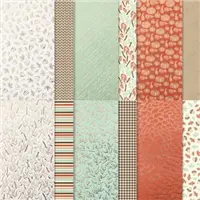
The paper is from the Gilded Autumn Designer Series Paper. The pack is a beautiful mix of Fall colors. I paired this sheet with Cajun Craze and Crumb Cake card stock. The ribbon is a retired (I didn’t realize that until I was writing this post – Oops!) Satin Mint Macaron Ribbon. It is a perfect match for the Mint Macaron stripes and the stem of the poor flower that is being eaten.
Thank you for stopping in today. I hope you enjoyed another version of the Old Goats and will come back again.
HOST CODE
My August Host Code is 6M4NU6C2 Please use this code for orders under $150.00. I will have a small perk for those with orders over $50.00
I have been cleaning, sorting, etc in my craft space a bit lately. One of the best parts of this is I find old projects that I saved because of the layout, folds, etc. Today I have a gift card holder that is an “Oldie but a Goodie”. This is one that is very quick and simple in terms of cutting and scoring. And it it super flexible so that different stamping or DSP makes it appropriate for anyone at any time of year. I know I need gift card holders year round!
As I started working on this post, I realized I did not add the touch of bling that I had planned on. So imagine that there is some bling next to the sentiment! LOL!!! Sometimes I would forget my head. I was running out of time, so did not go back down to my room to fix it. Sorry!!
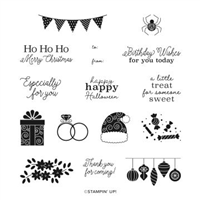
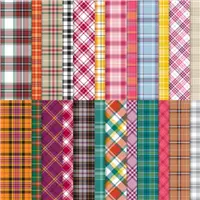
Besides the Plaid Tidings Designer Series Paper, I used the Little Treats stamp set. This little set has decorations and sentiments for a variety of occasions. Plus the Little Treat Box is adorable.
Here is the inside of the card.
As you can see , the gift card sort of stands up in the center fold. You can decorate this card as much, or as little as you want. I opted to just show the pretty DSP. It is from the Plaid Tidings Designer Series Paper. As I have this one done, which is DSP on every panel on both sides, it takes 2 sheets of the 6X6, with just a bit left over. I have the measurements for you below.
Here is a close up of the slit that the gift card fits in.
I cut the slit just after I have made all of the score lines. Go back to the 6″ score line. It is the center one of the three that are close together. Using the Paper Trimmer, lay that score line on the cutting track. Come in 3/8″ and slice down the score line, and stop at 3/8″ from the other end. To make the little stand up holder, use Tear & Tape and place it against the cut edge on one of the panels above or below the cut line. You do not need to do it on both of those sections. But the tape does need to be against the edge so you don’t close up the opening you made.
Thank you for stopping by today. I will add the instructions and measurements just below. If you have any questions, don’t hesitate to contact me. I would love to help you out.
MEASUREMENTS:
Card base is 4 1/4 X 10
Score along the 10″ side at 2, 5, 6, & 7.
Place the 6″ slit on the Paper Trimmer and cut , leaving 3/8″ from each end solid
Fold and burnish on all score lines. Make a “mountain, Valley ” fold with the three short lines. The slit for the gift card should be at the top.
Place Tear & Tape along the edge on each end of one of the 5-6 or 6-7 scored sections.
Cut DSP to: 2 pieces cut 1 3/4 X 4, and 4 pieces cut 2 3/4 X 4
After adhering the paper, remove the Tear & Tape and make the mountain with the slot at the top.
Decorate the front as you see fit. I did use a velcro dot to hold the card closed due to the thickness.
HOST CODE
My August Host Code is 6M4NU6C2 Please use this code for orders under $150.00. I will have a small perk for those with orders over $50.00
The content in this blog is the sole responsibility of Jackie Beers as an Independent Stampin' Up! Demonstrator. The use of and content of classes, services or products offered is not endorsed by Stampin' Up!