You all know how much I love Gift Card Holders. As much as I love them, I am sad that I will be using more for this Christmas gift giving. That said, I have been working on creating a few different ones to use. Today’s is a fun one using Snowflake Splendor.
I am not sure if this is funny or sad! Poor Frosty!! My idea is to pair this with a treat bag with some instant cocoa and a gift card to a coffee shop. Coffee shops generally have hot cocoa as well.
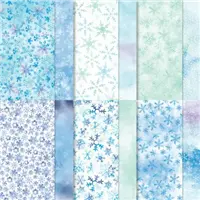
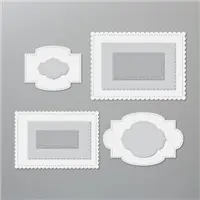
The Designer Series Paper on the left side is from the Snowflake Splendor DSP. I am so in love with the colors of that pack. I was thrilled to find that Frosty fit perfectly inside the Stitched So Sweetly Die. The matching Die makes that layer a great size for overlapping the front and inside sections.
Here is a view of the inside.
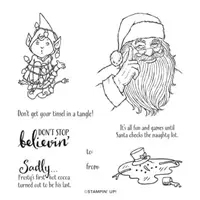
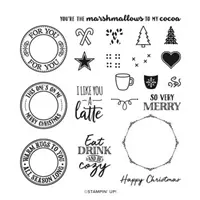
The frosty image and the “Sadly….” are from the Don’t Stop Believin’ stamp set. I love every stamp in that set! The inside sentiment and the mug are from the Warm Hugs stamp set. There are dies for the circle image, but I chose to simply stamp them on that inside layer.
Thank you for stopping in today. I have all of the measurements listed next and all of the products I used are at the bottom of the post.
Measurements:
The base card is Pacific Point card stock cut to 4 1/4 X 10 1/2, scored at 5 1/2 and 8 1/4.
I normally use the 1′ circle punch for the thumb hole, but since it is retired, I tried the 2″ and it works even better. TIP: Center and Hold the DSP against the edge of the card holder when you punch the thumb hole. Then when you attach it, the cut out matches perfectly.
All inside pieces and the front DSP are 4 X 2 1/2
The gift card DSP is 4 X 2
HOST CODE
My November Host Code is: 7C63XEUQ Please use this code for orders under $150.00. I will have a small perk for those with orders over $50.00
Welcome to InKing Royalty’s November Blog Hop! During this year’s blog hops, we are enjoying a year of celebrations. This month’s projects celebrate Christmas, which – believe it or not – is just around the corner. Please prepare yourself for lots of beautiful projects that share the joy of this holiday. We are excited to share our creations with you today! After you read my post, I hope you’ll hop over to the next person on the list at the base of this post.
Christmas is my favorite time of year! I love everything about it, but especially spending time with family and friends. Several of my friends display their Christmas cards each year, as do I. With that in mind, I try to make my cards so that they will stand easily on their own. Today’s card is one of those that is a bit different and simple to make.
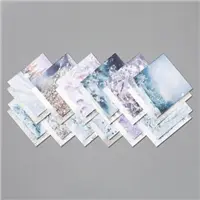
My card is a “stand” card. I used the Feels Like Frost Designer Series Paper, which was a returning favorite in the Mini Catalog. It was a bit hard on my brain, LOL!!!, but I was able to cut the paper so that the bottom section lined up exactly with the top when in the standing position.
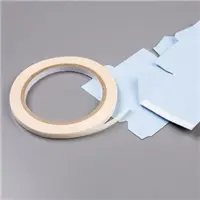
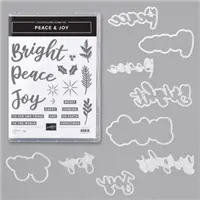
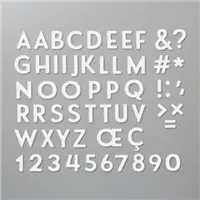
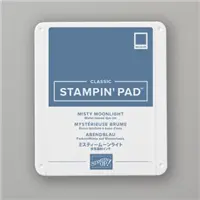
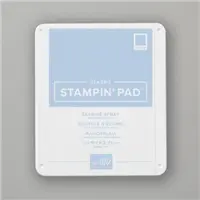
I always hate covering up this gorgeous DSP, so I went with minimal decorations. I used the Peace & Joy Bundle for the Peace & Joy! The three different layers are included in the dies. I think it is very unique and a perfect touch as well. The “&” is from the Playful Alphabet Dies. Another great set of dies. I have used those much more than I anticipated! The bottom two layers (Seaside Spray and Whisper White) are glued on top of each other. But for the top words (Misty Moonlight) , I used the Foam Adhesive Sheet to give them the depth. It also makes adhering those fine lines so easy! The Foam is great quality as it does not cause difficulty for the dies in cutting. It is thick enough but very soft.
Here are views of the closed card. It really is not too thick. And the inside view.
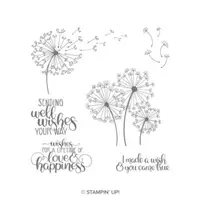
Do you recognize the dandelions on the inside? I couldn’t resist adding them from the Dandelion Wishes stamp set. To me, they look like the frosted flowers in the DSP. To give them a bit of shimmer, I added Wink of Stella to them.
Measurements:
Base of Misty Moonlight cut to 8 1/2 X 5 1/2, scored at 4 1/4 and 6 3/8
Seaside Spray cut to 4 1/8 X 5 3/8. This is adhered to the folded layer only to create the flexible stand.
DSP cut to 4 X 5 1/4
Seaside Spray cut to 1 5/8 X 5 3/8 for block section
DSP cut to 1 3/8 X 5 1/4. Adhere to Seaside Spary and raise this section with Stampin’ Dimensionals to create the block section.
Inside Whisper White is 2 1/4 X 5 3/8
Thank you for stopping by today. I hope you’ll hop along to the next stop on the blog hop, Sue Jackson at Just Peachy Stamping. There’s lots of inspiration to be found in this group – and you don’t want to miss it!
Thank you for hopping along with us. If you get stuck during the Blog Hop, please use this line-up as a guide:
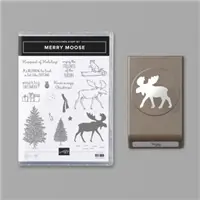
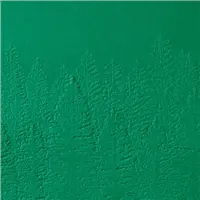
Today’s card is a fun card featuring the Merry Moose. I have paired him with the Evergreen Forest Embossing Folder.
A few years ago there was a moose’s head that had a scarf that went with it. Since then, I have always had that idea in my head. So Merry Moose received a scarf using the upcoming Mossy Meadow Braided Linen Thread. It is similar to the current Real Red version, but much softer to work with.
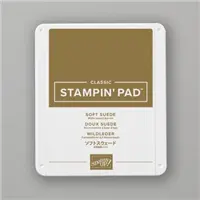
I stamped the “Happiest of Holidays” randomly across a piece of Sahara Sand card stock. I then used the Evergreen Forest 3D Embossing Folder to emboss the background. The moose is punched from Soft Suede card stock using the Moose Punch.
The layers are Mossy Meadow, Soft Suede and Sahara Sand. A really cute and quick card to make. I will definitely do more of this one as Christmas cards to mail.
Thank you for stopping by today. I hope you will come back tomorrow. It is the InKing Royalty November Blog Hop. There will be great Christmas ideas for you to see.
HOST CODE
My November Host Code is: 7C63XEUQ Please use this code for orders under $150.00. I will have a small perk for those with orders over $50.00
My title may be a bit misleading. This card is not a traditional Pinwheel, but is similar. It is a different focal layer. A new stamping friend gave me a card with this layout as a Thank You and I could not resist giving my spin on it.
I LOVE these little diamond shape layers! The card I was given had four diamond layers and they were placed directly onto the card base. I wanted a raised layer, so cut out the largest of the diamonds. Also, my owl would not fit the smaller layer, so it got a new shape as well.
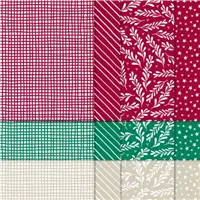
The background DSP is the Classic Christmas Designer Series paper. It is part of t he Curvy Christmas and Quite Curvy Bundle that is a special release right now. The Curvy Christmas and the DSP are only available during November and December. The details are at the bottom of the post.
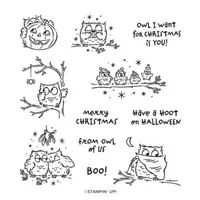
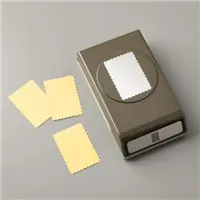
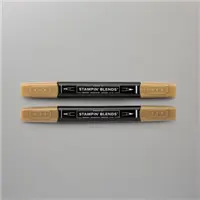
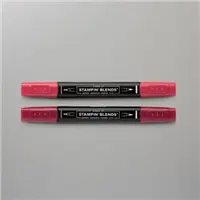
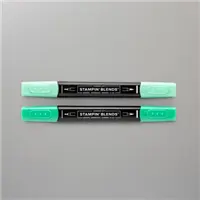
The owl is from the precious set Have A Hoot. It is stamped in Memento Tuxedo Black Ink and colored with Stampin’ Blends. I used the Rectangle Postage Punch to punch it with. Then cut a piece of the DSP for the backing.
I temporarily placed the layers and then stamped the sentiment. I always want to be able to flx a mistake!! The sentiment is also from the Have A Hoot stamp set.
Measurements:
Thick Whisper White base is 4 1/4 X 11
Regular Whisper White layer is 4 X 5 1/4
Largest DSP is 2 3/4 X 2 3/4
Largest WW is 2 1/2 X 2 1/2
Middle DSP is 2 1/4 X 2 1/4
Middle WW is 2 X 2
Focal DSP is 2 1/4 X 1 5/8
Scrap of WW for owl and punched with Rectangle Postage Punch
Thank you for stopping in today. I really appreciate your liking my cards and leaving comments.
HOST CODE
My November Host Code is: 7C63XEUQ Please use this code for orders under $150.00. I will have a small perk for those with orders over $50.00
My card today is a version of a card that we did at the Stampin’ Up! OnStage at Home last weekend. Normally we would have had OnStage in Salt Lake City, but since this is not a normal year by any stretch, it was done virtually. I have to give huge credit to Stampin’ Up! for a great event. They went above and beyond with the content.
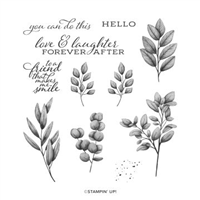
One of the stamping spots was a stamp along. We were given the measurements to cut our DSP and other card layers for a surprise layout. I loved the layout and decided to do it again with a different stamp set. I think of the Forever Fern stamp set as the colors of the Forever Greenery Designer Series Paper. So it took a reboot of my brain to totally change the colors. I am happy with the changes.
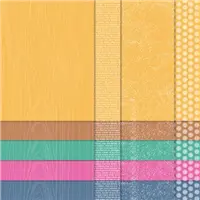
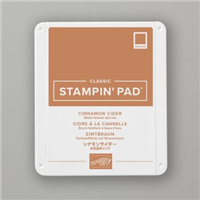
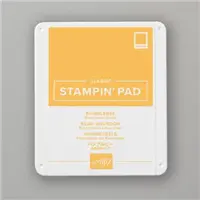
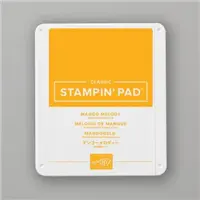
I used Cinnamon Cider, Mango Melody and Bumblee as my inks and DSP. The pattern in the Designer Series Paper seems to be the rough look I was going for with the colors of the leaves. I got the Cinnamon Cider and the Bumblee from the In Color 6X6 DSP. The Mango Melody comes from the Brights 6X6 DSP. I love having the same pattern in all of the colors. Although it would have looked just as good had I chosen different patterns.
I stamped directly onto the base card. It is the Thick Very Vanilla card stock. I alternated the different stamps and ink to create the pattern going up the left side of the card. For the sentiment layer, I used the same stamps and colors, but I stamped off to give it a softer look. The sentiment is from the Forever Fern stamp set and is stamped in Cinnamon Cider. Before adhering it to the top and bottom DSP layers, I wrapped the Linen Thread around a few times and added a multi-loop bow.
The measurements for the DSP are: 1 1/4 X 3 1/4 for the top and bottom pieces (Cinnamon Cider and Bumblee). The middle layer is Mango Melody and is 1 X 4. The sentiment layer is 2 1/4 X 3.
Thank you very much for stopping in today. Please come back on Monday for some new projects I will have ready to share.
HOST CODE
My November Host Code is: 7C63XEUQ Please use this code for orders under $150.00. I will have a small perk for those with orders over $50.00
The content in this blog is the sole responsibility of Jackie Beers as an Independent Stampin' Up! Demonstrator. The use of and content of classes, services or products offered is not endorsed by Stampin' Up!