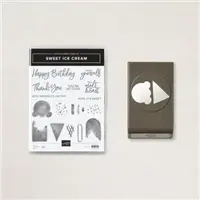
I hope you have seen the New Mini Catalog and the Sweet Ice Cream Suite! Oh My! It is so stinking cute. I loved it immediately. My card today is using that bundle.
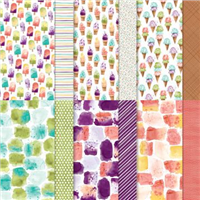
I love this cute ice cream cone, especially a double scoop!! The cone and scoop are together in one punch. And I truly love punches! The background DSP is two sheets of the Ice Cream Corner Designer Series Paper. Every sheet is as cute as can be.
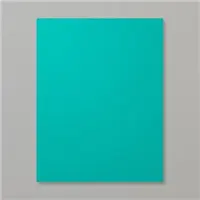
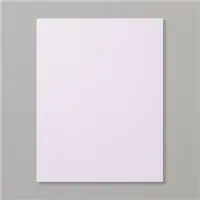
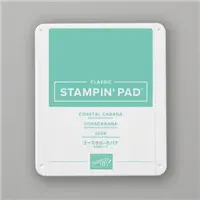
I pulled all of my colors from the two sheets of DSP. My base card is Bermuda Bay, the layer is Purple Posy, and the “scoops” are Soft Sea Foam with “sprinkles” of Coastal Cabana.
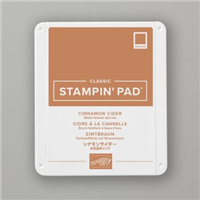
The cone is a solid but shaded stamp. You then add the hatching marks with a second stamp. I used Cinnamon Cider for both. Due to the shading on the main stamp it allows the hatching to show very well.
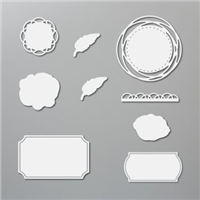
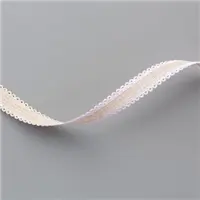
I layered the cones on a panel cut using Painted Labels Dies. I like that it hangs over just a tad bit. The ribbon I used to join the two DSP sheets is the Purple Posy Scalloped Ribbon.
This is a pretty quick card and could be made in just about any color combinations. I love papers that allow so many choices. It would allow you to match a birthday theme color very easily.
Thank you for stopping by today! Please come back on Monday for another new project.
HOST CODE
My JANUARY Host Code is: AYRTRJCQ Please use this code for orders under $150.00. I will have a small perk for those with orders over $50.00
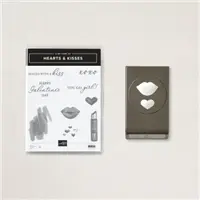
I have never been a fan of really Girly things. That is just not me. But the minute I saw the Hearts & Kisses Bundle in the Mini Catalog, I was in love. Especially in love when I saw the punch! I do love my punches.
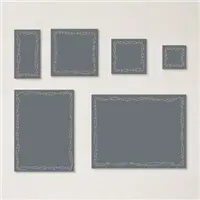
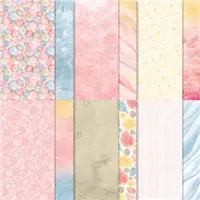
You may be surprised, but the gorgeous DSP is the Sand & Sea Designer Series Paper. I love this variegated look on some of the sheets in the package. I pulled all of the colors from the paper, of course! The picture does not show the edges of the DSP well, but I used the Stitched With Whimsey Die around the edge. It has a whimsical, hence the name, trail of stitching. It shows in person but the busy of the paper doesn’t allow it to show in the photo.
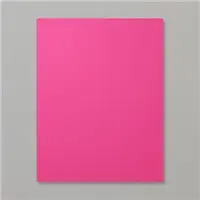
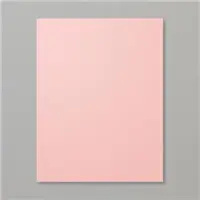
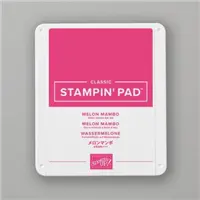
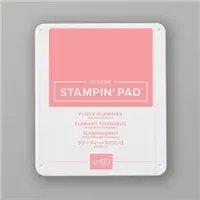
The card base is Melon Mambo with a layer of Blushing Bride beneath the DSP. All of the stamps are from the Hearts & Kisses set. The background squiggle is stamped using Petal Pink. The hearts and lips are each using Melon Mambo, Flirty Flamingo, and Blushing Bride. I punched out each piece and raised them using Stampin’ Dimensionals.
The sentiment is from the Hearts & Kisses as well. I didn’t really have room to layer it as I normally would. After looking at it a few minutes, I decided it would be a pretty straight cut. So out came my Paper Snips and away I went. I did cut straight across the bottom and top, with the exception of the tail of the “g” and the height of the “L and !”. As I was finishing I noticed the angle after the explanation point and decided to go with that. I also gave an angle to the other end.
Just a reminder about Sale-A-Bration! With the purchase of the Hearts & Kisses Bundle, the Sand & Sea DSP, and a pack of card stock…you are at the $50.00 level for a FREE product from the Sale-A-Bration Catalog. This bundle has a lot of flexibility, especially with the punch. And you get FREE product. WooHoo!!!
As another bonus…..with the $50.00 purchase point to receive SAB, you also would be at my Blue Star Perks reward. For every $50.00 of product, you receive a star. With 10 stars, you get a $50.00 shopping on me! The rewards is explained at the top of the page under the SHOP button.
Thank you for stopping by today. I really do appreciate your comments and visits.
HOST CODE
My JANUARY Host Code is: AYRTRJCQ Please use this code for orders under $150.00. I will have a small perk for those with orders over $50.00
Welcome to InKing Royalty’s January Blog Hop! During this year’s blog hops, we are having fun with our stamping favorites – our favorite themes for seasonal cards and projects. This month’s projects feature hearts, so prepare yourself for lots and lots of love. We are excited to share our creations with you today! After you read my post, I hope you’ll hop over to the next person on the list at the base of this post.
There are so many “heart” stamps to choose from! I had narrowed it down to about three, when I ran across a set still on my desk. I knew this was the perfect one, even though a tad out of the norm when you think about hearts. Or at least the way I was originally thinking.
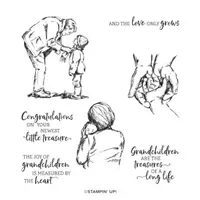
The center heart is the one that caught my eye and made me decide on this direction! It is from the new to the Mini Catalog Treasures of Life stamp set. Oh My! I am not a parent or grandparent, (except for 4 legged varieties) but I still fell in love with this set. And luckily I have friends who have recently become first time grandparents.
The DSP is the unexpected Artistry Blooms Designer Series Paper. I pulled the other colors from that paper. To cut the hearts I used the Be Mine Stitched Dies. The main hearts as well as the ones on the bottom are from the die set.
Here is a view of the inside. I cut around the negative to give a frame to the sentiment. I decided one more heart was needed. This also shows another view of the Fun Fold.
I cased this Fun Fold from fellow demonstrator Susie Wood. If you follow me at all, you know I love fun folds. This one is a keeper.
Measurements:
Base of Coastal Cabana is 4 1/4 X 9 scored at 5 1/2
Base layers are Highland Heather cut 4 X 4, and 1 5/8 X 4
DSP is cut 3 7/8 X 3 7/8 and 1 1/2 X 3 7/8
White inside layer is 3 1/2 X 4
Thank you for stopping by today. I hope you’ll hop along to the next stop on the blog hop, Ann Murray at Murray Stamps Ink. There’s lots of inspiration to be found in this group – and you don’t want to miss it!
Thank you for hopping along with us. If you get stuck during the Blog Hop, please use this line-up as a guide:
The card I am sharing today is a bright and cheery one. I cased a card I received from one of my downline for the layout. Thank You and shoutout to Deirdre Reilly.
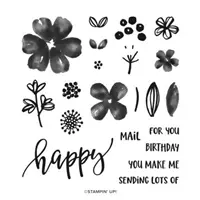
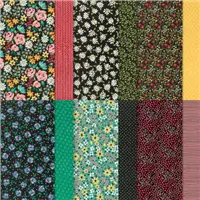
I used the beautiful Pretty Perennial stamp set and pulled the colors from the DSP. The DSP is the Flower & Field Designer Series Paper is that is a FREE one from the Sale-A-Bration Catalog. I have more about that at the bottom of the post.
I love all of the flowers and leaves in this set which allows you to make your own flowers in whatever color you choose. As I said, I pulled colors from the DSP, and went on the bright side of the colors.
Probably my favorite part of this stamp set though is the “Happy”! I love that cursive writing. Plus it has a few different words that pair with the happy included in the set. I chose to use the “birthday”.
This is a great layout to use up scraps of DSP that if you are like me, you have plenty!! The base of the card is 4 1/4 X 5, and then the white layer is cut to 4 X 10 1/2 and folded in half. The DSP layer i used is 4 X 1 3/4 with a 4 X 1/2 strip for the birthday. However, you could make the DSP strip any size that fits your leftover pieces.
I made a second card using the same colors and layout. The main difference is that I did a black base card. Here is a look at that one.
I hope you have had a chance to look at the offerings in the Sale-A-Bration catalog. The choices are really pretty and the best part is that they are FREE with a qualifying purchase. I always recommend for people to save their end of year purchases until January – February so they get an added bonus. For every $50.00 of merchandise you purchase, you get to choose one of the SAB items at no charge. There are also $100.00 options. And with a $100.00 order, you can choose 2 of the $50.00 options or 1 of the $100.00 options. WooHoo!!
Thank you for stopping by today! I hope you will give this easy layout a try and use up some of your scraps of DSP. I hope you have a great rest of your day.
HOST CODE
My JANUARY Host Code is: AYRTRJCQ Please use this code for orders under $150.00. I will have a small perk for those with orders over $50.00
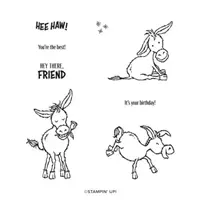
I saw a card made to look like a barn door for the donkey. I wanted a simpler version though. So I played with it and come up with a Fun Fold that would work for any type card. I used stamps and paper that make it so if you have it already in your mind…..then it might be a barn door!! LOL!!
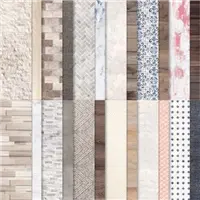
I just adore this little guy, or gal. The facial expressions that Stampin’ Up! gives to the animal stamps are always so cute. As I said at the top of the post, I was looking for a simple barn door. I went to the In Good Taste Designer Series Paper for a wood piece.
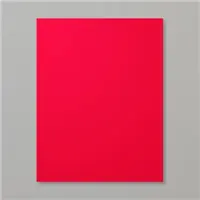
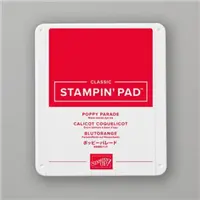
I did not want this card to be very neutral looking or simply masculine. To that end, I chose Poppy Parade as the bright piece for this project. To pull out the gray in the wood, I added a layer of Smoky Slate Card Stock. It is one of my go to colors. It pairs so well with anything else.
Here is a look at the open card. And ignore the unfinished inside. I have not decided on the proper sentiment so have not added the white layer to write and stamp on.
I have the measurements and directions to share with you. I will definitely be making more cards using this fold.
Measurements and instructions:
Base layer is Poppy Parade cut 4 1/4 X 5 1/2
Door flap is Poppy Parade cut 2 3/4 X 5 1/2, scored at 1 1/4 on the 5 1/2 side
Fold on score line and adhere the 1 1/4 section to the left, bottom of the Base
Smoky Slate is cut to 4 1/8 X 5 1/8 and adhered over the base and the small section of the door
Cut another Smoky Slate layer at 4 1/8 X 2 5/8 to adhere to the front of the door flap
DSP is cut to 4 X 5 1/8, then cut it in half at 2 5/8 on the 5 1/8 side. The taller section adheres to the upper part of the card. The shorter section adheres to the door flap.
The inside lower, behind the door flap, is Whisper White cut to 2 1/2 X 4 (I do not have that in the photo)
The front donkey layers are:
Poppy Parade is 2 3/4 X 3 3/4
Smoky Slate is 2 5/8 X 3 5/8
White is 2 1/2 X 3 1/2
Thank you for stopping by today! I hope you had a fun weekend and were able to get some crafting time in.
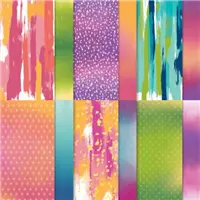
Now is a great time to Join My Team. Any time is a good time…..but for this current promotion, during Sale-A-Bration, you will receive a free stack of our Regals, Subtles, Neutrals, Brights, and 2020—2022 In Color Designer Series Paper along with the Starter Kit! There couldn’t be a better time to join the Stampin’ Up! family. As always, the starter kit is $99.00 and you choose product of your choice in the amount of $125.00 + the special promotion (which is the paper listed above). I would love to talk with you about this if you are interested in getting a discount for your hobby or building your own business!
HOST CODE
My JANUARY Host Code is: AYRTRJCQ Please use this code for orders under $150.00. I will have a small perk for those with orders over $50.00
The content in this blog is the sole responsibility of Jackie Beers as an Independent Stampin' Up! Demonstrator. The use of and content of classes, services or products offered is not endorsed by Stampin' Up!