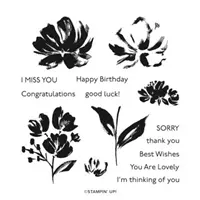
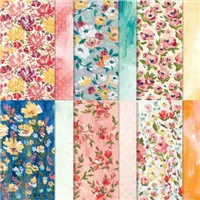
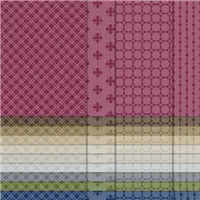
Today’s card is a quick and easy card using the Fine Art Floral Designer Series paper as the star. Last I checked it is still available in the Last Chance Sale. The sheets in this pack are wonderful and work for any type of paper crafting. I also added in the Art Gallery stamp set, which carried over to the new Annual Catalog.
The Paper
If you follow me at all, you know how much I love Stampin’ Up! Designer Series Paper. I tell you often enough, right!! Something I especially like is that both sides of the papers are gorgeous. And today I used both sides of the same sheet.
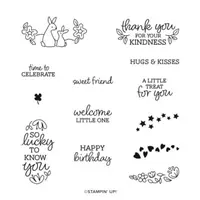
Another thing I love to do is to Stamp On The DSP. I am not the only one who does it, but it is not seen very often. That is what I did today. On the sentiment layer I stamped the flower but then also stamped the small flower image. It is actually a layer for the flower. I stamped off on it before stamping on the DSP. The sentiment is from the Art Gallery stamp set also. The boldness of it seemed to work with the business of everything else.
Layout
The layout is a regular one. I just added the angle for the smaller sentiment piece. I did something that I do not normally do. I layered the two DSP pieces together after stamping the flowers. Then I lined up the bottom edge of the larger piece with the ruler along the bottom of my Stampin’ Up! Grid Paper. ( I used all the lines and ruler for everthing!!!) That way I could feel fairly certain to get the sentiment stamped straight even though the layer it is on is at an angle.
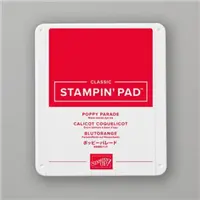
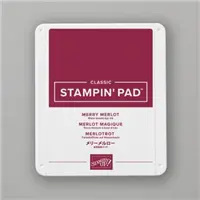
As is usual for me, I chose the colors of paper and ink from the DSP. I went with Mossy Meadow for the card base, which is not a common one for me. And Did Not put a layer between the base and the DSP. That is very unusual for me. I love my layers. The inks I used are Mossy Meadow and Poppy Parade, with the sentiment in Night of Navy. I have shocked myself with how few products I used for this card!!
Measurements
The base card is cut to 5 1/2 X 8 1/2 scored and folded at 4 1/4
The large DSP is cut to 3 7/8 X 5 1/8
The angled and smaller DSP is cut 2 1/2 X 3 3/4
January – June Mini Catalog Last Chance Sale
Click on the image below to get the 4 page pdf of the sale. A reminder, in some cases a Bundle is cheaper to purchase the stamp set and dies individually. Some dies are discounted up to 50% off.
If you order through me, and it is as easy as clicking on the Shop Now button on the Menu Bar, I have a Rewards Program. For every $50.00 in product you purchase, you earn a Blue Star. When you have gathered 10 Blue Stars, you get a $50.00 shopping on me. Plus every time you spend $50.00 I will add a small gift for you. Please use my Host Code listed below.
HOST CODE
My June Host Code is HCX2WT2A Please use this code for orders under $150.00. I will have a small perk for those with orders over $50.00
Thank you for stopping by today. I hope you enjoyed today’s project and will come back. I do read and reply to all of the comments individually. They mean a lot to me. Please reach out if you have a question.
Welcome to InKing Royalty’s June Blog Hop! During this year’s blog hops, we are having fun with our stamping favorites – our favorite themes for seasonal cards and projects. This month’s projects feature stars. We are excited to share our creations with you today! After you read my post, I hope you’ll hop over to the next person on the list at the base of this post.
I realized in thinking of my card and which direction to go that it definitely depends on the time of the year. For example if this were Winter my stars would have been Christmas related. So of course with this being Summer, I had to go with a Patriotic / July 4th type Star card.
I failed to mention that this is also a Fun Fold card. Here are open and then open again views.
The Star
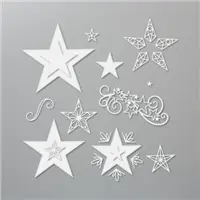
To start this Star, I chose the Stitched Stars dies. I used the 3rd largest star and die cut it using Thick White cardstock. While I was cutting, I went ahead and did a few of the smaller stars as well. I chose Night of Navy and Merry Merlot from the Neutrals 6X6 DSP pack. Merry Merlot isn’t a normal Red I would choose, but I love the look now.
I cut the two colors of DSP into 1/4″ strips, leaving the length at 6″. Before beginning my gluing process I grabbed my Silicone Mat. This is a must have for glueing small items without making a mess (like I usually do!!) To layer, I wanted to be in the correct order of Red/White/Blue, but I didn’t think it needed to begin with Red. I glued the first blue piece a little bit down from the top and then added a red piece. For the White areas I layed a scrap piece of cardstock that was also cut 1/4″ and then bumped the blue up against it before removing it. This really was a fairly easy technique.
The Fun Fold
The base of the card is a regular cut of 5 1/2 X 8 1/2, scored at 4 1/4. I then cut off 1 1/4 from the front piece. The White layer on the front is cut 2 3/4 X 5 1/4 and stamped with stars from the Oval Occasions stamp set. I placed a regular inside layer of White also. The Merry Merlot layer is cut 4 X 7 and scored at 3 1/2. It is then centered on the inside of the card and folds over the front. The inside layer of the Merry Merlot is White cut to 3 1/4 X 3 3/4. The Night of Navy cardstock layer on the front beneath the Stars is also 3 1/4 X 3 3/4.
The stamped stars and the sentiment are from the Oval Occasions stamp set. The Double Oval Punch that is Bundled with this set is carrying over, but the stamp set is not. I hope you will give this set a second look as it is very versatile.
Thank you for stopping by today. I hope you’ll hop along to the next stop on the blog hop, Candy Ford at Stamp Candy. There’s lots of inspiration to be found in this group – and you don’t want to miss it!
Thank you for hopping along with us. If you get stuck during the Blog Hop, please use this line-up as a guide:
Click on the image below to get the 4 page pdf of the sale. A reminder, in some cases a Bundle is cheaper to purchase the stamp set and dies individually. Some dies are discounted up to 50% off.
If you order through me, and it is as easy as clicking on the Shop Now button on the Menu Bar, I have a Rewards Program. For every $50.00 in product you purchase, you earn a Blue Star. When you have gathered 10 Blue Stars, you get a $50.00 shopping on me. Plus every time you spend $50.00 I will add a small gift for you. Please use my Host Code listed below.
HOST CODE
My June Host Code is HCX2WT2A Please use this code for orders under $150.00. I will have a small perk for those with orders over $50.00
Thank you for stopping by today. I hope you enjoyed today’s project and will come back. I do read and reply to all of the comments individually. They mean a lot to me. Please reach out if you have a question.
I have a very colorful card to share with you today. You will smile at the inspiration for the card. I will start with saying that these are two of my favorite colors. While shopping the other day I saw a lady with a pantsuit that was pink with orange at the bottom of the blouse, and then orange with pink at the bottom of the pants. I could not help but smile because that is a color combination that I can get behind. So when looking for paper for a card inspiration what did I find…….Orange and Pink DSP!!!
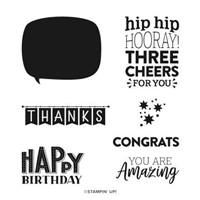
This card simply Shouts that You Are Amazing!! And I LOVE that. The word bubble and the Amazing are from the stamp set, You Are Amazing. As is the stars along the strip of orange. I fussy cut the word bubble since it was really just curved a bit. I wanted it to stand out so I left a bit of White border and then raised it using Stampin’ Dimensionals.
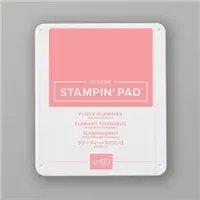
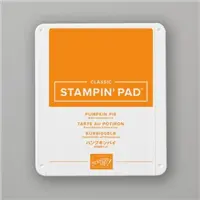
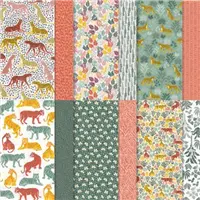
The gorgeous DSP is from the Fine Art Floral Designer Series Paper. I chose Flirty Flamingo as the card base with a layer of Pumpkin Pie. To help the DSP pop a little bit, I added an extra layer of White beneath it. The word bubble is stamped on White cardstock with Flirty Flamingo. You are Amazing is stamped using Memento Tuxedo Black Ink.
The strip along the bottom is to ground the word bubble. I am not sure it really needed grounding, but I did it anyway. The stars are a stamp from the set and are stamped using Pumpkin Pie Ink on the Pumpkin Pie cardstock. For a finishing touch I added a few Rhinestones to the stars with one on the word bubble.
January – June Mini Catalog Last Chance Sale
Click on the image below to get the 4 page pdf of the sale. A reminder, in some cases a Bundle is cheaper to purchase the stamp set and dies individually. Some dies are discounted up to 50% off.
If you order through me, and it is as easy as clicking on the Shop Now button on the Menu Bar, I have a Rewards Program. For every $50.00 in product you purchase, you earn a Blue Star. When you have gathered 10 Blue Stars, you get a $50.00 shopping on me. Plus every time you spend $50.00 I will add a small gift for you. Please use my Host Code listed below.
HOST CODE
My June Host Code is HCX2WT2A Please use this code for orders under $150.00. I will have a small perk for those with orders over $50.00
Thank you for stopping by today. I hope you enjoyed today’s project and will come back. I do read and reply to all of the comments individually. They mean a lot to me. Please reach out if you have a question.
I have another 4 X 4 card that is full of Friendship and Thanks. It is part of a 4 pack gift I made. The other card I shared last week. I used most of the same products in both cards. They use different pieces to make each more individual. There are two of each card.
If you missed the card from last week, you can see it HERE.
Layout
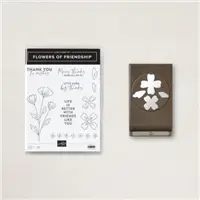
As I mentioned in the beginning of the post, the two cards are basically the same. The size of the cards are the same. The layers are a little different. For this one though I used the Flowers of Friendship Bundle. This bundle is a stamp and punch. You know how I love punches, so this was on my first order from the new catalog!
The difference for this card are the flowers and the sweet sentiment. They are both from the stamp set. I layered the smaller flower on top of the larger one. And glued the leaves to the back side of the larger flower.
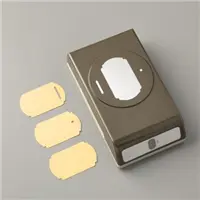
The sentiment is stamped and then punched using the Label Me Fancy Punch. I like the rounded edges this punch leaves. Plus it tucks just below the flowers very nicely.
Finishing Touches
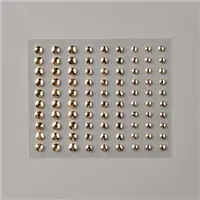
This card would qualify as a #simplestamping card so it does not have, or require , much in the finishing. I did add one Gold Gilded Gem to the center of the flower. I also used Stampin’ Dimensionals to raise the flower up. I had also used my bone folder to curl the petals on the smaller flower for some added dimension.
Measurements
Card base of Merry Merlot is cut 4 X 8 and folded in half
Crushed Curry layer is cut 2 1/2 X 3 3/4
DSP layer is cut 2 3/8 X 3 5/8
Layer is positioned equally on the left side aligned with Top, Bottom, and Left edge.
Options for the Punched Images
The punch will punch the two sizes of flower and the two leaves at one time. There are a couple of ways to make the punching more efficient. I just used scrap strips of my cardstock to stamp the images. But first, I turned the punch over and saw the direction each of the components were facing. That way I knew which way to place the stamped images for ease in cutting.
You can also use your Stamparatus and make a template. To do this, take a square of cardstock and punch all four pieces at once to make a template. Then place the template on the stamping surface of your stamparatus. Place the stamps in the template. Pick the flowers up with one plate and then pick the leaves up with the second plate. Now you can stamp and punch multiples easily.
January – June Mini Catalog Last Chance Sale
Click on the image below to get the 4 page pdf of the sale. A reminder, in some cases a Bundle is cheaper to purchase the stamp set and dies individually. Some dies are discounted up to 50% off.
If you order through me, and it is as easy as clicking on the Shop Now button on the Menu Bar, I have a Rewards Program. For every $50.00 in product you purchase, you earn a Blue Star. When you have gathered 10 Blue Stars, you get a $50.00 shopping on me. Plus every time you spend $50.00 I will add a small gift for you. Please use my Host Code listed below.
HOST CODE
My June Host Code is HCX2WT2A Please use this code for orders under $150.00. I will have a small perk for those with orders over $50.00
Thank you for stopping by today. I hope you enjoyed today’s project and will come back. I do read and reply to all of the comments individually. They mean a lot to me. Please reach out if you have a question.
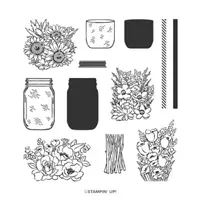
I have gone back to an older stamp set for today’s project. An Oldie but a Goodie in my book. It is the Jar of Flowers stamp set. My original thought was to make a larger card and use the punch with the Mason Jar Shaker Domes. But simpler won out. I am still thrilled that all of the items carried over!!
Building The Layers
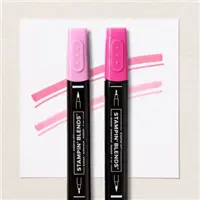
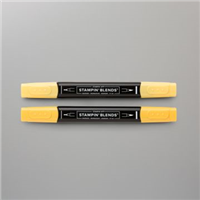
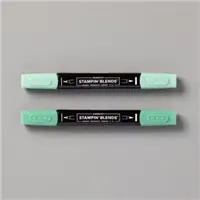
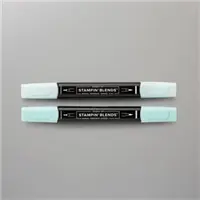
I have always loved the Blue Ball Jars and tend to make my jar from this stamp set in a blue tone. Today I used Pool Party for the jar and a stamped off Pool Party for the water. The flower stems are stamped using Just Jade and colored with Just Jade Stampin’ Blends. To be able to better blend the flowers, I stamped the bouquet using Basic Gray. Then all of the different pieces were colored using a variety of Stampin’ Blends. They are all listed in the supply list at the bottom of the post.
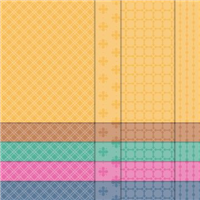
After using the Brights 6 X 6 Designer Series Paper on Wednesday’s cards, I couldn’t wait to use these bright patterns again. Today’s pattern is from the 2020-2022 In Color pack. It is on of the Bumblebee sheets of DSP. I added yellow in the flowers to compliment it. The other colors are Magenta Madness and Polished Pink. The Polished Pink is a little softer and deeper tone than the Magenta Madness. They are surprisingly great together!
Finishing Touches
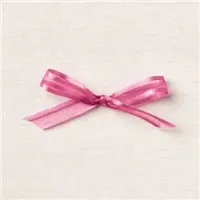
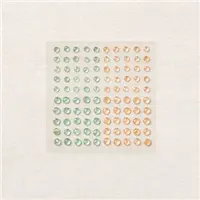
The final items for the card are fun additions. The beautiful ribbon is the Polished Pink Open Weave Ribbon. I wrapped it around the layers and then simply added a small strip to tie a knot. That is the easiest “bow” ever!! For the focal layer, I added some of the Genial Gems. They are in Mint Macaron and Pale Papaya, but seem to pick up the colors they are next to. So the largest flower got one of the Pale Papaya ones and I placed two different sizes of the Mint Macaron ones near the base of the jar. A little replica of water splatter is always ok. 🙂
There is one additional technique I added to the card, and sadly it does not show well in the photo. I used the Light Pool Party Stampin’ Blend and went around the jar and flowers. This gives a watercolor painting look. Or just a shadow around the item. I love it and apologize that it doesn’t show well. I hope you will give that a try sometime.
Measurements
Base card of Magenta Madness is 4 1/4 X 11, scored and folded at 5 1/2
Layer of Basic White is 4 X 5 1/4
DSP layer is 3 7/8 X 5 1/8
Basic White layer is 2 1/4 X 4 3/4 (This is a rare occasion where I did not mat the focal layer!!)
January – June Mini Catalog Last Chance Sale
Click on the image below to get the 4 page pdf of the sale. A reminder, in some cases a Bundle is cheaper to purchase the stamp set and dies individually. Some dies are discounted up to 50% off.
If you order through me, and it is as easy as clicking on the Shop Now button on the Menu Bar, I have a Rewards Program. For every $50.00 in product you purchase, you earn a Blue Star. When you have gathered 10 Blue Stars, you get a $50.00 shopping on me. Plus every time you spend $50.00 I will add a small gift for you. Please use my Host Code listed below.
HOST CODE
My June Host Code is HCX2WT2A Please use this code for orders under $150.00. I will have a small perk for those with orders over $50.00
Thank you for stopping by today. I hope you enjoyed today’s project and will come back. I do read and reply to all of the comments individually. They mean a lot to me. Please reach out if you have a question.
The content in this blog is the sole responsibility of Jackie Beers as an Independent Stampin' Up! Demonstrator. The use of and content of classes, services or products offered is not endorsed by Stampin' Up!