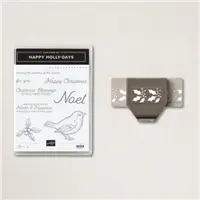
I have been thrilled with the Mini Catalog this year and all of the Punch Bundles. There is one that I was not sure of, and now Love!! It is the Happy Holly-Days Bundle. This bundle makes for a more elegant Christmas card and that is usually not really my style. However, I have used the stamp set a couple of times without being elegant, and now have a Bundle card for you. I hope you like it.
The Bundle
The Happy Holly-Days Bundle is the star of the show. I was not sure how I would use the Holly punch originally. It is one of the border punches. The border punches are easy to line up to continue the pattern for the length of your cardstock. As soon as I punched this edge, I knew I was now in Love with the detail of this punch. And as an added bonus, I now have holly pieces that could be used in a shaker card or as confettii!
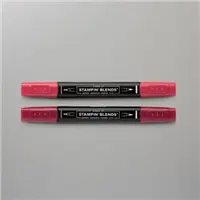
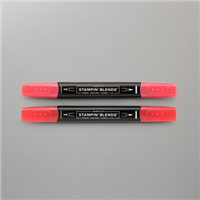
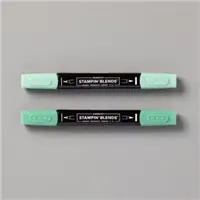
This stamp set has a variety of sentiments for the inside and outside of the card. Of course I did not use any of them on the front! It also has the bird image and the holly image. I decided I wanted both of those even with the holly border. They are both stamped and colored using a variety of Stampin’ Blends, which are listed in the Supply List. I fussy cut both with my Paper Snips and layered with Stampin’ Dimensionals.
Paper
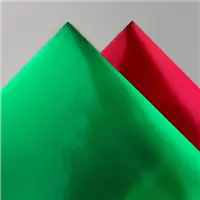
The stamps and punch are obviously the main products of this card. But I wanted to use the Green Foil as well. The shine seemed to be a perfect fit for the Holly. To offset the brightness of the Green Foil, I paired it with Cherry Cobbler and a layer of Basic White. I debated on adding a Cherry Cobbler layer underneath the holly punched area, but decided the white looked better.
Finishing
The final touch of this card was the Glittered Organdy Ribbon. Surprisingly the glitter has a bit of red in it. Or it just picks up the color from the cardstock. Regardless, that is a great added bonus. I made a double bow with the ribbon to give this bird a bit of larger piece to perch behind.
The 2nd Sale-A-Bration Is Here!!
Join My Team Promotion During Sale-A-Bration!!
HOST CODE
My September Host Code is NWZNBFH2. Please use this code for orders under $150.00. I will have a small gift for those with orders over $50.00 in addition to the Perk Rewards Program. You can read all of the information at the top of the page in the Menu Bar under SHOP / Perks.
Thank you for stopping by today. I hope you enjoyed today’s project and will come back. I do read and reply to all of the comments individually. They mean a lot to me. Please reach out if you have a question.
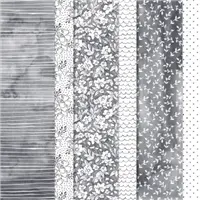
Sale-A-Bration is winding down for the 2021 year. It ends on September 30th! There are still some great products available and one of them is the Beautifully Penned Designer Series Paper. It is a black and white paper that offers great potential. My card for today is made showcasing a piece of this paper. Actually the card is all about the paper!
Paper
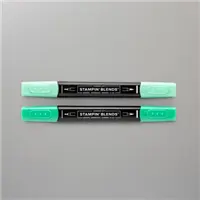
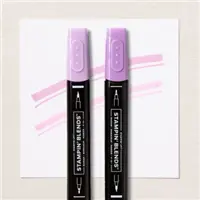
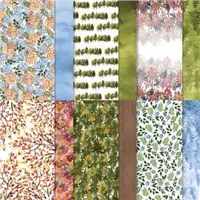
The Beautifully Penned Designer Series Paper has different Black and White patterns on all of the sheets. However this is one of my favorites. It allows me to color one or all of the flowers. I opted to color them all. I used the Fresh Freesia Stampin’ Blends along with the Just Jade Stampin’ Blends for the flowers and leaves.
My layers to pair with the gorgeous paper are Just Jade as the base card and a layer of Basic Black. This is my version of a fairly clean looking card. For me, clean means not a lot of layers on the front. So I succeeded with my definition here.
Stamps and Punches
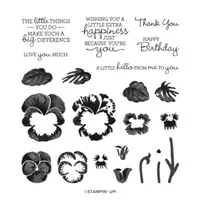
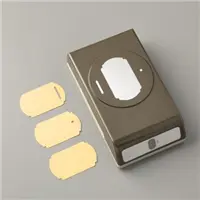
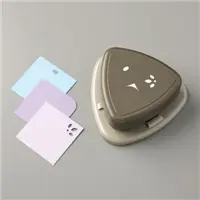
The sentiment for this card is from the Pansy Patch stamp set. I needed a fairly small, but pretty, Happy Birthday. This one fit the bill perfectly. It is punched using the Label Me Fancy Punch. In addition to the unique shape of this punch, it also has a small ribbon hole as well as the slide I used. And I do have to say this is the first time I have used the slide. I love it!! It was very quick and easy to do in terms of lining it up.
Finishing Touches
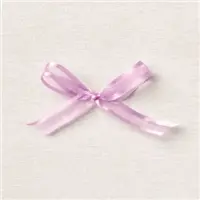
With the addition of the slide from the punch, it allowed a different way of attaching the sentiment layer. I used the Fresh Freesia Open Weave Ribbon. This ribbon is so easy to work with, and is so soft and pretty. For the final touch it was pretty much a given that it needed a rhinestone.
The 2nd Sale-A-Bration Is Here!!
Join My Team Promotion During Sale-A-Bration!!
HOST CODE
My September Host Code is NWZNBFH2. Please use this code for orders under $150.00. I will have a small gift for those with orders over $50.00 in addition to the Perk Rewards Program. You can read all of the information at the top of the page in the Menu Bar under SHOP / Perks.
Thank you for stopping by today. I hope you enjoyed today’s project and will come back. I do read and reply to all of the comments individually. They mean a lot to me. Please reach out if you have a question.
Welcome to InKing Royalty’s September Blog Hop! During this year’s blog hops, we are having fun with our stamping favorites – our favorite themes for seasonal cards and projects. This month’s projects feature candy and treats, so prepare your sweet tooth for some wonderful inspiration. We are excited to share our creations with you today! After you read my post, I hope you’ll hop over to the next person on the list at the base of this post.
My card is not exactly treats, but a pocket card that has sweet images! Here is my card.
And here is the pull out from the pocket.
Paper
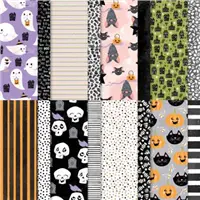
The star of this show, in my opinion, is the DSP. This is my favorite sheet from the Cute Halloween Designer Series Paper. I love black cats so that is probably why it is a favorite. I made the pocket out of the DSP and then cut the “V” to look like a shirt. All of the directions are lower down on the post.
Stamps
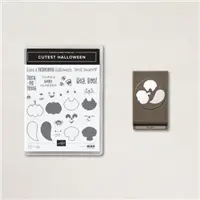
The stamp set I used is the Cutest Halloween Bundle. It is a Punch Bundle so you know I had to have it. I love my punches. The “Pumpkin necklace” is stamped and punched. The “Smile” is part of another saying. I only colored in the Smile and stamped it in the center of the pumpkin. That smile goes along with the cat and pumpkins that are smiling on the paper.
The pull out card is also made using stamps from the stamp set.
Extra Touches
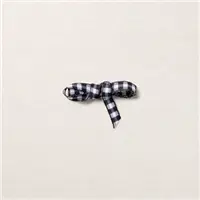
I adore the Black and White Gingham Ribbon. It is so easy to work with. For the necklace, I cut two strips and adhered each end with a glue dot. Then added the pumpkin with Stampin’ Dimensionals. A little Black Matte Dot on the pumpkin was the finishing touch for it.
The hole at the top of the pull out card was made using the Detailed Trio Punch. That punch is a definite must have in my opinion. Making a little ribbon pull with the Black and White Gingham Ribbon was the final touch to the card.
The card is still a Full card. The pocket is attached to a regular size top fold card. There is another stamped white layer on the inside of it as well.
Measurements and Directions
Basic Black card base is 4 1/4 X 11, scored and folded at 5 1/2
A White layer cut 4 X 5 1/4 is placed on the inside of the card
The DSP is cut 5 X 6 ( 5 is the width and 6 is height)
Score the DSP at 1/2 on each of the 5″ sides and 3/4 across the bottom
Put a mark at the center of the 5″ top and cut down 1 1/2″.
Fold and burnish the score lines and fold underneath. Trim the corners at the bottom for a less bulky fold
Adhere the pocket to the front of the card.
Fold the sides of the V back and adhere with a glue dot under each point.
The pull out pocket card is 3 3/4 X 5 with the hole at the top from the Detailed Trio Punch
Thank you for stopping by today. I hope you’ll hop along to the next stop on the blog hop, Lynn Kolcun at Avery’s Owlery. There’s lots of inspiration to be found in this group – and you don’t want to miss it!
Thank you for hopping along with us. If you get stuck during the Blog Hop, please use this line-up as a guide:
My September Host Code is NWZNBFH2. Please use this code for orders under $150.00. I will have a small gift for those with orders over $50.00 in addition to the Perk Rewards Program. You can read all of the information at the top of the page in the Menu Bar under SHOP / Perks.
Thank you for stopping by today. I hope you enjoyed today’s project and will come back. I do read and reply to all of the comments individually. They mean a lot to me. Please reach out if you have a question.
The bit of cooler weather we are having, the lower 80’s, has me thinking of Fall. Maybe hoping for Fall is more realistic!! Regardless that was the inspiration for today’s Collage type card.
Stamps
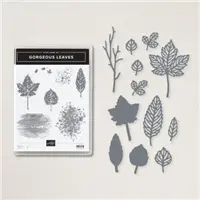
The Gorgeous Leaves Bundle is a great one. It includes a variety of leaves. A couple of the leaves are used on the stamped layer. The set also has some wonderful background stamps. There are two different splatter images and a wood grain image. I tried to use layers of color as well as the different stamps to create my collage.
Dies
The matching Dies from the Gorgeous Leaves Bundle are named Intricate Leaves Dies. There are solid leaves as well as very detailed ones. And they are in a variety of sizes and shapes. I chose one of the small intricate Maple looking leaves as my accent to the sentiment.
Finishing Touches
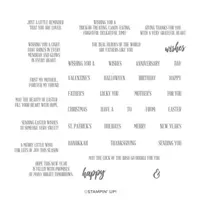
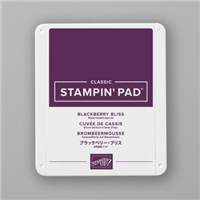
To tie everything together, I tied some Linen Thread around the stamped layer and made a three strand bow. The sentiment is from the A Wish For Everything stamp set. This is one that could be used for a variety of reasons. It is stamped and just angle cut with Paper Snips and then layered over a piece of Blackberry Bliss ribbon. The final touches are the die cut leaf and a Metallic Pearl.
The 2nd Sale-A-Bration Is Here!!
Join My Team Promotion During Sale-A-Bration!!
HOST CODE
My September Host Code is NWZNBFH2. Please use this code for orders under $150.00. I will have a small gift for those with orders over $50.00 in addition to the Perk Rewards Program. You can read all of the information at the top of the page in the Menu Bar under SHOP / Perks.
Thank you for stopping by today. I hope you enjoyed today’s project and will come back. I do read and reply to all of the comments individually. They mean a lot to me. Please reach out if you have a question.
I love playing around with different colors. Since I find myself getting into a color rut sometimes by using the same colors pretty regularly. Today’s card is about breaking out of that rut. And going simple!
Color
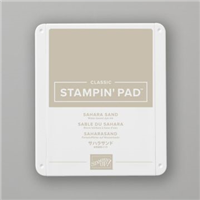
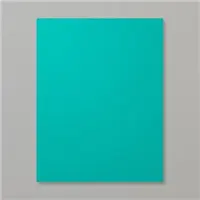
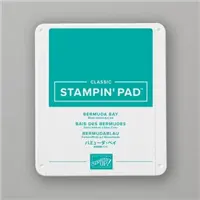
I use Bermuda Bay as an accent color occasionally, but rarely use it as a main color. It is way past due. I love this color! It pairs well with quite a few other colors, and I have added just two for today. The dark brown is Early Espresso and the light is Sahara Sand. Sahara Sand is one that is overlooked. It pairs well with most colors, but is rarely used as a focal point. I believe it as the stand alone dandelion is great.
Tools
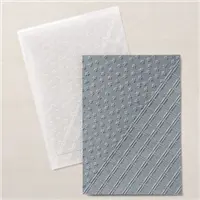
To pair with the Bermuda Bay, I went with clean and simple. First is the gorgeous Star-crossed Embossing Folder. I definitely overlooked this one early in the Mini Catalog release. And now I am so sorry. This mix of design is unique and fun! It really shows well with the Bermuda Bay.
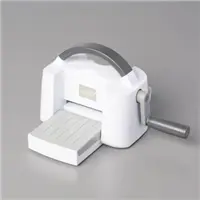
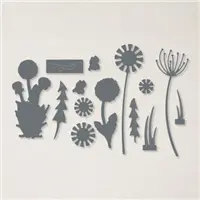
The Die I used is from the Dandy Wishes Dies. I apparently should have run the head of the dandelion through the Cut & Emboss Machine again. The paper did not want to release from the die. However, as I was pulling it loose, I saw how it sort of bent. What a great unexpected detail. It may not mail well, But I love the flutter look of the stamens.
Finishing
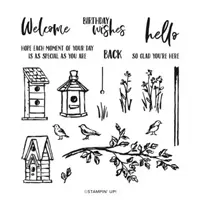
To layer the dandelion and have it grounded, I added the Early Espresso strip across the card. Even though I hated covering up some of the embossed area. The sentiment is from the Garden Birdhouse stamp set and fit perfectly on a scrap of Sahara Sand cardstock the same size as the strip of Early Espresso. Instead of using a die or punch for the sentiment, I just used my Paper Snips and cut each end at different angles.
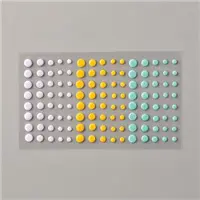
The final touch to the card is some of the Playing With Pattern Enamel Dots. I love the colors and even though this is actually Coastal Cabana it is the same color family as Bermuda Bay.
The 2nd Sale-A-Bration Is Winding Down !!
There are only about two weeks left to the final Sale-A-Bration of the year. There are some really great products in this little catalog. And you can earn them at No Cost. They are Free with a qualifying order. Don’t miss out on this!!
Join My Team Promotion During Sale-A-Bration!!
HOST CODE
My September Host Code is NWZNBFH2. Please use this code for orders under $150.00. I will have a small gift for those with orders over $50.00 in addition to the Perk Rewards Program. You can read all of the information at the top of the page in the Menu Bar under SHOP / Perks.
Thank you for stopping by today. I hope you enjoyed today’s project and will come back. I do read and reply to all of the comments individually. They mean a lot to me. Please reach out if you have a question.
The content in this blog is the sole responsibility of Jackie Beers as an Independent Stampin' Up! Demonstrator. The use of and content of classes, services or products offered is not endorsed by Stampin' Up!