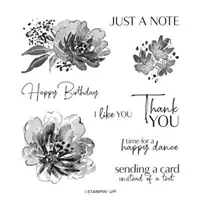
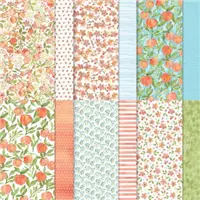
Spring brings blooming flowers and trees. I have a Fun Fold using the You’r A Peach DSP sheet with peach blossoms blooming. It is paired with the Flowing Flowers stamp set.
The Fold
Today’s card is a Fun Fold with a twist to a Gate Fold card. And I cased it from one of my Stamp Club ladies, Velda North, at a recent card swap. The best part is that it is fairly straightforward and simple to do. Here is a view of the open card, which shows the bit of a twist.
You hopefully can see that the card base is a single layer cut to 4 1/4 X 5 1/2. The “Gate Fold” layer is cut 8 1/2 X 5 1/4 and scored at 1 3/4 and 5 3/4. That leaves a 4″ center section. The front DSP is the sheet from You’re A Peach Designer Series Paper. The two pieces are cut 1 1/2 X 5 and 2 1/2 X 5. The DSP strip on the bottom of the inside is from the same pack as well and coordinates perfectly.
Stamp Set
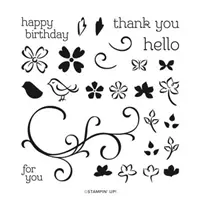
The lovely flowers that I believe mimic the little peach blossoms are from the Flowing Flowers stamp set. And all three of the sentiments are from the set as well. Having such a variety of sentiments is wonderful and the fact that they work together is even better. The flowers are stamped using Bumblebee Ink. It is one of the colors in the DSP. However, I used the Calypso Coral and Petal Pink Stampin’ Write Markers to do some little touches for shading to match the paper. This technique goes way back, and was great when there was limited coloring options. Now it is a simple way to add more than one color to a red rubber stamp.
Front Closure
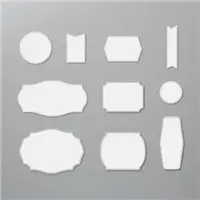
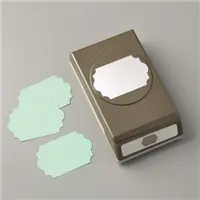
Most gate fold cards have a bellyband to keep them closed. I struggle a bit with those so tend to leave them off. Since this card overlaps on the front, I didn’t feel it needed the bellyband…Yay!! And my friend did not utilize a bellyband either, she used scalloped dies for the sentiment layer. I went with the Tasteful Labels Dies. There are a variety of design shapes with different edgings in this set of dies. But they all work together. The two I chose both have the ticket corners to them. And you cannot see it in the photo but there is a thin embossed border around the larger shape. These are a bit different and a lot of Fun!!
Finishing Touches
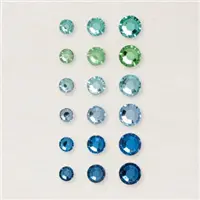
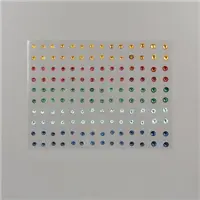
With the business of the DSP, I did not want, and did not think much “bling” would work. So I went with a very simple bling. The green rhinestones with the flowers fulfill two things. They add bling, which is a must have, and they add some green to the little bunch of flowers. This mimics the DSP flowers a bit. The little rhinestones are from the Rhinestone Waves Jewels as part of the Waves of the Ocean Bundle. The colors in the pack range from a light blue, medium and dark blue, to this beautiful green. You can click on the image below and see the complete PDF of products.
Thank you for stopping by today. You can click on my fellow Fun Fold loving friends below to see their card for the hop.
SAVINGS ARE IN BLOOMS
CLICK ON THE PHOTO FOR A VIEW OF ALL ITEMS DISCOUNTED
WAVES OF THE OCEAN SUITE …EARLY RELEASE
CLICK ON THE PHOTO TO SEE THE COMPLETE SUITE OF PRODUCTS
ALL TOGETHER … SPECIAL BUNDLE
CLICK ON THE PHOTO TO SEE ALL OF THE PRODUCTS
HOST CODE
My March Host Code is JGGHP66J. Please use this code for orders under $150.00. I will have a small gift for those with orders over $50.00 in addition to the Perk Rewards Program. You can read all of the information at the top of the page in the Menu Bar under SHOP / Perks.
Thank you for stopping by today. I hope you enjoyed today’s project and will come back. I do read and reply to all of the comments individually. They mean a lot to me. Please reach out if you have a question.
The Sentimental Swirls stamp set may be one that you have overlooked in the Mini Catalog. After seeing it demonstrated prior to the catalog debut, I was hooked on it. The various elements that it contains can be used in so many ways. And it makes a quick and adorable card.
Stamps
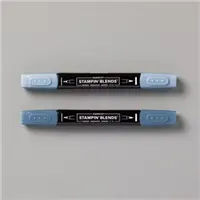
There are two stamp sets used on this sweet card. The first and most used is the Sentimental Swirls that I mentioned at the beginning. As you can see, the swirl is beautiful. And there are different size flowers, with both the outline and the fill. I used the outline for the larger ones and colored using the Stampin’ Blends, and then punched out. The smaller one is a “fill” shape and is stamped directly onto the cardstock.
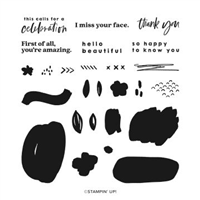
For the sentiment, I went to a separate stamp set. This great sentiment is from the Hello Beautiful set. I truly love the sentiment and the mix of fonts. The inside of the card has several of the smaller flowers stamped as well as a Happy Birthday from the Sentimental Swirls set.
Punches and Dies
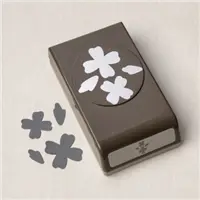
Regarding the sweet flowers mentioned above, I discovered the larger one fits perfectly in the Flowers & Leaves Punch. It contains two different size flowers and this is the smaller of the ones on the punch. For the centers of the flowers, I used the darkest blue of the Rhinestone Waves in the Waves of the Ocean Bundle. (See the specials at the bottom of the post!)
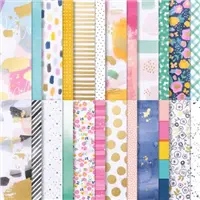
The arrangement of the sentiment was a result of wanting to utilize the beautiful Misty Moonlight piece of DSP from the Abstract Beauty Designer Series Paper. I love the flecks of gold! So the hunt was on for layering pieces that would not totally cover that DSP. The Everyday Label Punch came to the rescue for the DSP piece. It is large enough without being too big. Then I discovered that one of the Layering Circles dies will fit perfectly and leave enough of the great paper showing.
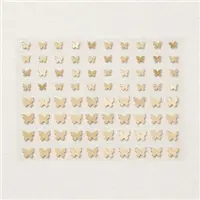
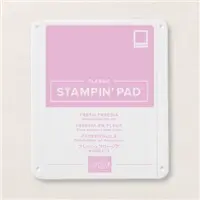
To ground the sentiment, I went with a small strip of the Fresh Freesia paper. Between the flecks of gold in the DSP and the blue rhinestones, you would think I had enough of the bling going. But no…. I had to add one of my current favorite bling items, the Brushed Brass Butterflies. That was the finishing touch the card needed.
SAVINGS ARE IN BLOOM
CLICK ON THE PHOTO FOR A VIEW OF ALL ITEMS DISCOUNTED
WAVES OF THE OCEAN SUITE …EARLY RELEASE
CLICK ON THE PHOTO TO SEE THE COMPLETE SUITE OF PRODUCTS
ALL TOGETHER … SPECIAL BUNDLE
CLICK ON THE PHOTO TO SEE ALL OF THE PRODUCTS
HOST CODE
My March Host Code is JGGHP66J. Please use this code for orders under $150.00. I will have a small gift for those with orders over $50.00 in addition to the Perk Rewards Program. You can read all of the information at the top of the page in the Menu Bar under SHOP / Perks.
Thank you for stopping by today. I hope you enjoyed today’s project and will come back. I do read and reply to all of the comments individually. They mean a lot to me. Please reach out if you have a question.
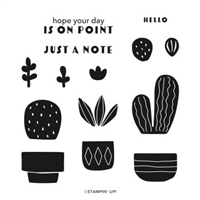
Having cards on hand is one of the best outcomes from doing a blog. To maintain my “on hand” status, I like to do a variety of cards. Today’s card is a “Note” card, but a full size one! Using the Cactus Cuties Bundle make this a Fun time as well.
There is definitely no rule about Note Cards being plain. My version has a bit of bright and shiny to it.
Stamps & Punches
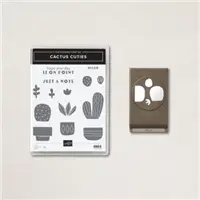
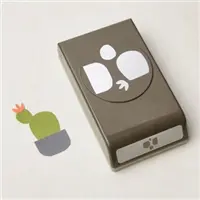
This adorable cactus stamp set is aptly named. It is called the Cactus Cuties. And better yet, it is a Punch Bundle. These are my favorites! After stamping the three different cactus fillers for the pots, I decided to punch the pots from DSP. There are a couple of stamps for different pots, but I wanted them to shine. Additionally, the Just A Note stamp is part of this cute stamp set.
The pink flowers are a stamp and part of the punch as well. However, I simply punched them from cardstock. I wanted bright to go with the darker greens. After choosing the bright pink, I decided it would work perfectly as the cad base as well. Sadly one of the pink flowers fell off of the cactus and is laying on the edge of the pot. LOL! A bit of whimsy in the card.
Paper and Dies
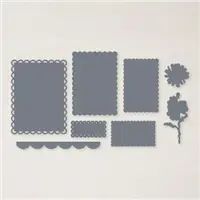
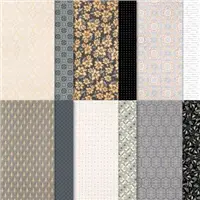
The flower pot and the layer of DSP both are from the Simply Elegant Designer Series Paper. This pack of gorgeous silver and gold paper had not been utilized in quite a while. It was time to bring it out. Paired with the largest of the Scalloped Contours Dies for the layer, it really adds some unexpected shine. These Dies are really a favorite due to the different scallops on the various sizes.
The Layers
The Magenta Madness base card is cut 5 1/2 X 8 1/2 and scored at 4 1/4. For the layer, the largest of the Scalloped Contours Dies was used. And the White stamped layer is 3 X 4 3/8. The flower pots are punched and added with Stampin’ Dimensionals, as are the pink flowers.
SAVINGS ARE IN BLOOM
CLICK ON THE PHOTO FOR A VIEW OF ALL ITEMS DISCOUNTED
WAVES OF THE OCEAN SUITE …EARLY RELEASE
CLICK ON THE PHOTO TO SEE THE COMPLETE SUITE OF PRODUCTS
ALL TOGETHER … SPECIAL BUNDLE
CLICK ON THE PHOTO TO SEE ALL OF THE PRODUCTS
HOST CODE
My March Host Code is JGGHP66J. Please use this code for orders under $150.00. I will have a small gift for those with orders over $50.00 in addition to the Perk Rewards Program. You can read all of the information at the top of the page in the Menu Bar under SHOP / Perks.
Thank you for stopping by today. I hope you enjoyed today’s project and will come back. I do read and reply to all of the comments individually. They mean a lot to me. Please reach out if you have a question.
Welcome to InKing Royalty’s March Blog Hop! As we prepare for Spring, flowers are always on our minds. We are sharing flower-themed projects with you today and hope you love them! After you read my post, I hope you’ll hop over to the next person on the list at the base of this post.
One of my favorite flowers are Hydrangea. I love these gorgeous snowballs of color. My favorites are the ones with purples and blues. And that is what I have created for you today.
Stamps and Dies
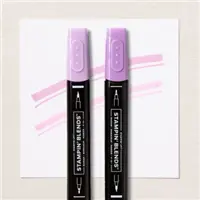
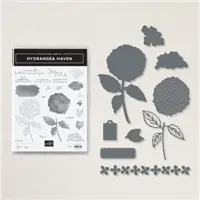
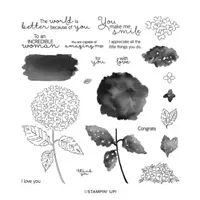
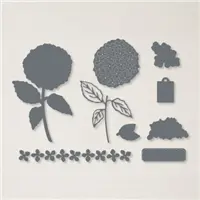
My hydrangea snowball may have a bit more blue than is normal. Creating it was a fun with a mix of different blues and purples. The flower is stamped using Memento Tuxedo Black Ink and then colored with the various Stampin’ Blends. For the leaves and stem I went with Just Jade as the color. And being a bit different, I went with a “floating” sentiment layer. The sentiment layer is from the set and then die cut with a die from the Hydrangea Dies. It has a perforated border, so I used the Highland Heather Stampin’ Write Marker to go around the perforations to give a touch of a color border.
DSP and Vellum
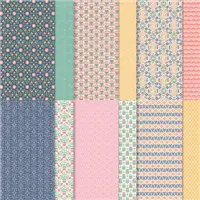
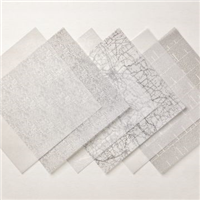
The more prominent layer is the blue from the Sweet Symmetry Designer Series paper. This is to pull the blue from the flower. As does the Highland Heather as the card base and layer. And to give just a bit more of a dimension, I went with the Layering Vellum from the Mini Catalog. This piece is the one with the white writing on it. All of these are gorgeous. Adding this bit of vellum, and allowing it to curl on the edges, gives a little more depth to the card.
Finishing Touches
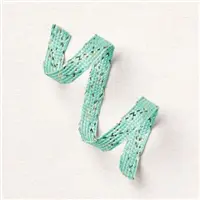
To pair something with the Just Jade of the leaves and stem, I went with the Just Jade & Gold Ribbon. This is wonderful and soft ribbon. It is so easy to work with. Which is where the idea to use it as a frame of sorts came from. Because it is so soft, it was easy to lay across the corners and tape down on the back. And to match the gold in the ribbon, the Brushed Brass Butterfly was almost a given. It looks perfect flying up next to the big flower.
Thank you for stopping by today. I hope you’ll hop along to the next stop on the blog hop, Lynn Kolcun at Avery’s Owlery. There’s lots of inspiration to be found in this group – and you don’t want to miss it!
Thank you for hopping along with us. If you get stuck during the Blog Hop, please use this line-up as a guide:
CLICK ON THE PHOTO FOR A VIEW OF ALL ITEMS DISCOUNTED
WAVES OF THE OCEAN SUITE …EARLY RELEASE
CLICK ON THE PHOTO TO SEE THE COMPLETE SUITE OF PRODUCTS
ALL TOGETHER … SPECIAL BUNDLE
CLICK ON THE PHOTO TO SEE ALL OF THE PRODUCTS
HOST CODE
My March Host Code is JGGHP66J. Please use this code for orders under $150.00. I will have a small gift for those with orders over $50.00 in addition to the Perk Rewards Program. You can read all of the information at the top of the page in the Menu Bar under SHOP / Perks.
Thank you for stopping by today. I hope you enjoyed today’s project and will come back. I do read and reply to all of the comments individually. They mean a lot to me. Please reach out if you have a question.
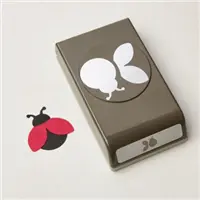
There have been so many wonderful cards made using the Ladybug since it’s debut. Today’s card is a fun one I created that looks nothing like a ladybug. This one is very festive!
Ladybug Punch
Saying this card is a Ladybug card is a bit of a confusing statement. Yes, I used the Ladybug Punch, but I do not believe that my sweet little bug is anything like a Ladybug. And that is the fun of making cards and creating. To use unusual colors we can make the intended use into something all our own. By punching the bug from two different pieces of bright DSP, it is a totally new looking bug.
Designer Series Paper
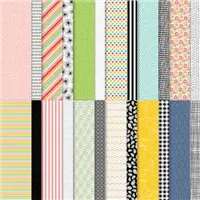
The DSP I used is all from the Pattern Party Designer Series Paper. It is a Host Reward in the Annual Catalog. And it is an awesome deal for the amount of paper you get. There are 48 sheets of double sided DSP. And there are 4 each of the 12 double sided pieces. Getting twice the amount of paper as is in a regular package of DSP is exciting. So I used three different pieces. And the wonderful thing is that they coordinate beautifully together.
Stamp Set
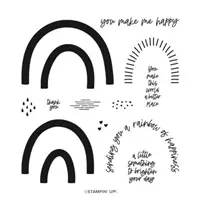
The lovely sentiment is from the Rainbow of Happiness stamp set. This sentiment is so lovely and works for a variety of occasions. I thought it paired wonderfully with the bright Bug I created. Additionally, the little hearts I used are also in the stamp set. They add just a soft touch to the strip and next to the sentiment.
Final Touches
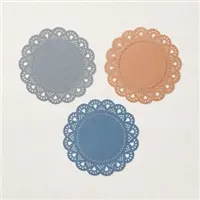
If you do not recognize the White Doily, that is because it is the reverse side of the different color ones in the Heart & Home Doilies. Using the white on the back gives them quite a bit of extra use. And they are easy to color with any type of sponging or blending. Finally I had to give the little bug some additional detail. The Holiday Rhinestones include the gold ones I used for eyes. They seem to fit the Bumblebee color of the card base. And add a touch of bling as well. That is always a win!
SAVINGS ARE IN BLOOM
CLICK ON THE PHOTO FOR A VIEW OF ALL ITEMS DISCOUNTED
WAVES OF THE OCEAN SUITE …EARLY RELEASE
CLICK ON THE PHOTO TO SEE THE COMPLETE SUITE OF PRODUCTS
ALL TOGETHER … SPECIAL BUNDLE
CLICK ON THE PHOTO TO SEE ALL OF THE PRODUCTS
HOST CODE
My March Host Code is JGGHP66J. Please use this code for orders under $150.00. I will have a small gift for those with orders over $50.00 in addition to the Perk Rewards Program. You can read all of the information at the top of the page in the Menu Bar under SHOP / Perks.
Thank you for stopping by today. I hope you enjoyed today’s project and will come back. I do read and reply to all of the comments individually. They mean a lot to me. Please reach out if you have a question.
The content in this blog is the sole responsibility of Jackie Beers as an Independent Stampin' Up! Demonstrator. The use of and content of classes, services or products offered is not endorsed by Stampin' Up!