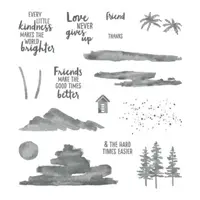
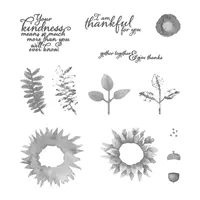
The Waterfront stamp set in the upcoming 2018 Occasions Catalog is quickly becoming a favorite. I shared a woodsy scene the other day and today I have a deserted island look going. I joined it with a sentiment from the Painted Harvest stamp set. I am seriously thrilled that this set is carrying over. Painted Harvest is one of the most versatile stamp sets Stampin’ Up! has. So here is today’s version of a deserted island. HaHa !! I am also playing along with the Global Design Project challenge for this week.
Waterfront, 146386
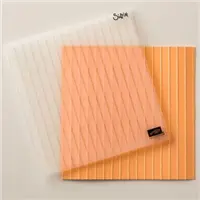
I have a mixture of old and new in this card. I used the new Simple Stripes Embossing Folder (another win for the upcoming catalog!). When I decided to play along with the GDP challenge, I cut my stamped image into a circle using the layering circles dies. Now it reminds me of looking out of a porthole at the deserted island!
As I said in the opening of my post, the sentiment is from the Painted Harvest stamp set. I have used this sentiment so many times, and I know I will continue doing so. It is just perfect.
Thank you so much for stopping by today! I very much appreciate it and I love to read your comments. Have a great day!!
The supplies I used are listed at the bottom of the page.
My card for today is a birthday card I made for a really nice person. Saturday was Brian King’s birthday. He is not only a friend, but the best Upline you could ask for. So I had to make a special card.
Picture Perfect Birthday, 145519
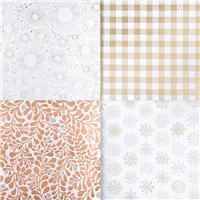
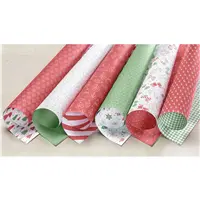
I wanted to make a card that was bright and shiny and a little bold. The only problem is that Brian hates, and that is putting it mildly, any kind of glitter. So I went with the beautiful Year of Cheer Specialty Designer Series Paper. This has to be one of my all time favorite of Stampin’ Up!’s DSP. It is shiny but not glittery, and is a heavier weight DSP. It is also only one sided as opposed to the normal two sided DSP.
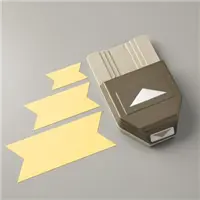
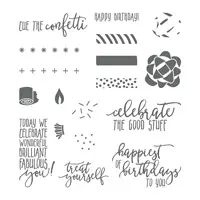
With the paper being just perfect, I could not decide on what kind of stamp to choose. So I decided to go with the simple banner. The sentiment is from the upcoming 2018 Occasions Catalog and part of a great suite of products titled Picture Perfect Party. The stamp set is Picture Perfect Birthday. The inside sentiment , which is not pictured, is from the same set. It says “Happiest of Birthdays to you”, and is done in a really beautiful font. I love the way SU has added some mixtures of fonts on a single stamp lately. The banner font is different on the “you” which really emphasizes it.
And that is the card! To add a little bling instead of glitter, I added some rhinestones in appropriate places. Even guys can have rhinestones 🙂
Thank you so much for stopping by today! I hope you like my card and please do not hesitate to contact me if you have any questions regarding the products or anything.
The supplies I used are listed at the bottom of the page.
It is a “Sneak Peek” Day! I am giving you a peek at one of the new stamp sets in the upcoming 2018 Occasions Catalog. An advantage to being a Stampin’ Up! Demonstrator is that we get to pre-order from the new catalogs. It is like Christmas coming early!!!
The stamp set I am using is called Waterfront. But I made it into a mountain scene instead. I know….that sounds really odd. So please let me know what you think of my creation.
Waterfront, 144973
The card is a 4 X 4 base, but not a square layer. I had stamped everything before I decided to cut it down but could not cut the sides any further. So it is not squared and not your eyesight playing games with you.
I used almost all of the greens in the SU collection to make the scenery. I think it looks like some of the old time paintings with the white spaces. Or it looks like a child’s drawing, LOL!
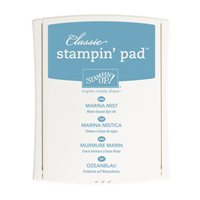
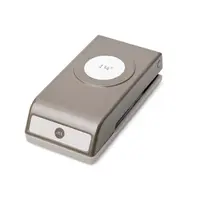
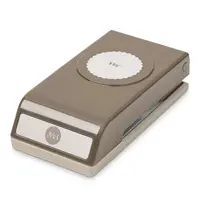
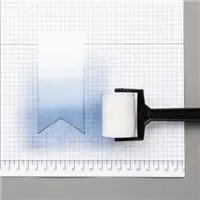
The sky is made by using the sponge roller and Marina Mist. I like the texture the sponge roller gives for a sky. The punches are also new, well one of them is. The scalloped circle is one of two that are new to the 2018 Occasions Catalog as well. I love punches for quick and easy.
I added the linen thread wrapped around the card as a little rustic/masculine touch. I love giving some extra texture to my cards and this is a great way to do it.
Thank you so much for stopping by today! The supplies I used are listed at the bottom of the page.
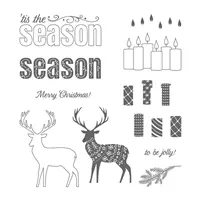
I had used all of the Christmas cards that I made for sending out to friends and family, and of course then realized I had forgotten some folks. Isn’t that always the case. So I went back to my craft space and grabbed a quick and easy set to make some more cards. I wasn’t thinking when I grabbed the Merry Patterns set. I really do love it and it is extremely versatile. The only problem is that it is/was a limited time Hostess set. But I hope a lot of you have this set and can CASE what I have made today.
Merry Patterns, 144973
The candles from this set are so pretty and super easy to color. They are stamped as the outline, the flames, the background candles, and the front candles. So it looks like I did a really good job of coloring and stamping. Except all I had to do was line up the stamp with the outlined image. Another reason I love our photopolymer stamps!!
I hope you can see how simple this was. I made several in just a little bit of time. It took longer to cut all of the paper than to stamp and put them together.
My pre-order for the 2018 Occassions and Sale-a-bration catalogs arrived today! Woohoo!!! So I will have some non holiday cards for you in the coming days. I cannot wait to play with all the new items.
Have you considered becoming a Stampin’ Up! Demonstrator?
Being able to pre-order from the catalogs is a great perk from being a Stampin’ Up! Demonstrator. Also, you would be part of a great team of stampers that are the sweetest and kindest people I know. Everyone is extremely helpful and we share our creations on our own Facebook page. Not to mention that you get a discount on products Our Ultimate Bundle is the SU Starter Kit. For 99.00, you receive 125.00 worth of product. AND beginning in January (during Sale-A-Bration) you will get to choose 2 additional stamp sets at no charge to add to your bundle of items. Now is a great time to be thinking about joining and please contact me. I would be so happy to talk with you about the process.
I hope you have a super day. Thank you for stopping by today. The supplies I used are listed at the bottom of the page and are all on the retiring list. So grab them up now!
MEASUREMENTS:
Smoky Slate base of the card = 8 1/2 X 5 1/2, folded in half
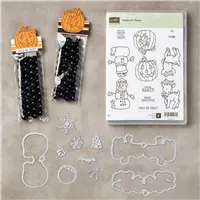
I have used another of the figures from the Seasonal Chums Bundle for today’s card. I was so thrilled when I saw it was Carrying Over after the Holiday Catalog ends. It is so cute and versatile. But you only have this month to get it at the Bundle price of 10% off. So I hope you will grab it up now.
Here is my cute little Rudolph card for you to check out.
Seasonal Chums Bundle, 146077
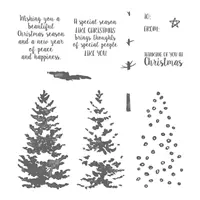
I used the Season Like Christmas stamp set for the trees and sentiment. I stamped the first layer of tree with Always Artichoke and the second layer with Old Olive. I know those are very different, but I love how they look combined. There are a few other colors mixed in there, like Crushed Curry and Soft Suede, along with the Old Olive. But it would look odd to have 6 colors in my “color combination” !! I think this illustrates that you pick two or three that are the focal point and then the others are in the supporting cast. Yes… I totally made that up. But it is how my brain works.
I die cut the reindeer and colored him with the Stampin’ Blends Markers. I gave his nose and the bell on his collar a touch of Wink of Stella to give it some shine. I have started adding the white or vanilla layer as the first layer after the base on a lot of the cards I make. It seems to balance that light color when it is the large top layer. I hope you will give this a try.
Thank you so much for stopping by today! The supplies I used are listed at the bottom of the post. And I do love hearing from you in the comments. I hope you have an awesome day!
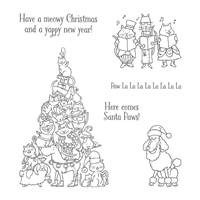
In case you haven’t noticed this about me…..I love animals. Pretty much any animal, except the nasty, creepy ones. And dogs and cats are my favorite. So when I made the pizza box of gift tags the other day. You can see it HERE. I decided that I needed some animal gift tags. I give Christmas gifts to the animals of my friends and neighbors too. Doesn’t everyone??? So this is one of the dog ones that I made.
Santa Paws, 144889
I think this turned out very cute. Sort of a Doggy Rudolph. I could not resist giving him a red nose when I was coloring the hat. The coloring is done with the Stampin’ Blends. I love those guys!!!
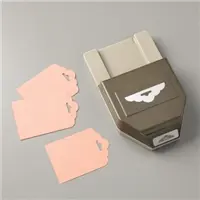
The tag is made with the Scalloped Tag Topper Punch. That is one punch that I hope Stampin’ Up! keeps for a very long time. It is so versatile. I think this tag will dress up my doggy treats very well this holiday season.
Thank you so much for stopping by today! I hope you will consider adding some tag making to your holiday stamping. It is so much fun and you can accomplish quite a lot in a short period of time.
The supplies I used are listed below the monthly specials. Please check those out as well. There is still time for you to reserve your Stamparatus!
The content in this blog is the sole responsibility of Jackie Beers as an Independent Stampin' Up! Demonstrator. The use of and content of classes, services or products offered is not endorsed by Stampin' Up!