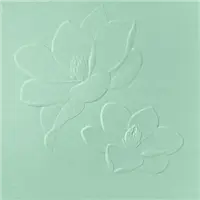
The Magnolia 3D Embossing Folder is one I have been looking at and moving on. Well, not today. It is the star of the show for today’s project. And it does not disappoint.
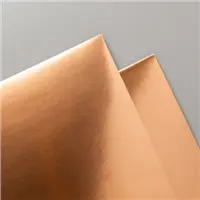
This is a minimalist type card for sure! I did not want to hide the magnolia. It is embossed on Copper Foil and is really beautiful in person. The foil is hard to photograph because of the light reflecting.
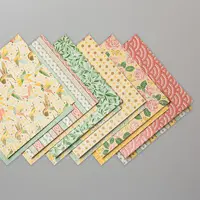
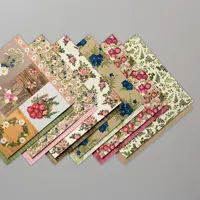
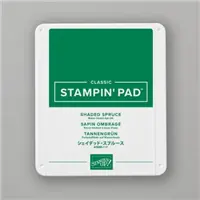
The hummingbird was an idea from a previous card. It is fussy cut from the Mosaic Mood Designer Series Paper. The colors are wonderful to pair with the Copper and Gold Foil. I took the colors of the layers from the hummingbird as well. Garden Green is the perfect between color for the layers.
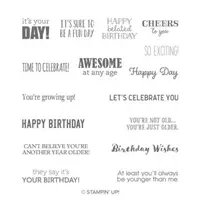
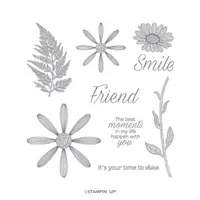
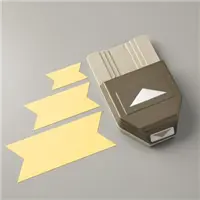
Today’s sentiment is from Itty Bitty Birthdays stamp set. I wanted a smallish sentiment for the front. Again, I didn’t want to cover any more of the magnolia than necessary. It is stamped in Terracotta Tile and I punched it out with the Classic Label Punch and added it for the bird to carry.
Thank you for stopping in today. Please come back tomorrow for another new project!
HOST CODE
My October Host Code is BD2FGFTK. Please use this code for orders under $150.00. I will have a small perk for those with orders over $50.00.
UPDATES:
The new Stampin’ Up! Paper Trimmer has been revealed!! It is available for order by Demonstrators on October 1. Here is a picture of it. I will be giving you my opinion after the beginning of the month. I cannot wait and I hope you will be just as excited!
The card I have today reminds me of a Harry Potter type card. I recently re-read all of the books and have had it on my mind I suppose. Let me know what you think.
I love books, so when I saw this sheet of the Monster Bash Designer Series Paper, I knew I had to use it first! It reminds me of all the books in the Harry Potter series.
This is a quick and easy card that would be very easy to duplicate in multiples. Although I think it needs a touch of something additional, I cannot think what it is. I used the Burlap Ribbon to ground the sentiment. A dark background for the sentiment would work as well.
The shape of the sentiment is one of the dies from the bundle. I really love the dies and their unusual shapes. They would be wonderful to have year round!!
My color choices came directly from the DSP. I chose Terracotta Tile and Soft Suede. I like the books being the statement piece. Of course the sentiment is a statement too 🙂
Thank you for visiting today! Please come back tomorrow for another new project!
HOST CODE
My October Host Code is BD2FGFTK. Please use this code for orders under $150.00. I will have a small perk for those with orders over $50.00.
UPDATES:
The new Stampin’ Up! Paper Trimmer has been revealed!! It is available for order by Demonstrators on October 1. Here is a picture of it. I will be giving you my opinion after the beginning of the month. I cannot wait and I hope you will be just as excited!
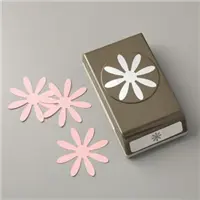
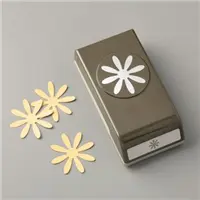
I have returned to the Annual Catalog for a birthday card for a dear friend. I used the Daisy punches to make a Fall birthday card.
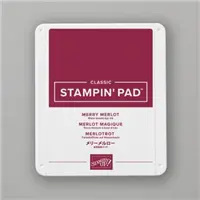
I made the daisies a tad darker by stamping originally on So Saffron card stock in Merry Merlot Ink. Before I punched them out, I sponged with Merry Merlot ink beginning in the center and working outward.
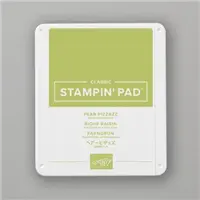
My photography with the new Iphone update has been very trying!! The green is Pear Pizzaz and should look a bit darker than it appears in the picture. This is my first card with the Scripty 3D Embossing Folder. It is really pretty and shows up much better than it does here.
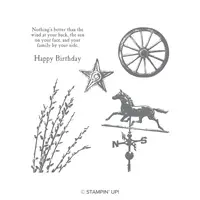
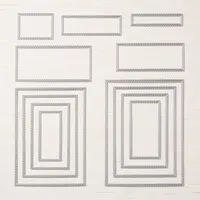
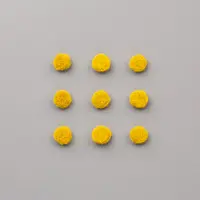
The background golden “weeds” are from the Country Road stamp set. I cut the Very Vanilla layer using the Stitched Rectangle Dies. The flowers are layered using glue dots and then are adhered only in the center using glue dots as well. The bushy centers are the Perennial Essence Floral Centers.
Thank you for stopping by today. Please remember that this is the LAST DAY to take advantage of the Designer Series Paper sale. I hope you will return tomorrow for another new project as well as a preview of some other new products coming soon!!
ALSO……..Take a look at the new Stampin’ Trimmer!! I have a photo below. It is available to demonstrators beginning tomorrow as well.
HOST CODE
My September Host Code is VYHZ6ZM2. Please use this code for orders under $150.00. I will have a small perk for those with orders over $50.00.
UPDATES:
The new Stampin’ Up! Paper Trimmer has been revealed!! It is available for order by Demonstrators on October 1. Here is a picture of it. I will be giving you my opinion after the beginning of the month. I cannot wait and I hope you will be just as excited!
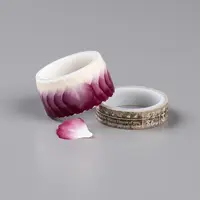
I adore the Pressed Petals Designer Series Paper! And did you know there is a matching Washi Tape? There is and it is one of a kind!! The Pressed Petals Specialty Washi Tape is the focal point of today’s card.
I apologize for the photo. I know it looks washed out and I am not sure why. I downloaded the Iphone update and it changed some things. Also, what looks like a smudge on the sentiment is actually a shadow from a pearl. Again, I am not liking this new update!!
Anyway!! The focal point is the card is the flower. And it is made from the washi tape. I definitely said WOW the first time I saw it demonstrated. The best part is that it is very simple to make. Here is how I made it:
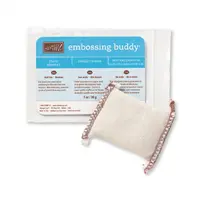
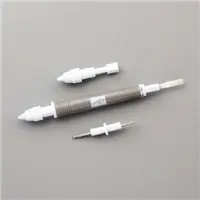
Begin by punching a circle, I used the 1 3/8 scallop circle because it was handy. Get out your Embossing Buddy. I used my Take Your Pick tool to lift off each petal at the inside point. And holding it like that with my finger and the Tool, I patted the back of the flower against the Embossing Buddy. (Basically you are removing the sticky from the back of the petal but leaving it on the tip section.) Then place the tip part onto the punched circle. Continue all the way around the circle. Then add a few for an inside layer. I then finished it off with the Perennial Essence Floral Center. It may not be totally correct for this flower, but it works for my creative license. 🙂
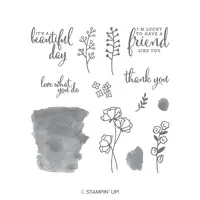
The sentiment I chose is from the Love What You Do stamp set. The linen look paper is a reverse side of one of the Pressed Petals DSP. I needed to break up the flowers in order to add my flower.
REMINDER: Monday is the last day for the DSP Sale!!
Thank you for stopping by today. I hope you will check out this Pressed Petals Washi Tape and add it to your next order. I would love to see what you create.
HOST CODE
My September Host Code is VYHZ6ZM2. Please use this code for orders under $150.00. I will have a small perk for those with orders over $50.00.
I have a Christmas card to share today. I am also sharing a little tip about the photopolymer stamps.
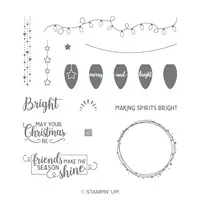
These stamps are all from the Making Christmas Bright stamp set. As I mentioned above, they are the photopolymer stamps and that means they are flexible. Do you see where I am going? The light string is included in the set and is already bent a little. The Making Spirits Bright stamp is straight. But because of the flexibility of the material, it can be arched a bit.
To do this little trick, I attached the green light string to one side of the H Stamp Block. I turned it over on my grid paper and easily bent the sentiment to the same arch. It was pretty easy to see through the block and see the line from the other side. I simply placed the sentiment on the line. It was not perfect, but close enough for me. And it only took a minute to do. You could use the same theory with the Stamparatus by stamping the line, and then laying the sentiment on the line where you want it and picking it up with the next panel.
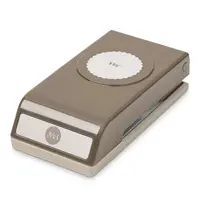
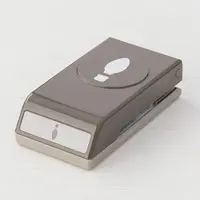
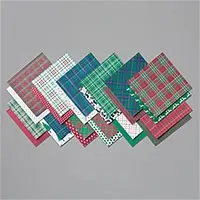
The light bulbs are stamped and punched out using the Christmas Bulb Builder Punch. The punch looks like a shoe print to me! I went over the light bulbs with the Clear Wink of Stella to give them a bit of a shine. I am not sure how well that shows in the photo. The Christmas Tree paper is from the Wrapped In Plaid 6 X 6 Designer Series Paper. It is one of the reverse sides to a plaid.
Thank you for stopping by today. Please return tomorrow for a non-holiday card I have prepared.
HOST CODE
My September Host Code is VYHZ6ZM2. Please use this code for orders under $150.00. I will have a small perk for those with orders over $50.00.
The content in this blog is the sole responsibility of Jackie Beers as an Independent Stampin' Up! Demonstrator. The use of and content of classes, services or products offered is not endorsed by Stampin' Up!