I have another Fun Fold to show you today. It is one that I have done a few times, or at least it is the same beginning to previous ones. This one I kept very simple. It is a Pocket Card that could also be used as an Invitation. The time for needing these is almost upon us. At least I hope most can begin having showers, graduation, and other special occasion parties now.
Products I Love
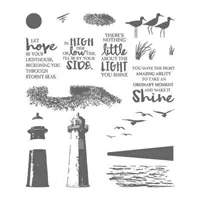
The High Tide stamp set is such a great one to use for quick and easy cards. Or it can be layered and become more advanced. I stuck with quick and simple for this card.
All of the stamps on the pull out card are included in the stamp set. The lighthouse is a 2 step stamp. However I chose to just do the base layer without the detailed stamp. Letting the Light shine, 🙂 , was my idea as it pairs so perfectly with the sentiment. Was that too corny????
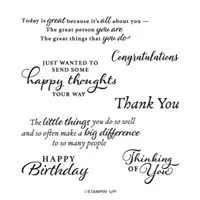
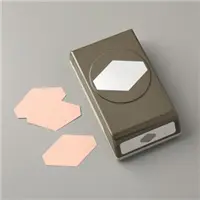
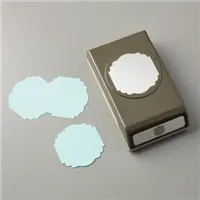
The Happy Birthday is from the Happy Thoughts stamp set. I love the mixed font and especially the beautiful script of the Birthday! To go along with my quick and simple card, I used two punches for the focal sentiment layers. Punches are my go to when I need a quick card. The stamped sentiment is cut with the Tailored Tag Punch. The background is the Label Me Lovely Punch. They fit very well together.
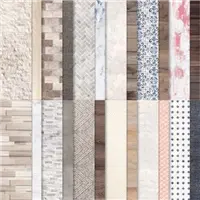
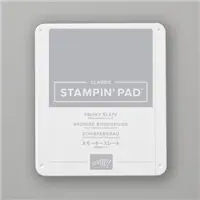
The DSP beneath the sentiment was chosen to go along with the Smoky Slate cardstock. I think it looks sort of stormy! It is from the In Good Taste Designer Series Paper. I am thrilled that paper is carrying over to the next Annual Catalog! It has a little bit of everything needed for backgrounds.
Inside Card
How To Create
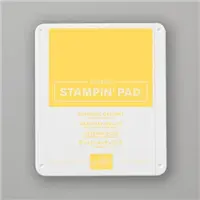
To make the card base I began with a strip of Daffodil Delight Cardstock cut 4 1/4 X 11. It is scored at 5 1/2 and then 3″ is cut off of one end. My previous cards made similar to this, I would only cut off 1″ and then fold that end over to create a gift card pocket. So that is an option for you to try. If you take that option however it is not able to be a pocket card.
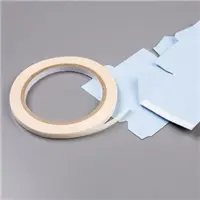
Adhere the Smoky Slate cardstock (cut 4 X 5 1/4) to the back panel. Lay the stamped white piece (3 1/2 X 5) in place to give the bulk to make ease of pulling out. Same as you do for a gift card holder. Place Tear & Tape on each side of the small front panel and press down.
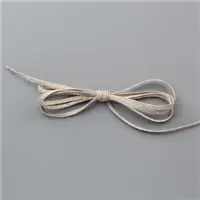
Add the DSP (2 1/4 X 4) to the front of the small panel. The rope is another great product, the Braided Linen Trim. To make it easy on myself, I add a small piece of Tear & Tape in the center of the small panel where the sentiment will be placed. Lay one end of the ribbon down and wrap it around the back of the card and back to the front. Adhere the other end. Cut a piece approximately 4 ” and double it. We are making an upside down bookmark pull. Start the looped end from the top and run under the rope. Pull the loose ends through and flatten out, being careful not to pull loose your ribbon ends from the tape.
The finishing touch is simply adding the layered sentiment. I used adhesive putting the two pieces together. Then add Stampin’ Dimensionals to the back one to adhere to the panel. You have a cute card and the area you would write on is covered down inside the pocket.
Thank you for stopping by today. I hope you enjoyed the Pocket Card and will give it a try. It can be a Beginning Stamper card or an Advanced if you prefer adding more stamping and details.
Both the stamp set and the ribbon are in the Retiring Products. If you like them as much as I do, consider going ahead and ordering them now!
HOST CODE
My April Host Code is QGPT9TJG Please use this code for orders under $150.00. I will have a small perk for those with orders over $50.00
Welcome to InKing Royalty’s April Blog Hop! During this year’s blog hops, we are having fun with our stamping favorites – our favorite themes for seasonal cards and projects. This month’s projects feature a mix of butterflies and dragonflies – just in time for Spring. We are excited to share our creations with you today! After you read my post, I hope you’ll hop over to the next person on the list at the base of this post.
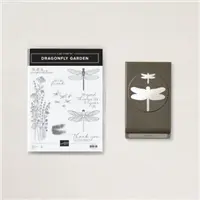
I chose to share a pretty dragonfly with you for this hop. She is sharing the spotlight with some pretty Designer Series Paper and a cute little stamp. And best of all there is a FunFold!
This super cute fold was shared with me by one of my downline, Deirdre Reilly. I loved it and had to share with you all. It was cased from a UK demonstrator Jan Mansour Brown.
Stamps and Colors
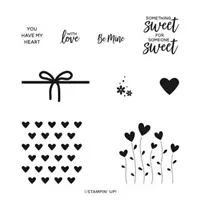
The center stamps are from the retiring set Valentine Keepsakes. I love the heart flowers. The Love is from the set but is “with love” . I used the Black Stampin’ Write Marker to only color the Love.
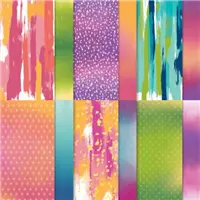
The colors I chose came from this beautiful DSP. It is the Artistry Blooms Designer Series Paper. From the colors shown, I chose Coastal Cabana and Rococo Rose to pair with it. The dragonfly is colored with Stampin’ Blends in Rococo Rose and Bermuda Bay. The finishing touches are the Rhinestones, plus the dragonfly perched on the edge.
Measurements and Directions
This is a square card that is 4 1/4 X 4 1/4. It begins with a piece of cardstock 4 1/4 X 8 1/2. The Rococo Rose layer is 3 7/8 X 3 7/8. The DSP is 5 X 5, and the White center is 3 7/16 X 3 7/16.
For the Fun Fold, fold the DSP in half and score the fold. Open the fold and then fold in the opposite direction and score the fold. Now take a corner and fold the point into the center, getting as close to the score lines on each side as you can. Continue doing the same with all of the corners. Once finished with each corner, take the points and fold them back down to the edge. See the photo for clarification.
Place the White piece inside and stamp or mark the edges , remove, stamp, and return. It is a fairly tight fit and I did not adhere the white to the inside. Use the Foam Adhesive Strips and cut approximately a 1″ length. You will need 4 of these. Lift up each section of the DSP and place the strip about halfway. To secure the points place a Mini Dimensional underneath each point. All you have to do now is adhere all the pieces together.
Here is a view of the dimension of the folded DSP.
Thank you for stopping by today. I hope you’ll hop along to the next stop on the blog hop, Candy Ford at Stamp Candy. There’s lots of inspiration to be found in this group – and you don’t want to miss it!
Thank you for hopping along with us. If you get stuck during the Blog Hop, please use this line-up as a guide:
I have a little square card that is showcasing some retiring products for today’s project. I love making square cards. This one is a 4 X 4 size. I make quite a lot of 3 X 3 to use as Random Act of Kindness cards. For mailing though it needs to be at least a 4 X 4.
Retiring Sadness
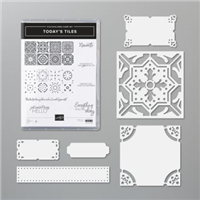
I am so sad when I look at a stamp set or bundle and realize that I should have used it more. Sadly this is one of those times. The Bundle is the Today’s Tiles Bundle. I made a couple of 3X3 cards using the sentiments and one of the other square tiles, but that was it. And now it is retiring! So Sad!!
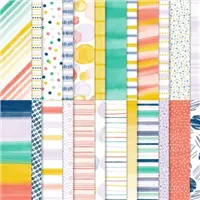
I paired this with the also retiring Playing With Patterns Designer Series Paper. This is one of my favorites because it is all bright colors. Plus it is a 6 X 6 stack! I naturally pulled all of my colors from this precious paper.
Color Inspiration
The Night of Navy was what I saw as the boldest of the cute circles of the DSP piece. So it was my base and tile layers. I then went to the other end of the spectrum and chose the lightest color of the sheet. That is the Purple Posy. Sadly it is a retiring item as well.
The sentiment is stamped using the Night of Navy Ink. And the finishing touch to all of the details of the die cuts is the Pastel Pearls. I think they paired perfectly with the Purple Posy. Additionally, they sort of mimic the circle of the DSP.
Measurements
As I said this is a 4X4 card. The base is 4 X 8. The Purple Posy is 3 3/4 X 3 3/4. And the DSP is 3 1/2 X 3 1/2
Thank you so much for stopping by today. I hope you will come back tomorrow for the InKing Royalty April Blog Hop. There will be quite a lot of great card designs for you to check out.
HOST CODE
My April Host Code is QGPT9TJG Please use this code for orders under $150.00. I will have a small perk for those with orders over $50.00
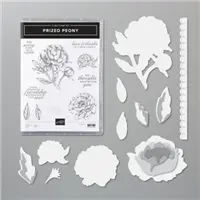
I love Peonies! We lived with my Grandfather when I was young and there were peonies in the garden from my Grandmother and her awesome green thumb. My Mom loved those special flowers as well. And I grew to love them and their large beautiful flowers.
This time of year, when the peony should be blooming, always warms my heart. And as my peony bush has been getting buds I knew I wanted to make another card using this gorgeous stamp set.
The stamp is very detailed so does not require a lot of assistance from me to become beautiful. I stamped it using Memento Tuxedo Black Ink and then colored it with the Petal Pink Stampin’ Blends. My peony, and the ones from home, were all white with the touch of pink. I tried to give this one that look by leaving the lighter color for the majority of the flower.
The leaves are colored using the Just Jade Stampin’ Blends. I love this color more every time I use it. The ribbon is from the Ornate Garden Ribbon Combo. Even though the Terracotta Tile and Old Olive are not the colors of my card, they pair well and appear to me to be just darker versions of the same colors.
I die cut the peony using the matching Peony Dies. Something that I rarely do is use the “edging” dies in any of my die sets. For some unknown reason I decided that this card needed that edge. I was so happy with the finished look. Since the peony is on a plain background, the edging seems to be a perfect addition.
Thank you for stopping by today. I really appreciate your visiting my blog and commenting.
HOST CODE
My April Host Code is QGPT9TJG Please use this code for orders under $150.00. I will have a small perk for those with orders over $50.00
Today’s card is a mix of Old and New products. The cardstock and ink have just arrived in the Upcoming Annual Catalog. The stamp set and elements are retiring and/ or carrying over. I love coordinating our different products for a quick and easy project.
Paper Hugs Close The Distance
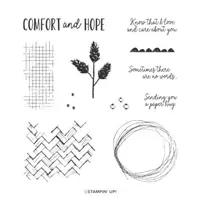
One of the best things to me is a Hug! However, due to the virus, and usually a distance between friends, a Paper Hug is the next best thing! This sentiment is from the Comfort & Hope stamp set. Sadly it is retiring now. But I think this little sentiment will have to stay here with me. It is so appropriate just to let someone know you are thinking of them.
New Meets Old Products
I chose the new Soft Succulent card stock for the base of my card. Actually I did not do an additional layer. I stamped directly on the base. All of the stamps are from the Comfort & Hope stamp set. The background design stamps are stamped using Soft Succulent Ink and Evening Evergreen Ink. The lighter stamping down the center is the Soft Succulent.
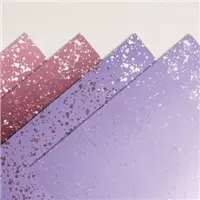
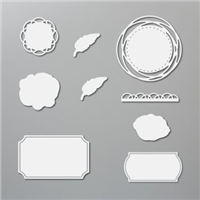
The Hydrangea Mercury Glass was a bold choice to go with the soft of the succulent color. I wanted it to stand out with the sentiment. I think I succeeded!!! The mercury glass is cut using the die from the Painted Labels Dies. I stamped the sentiment in Evening Evergreen on Purple Posy cardstock.
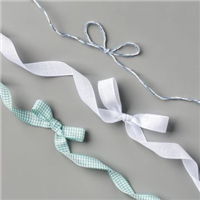
For finishing touches, I added the bow from the Flowers For Every Season Ribbon Combo. The check ribbon is a great match to these two green color. To coordinate with the Mercury Glass, I added three of the Pastel Pearls for a bit more of the purple.
Thank you very much for stopping by today. Please come back on Monday for another new project.
HOST CODE
My April Host Code is QGPT9TJG Please use this code for orders under $150.00. I will have a small perk for those with orders over $50.00
SUPPLIES:
The images for the Soft Succulent and Evening Evergreen are not available at this writing as they are not available for order by customers. So sorry!
The content in this blog is the sole responsibility of Jackie Beers as an Independent Stampin' Up! Demonstrator. The use of and content of classes, services or products offered is not endorsed by Stampin' Up!