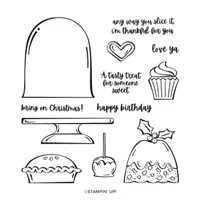
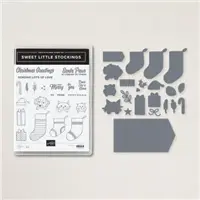
The Sweets & Treats stamp set is one that makes me smile. I love all of the holiday treats included in this fun set.
Even though my fruitcake is a bit undercooked looking, it screams Holiday to me!
Stamps
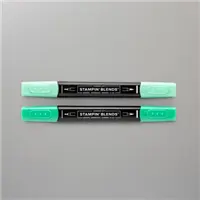
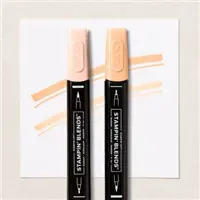
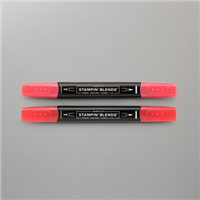
The fun stamp set I used is the Sweets & Treats stamp set. This is my idea of a Homy Christmas. All of the foods shown are Fall and Winter Holiday food. I stamped the cake plate, and fruitcake then colored using a variety of Stampin’ Blends. My plate is a Carnival Glass blue / green since my Mom had one that color. I fussy cut the image and added them to the die cut pieces with Stampin’ Dimensionals.
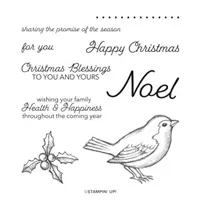
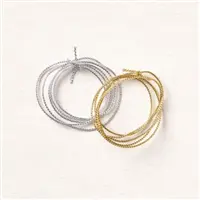
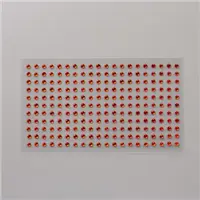
The little sentiment is from the Happy Holly-Days stamp set. It was the perfect size for the treat. And using the Simply Elegant Trim they added just enough of a Special feeling to the treats. My additional extra item is Red Rhinestones in place of the berries for the holly.
Dies
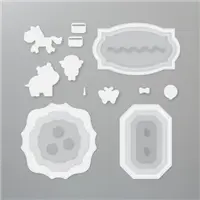
I used two different die sets to create the focal layer. The larger Shaded Spruce and White layers are from the Hippo & Friends Dies. These dies are some of my favorite. They layer beautifully and are different shapes from the norm.
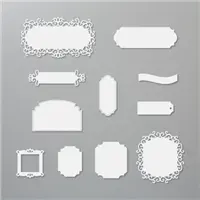
The sentiment is cut using a die from the Ornate Frames Die set. All of the tag dies I tried were too small and this one was Just Right in fitting the little sentiment.
Paper
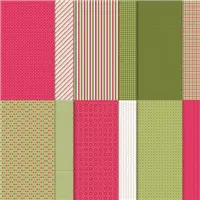
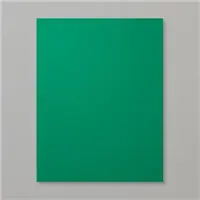
To compliment the focal point of the card, I pulled all of the colors from the fruitcake. I wanted bright colors for the fruit in the cake. So Shaded Spruce and Real Red were the winners. The DSP is from the Heartwarming Hugs Designer Series Paper. It was a narrower piece than I needed, but that is ok. I simple divided it and layered the smaller White piece over top of the two to create the width that I needed. A great way to use scraps of DSP.
Fabulous Stampin’ Up! Join Promotion
Join my team by purchasing the Starter Kit for $75.00 and receive $125.00 of products totally of your choosing! That is a fabulous deal at a $24.00 discount off of the regular Starter Kit price. This is always the Ultimate Bundle of products, and now it is even better! You can simply click on the picture below and Join.
HOST CODE
My November Host Code is M4GF9KZ7. Please use this code for orders under $150.00. I will have a small gift for those with orders over $50.00 in addition to the Perk Rewards Program. You can read all of the information at the top of the page in the Menu Bar under SHOP / Perks.
Thank you for stopping by today. I hope you enjoyed today’s project and will come back. I do read and reply to all of the comments individually. They mean a lot to me. Please reach out if you have a question.
My card for today is a Fun Snowman card. There are a couple of different simple techniques I have shared as well.
Also, today is my first time as a Design Team Member of the Make My Monday card challenges. This is my entry for a Cute Christmas. You can see the other Design Team Member’s cards by clicking on the link and can also enter your card there as well. Just click on the logo below.
Stamps
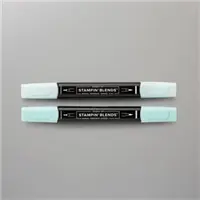
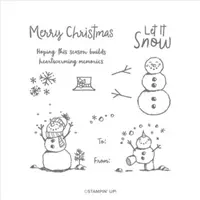
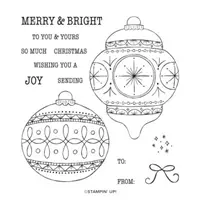
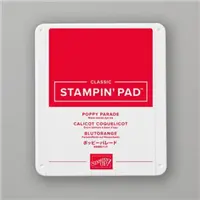
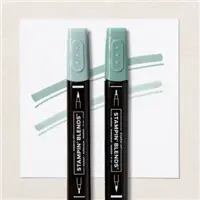
The cute snowman that looks so very happy is from the Snowman Season stamp set. This is a carryover from last year and is in the Annual Catalog. I paired him with the “Joy” from the Bright Baubles stamp set. He is colored with a Light Pool Party for shading but it is difficult to see in the photo. And instead of a traditional red, I went with Poppy Parade for the Joy and in coloring his scarf and hat. Of course I had to use the Stampin’ Blends for all my coloring. You know they are my favorite!
Paper
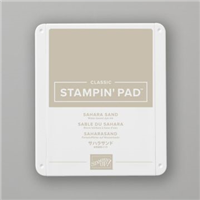
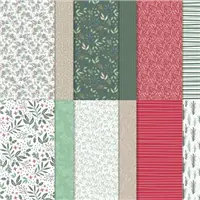
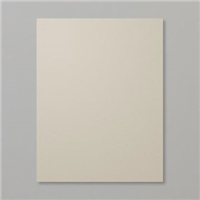
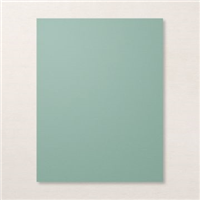
The DSP pieces are both from the Tiding Of Christmas Designer Series Paper Pack. It is also in the Annual Catalog. I paired these two pieces with Sahara Sand for the base and Soft Succulent as the layer and Snowman background. For a little bit of a fun change, and a very old technique, I tore the snowflake paper across the top. This gives the illusion of a bit of a hill with the trees behind. At least it does in my brain. LOL!!
Dies
I had a bit of a difficult time deciding how to frame the snowman. After looking through all of my dies and punches, I came to the Rectangle Stitched Dies. I used these for the snowman and the layer of Soft Succulent. The dies were perfect in their width but to tall. I mentioned another technique and this is it. With the Stitching dies you can first die cut your image, and then line up the stitches again.
In my case I needed to make them shorter. So I matched up the stitching on the top of the paper where I needed it to be with the top of the die. It takes a minute but is fairly simple. You must line up the stitching the rest of the way down your already die cut layer. But once you get it at the top, it is easy to press the others into place. And as an added bonus, the Joy flag along with the extra one are the pieces that were cut off to make the others shorter. I couldn’t waste those.
Fabulous Stampin’ Up! Join Promotion
Join my team by purchasing the Starter Kit for $75.00 and receive $125.00 of products totally of your choosing! That is a fabulous deal at a $24.00 discount off of the regular Starter Kit price. This is always the Ultimate Bundle of products, and now it is even better! You can simply click on the picture below and Join.
HOST CODE
My November Host Code is M4GF9KZ7. Please use this code for orders under $150.00. I will have a small gift for those with orders over $50.00 in addition to the Perk Rewards Program. You can read all of the information at the top of the page in the Menu Bar under SHOP / Perks.
Thank you for stopping by today. I hope you enjoyed today’s project and will come back. I do read and reply to all of the comments individually. They mean a lot to me. Please reach out if you have a question.
Today’s project is another of my envelope fun fold card using the Sweet Stockings products.
Stamps
The Sweet Stockings Suite of products are simply adorable! I used the Sweet Little Stockings Bundle for today’s project. All of the stamps used are from the stamp set. And the adorable kitty head sitting on the sentiment is the perfect addition. I am an animal lover. Especially cats and dogs. We only have cats right now, but any of the babies in this set are adorable. (Except maybe the hamster!)
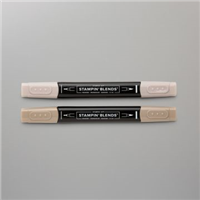
The kitty head is stamped using Basic Gray and then colored with Smoky Slate Stampin’ Blends. There are matching dies for most of the items in the stamp set. I used just the kitty head to die cut. The adorable little girl is added so her paws are hanging over a bit.
Paper
The DSP sheet of tangled Christmas lights is from the Sweet Stockings Designer Series Paper. As pretty and cute as all of the sheets in the paper pack are, this piece is my favorite. I just have to Smile when I see it. And the best part is that even though the paper is a starring role in the card, it only uses a 3 1/2 X 3 1/2 square of it. You can get nine of these from one piece of 12 X 12 paper!
Here is a view of the inside of the card. There is a little surprise n there.
The sentiment is from the Sweet Little Stockings set and the cute little kitty is from another piece in the DSP pack. There are both cats and dogs in these little stockings on one of the sheets. I used my Paper Snips to cut this one out. The trick to this little cutting is to leave a bit of white around the edges. But the most important part of fussy cutting is to turn your paper and not the scissors. Plus it helps to have sharp scissors!
Directions
Click on this picture for a pdf of the directions.
Fabulous Stampin’ Up! Join Promotion
Join my team by purchasing the Starter Kit for $75.00 and receive $125.00 of products totally of your choosing! That is a fabulous deal at a $24.00 discount off of the regular Starter Kit price. This is always the Ultimate Bundle of products, and now it is even better! You can simply click on the picture below and Join.
HOST CODE
My November Host Code is M4GF9KZ7. Please use this code for orders under $150.00. I will have a small gift for those with orders over $50.00 in addition to the Perk Rewards Program. You can read all of the information at the top of the page in the Menu Bar under SHOP / Perks.
Thank you for stopping by today. I hope you enjoyed today’s project and will come back. I do read and reply to all of the comments individually. They mean a lot to me. Please reach out if you have a question.
The project for today is a new version of a Multi-Fun Fold I did a few weeks ago. This version is a beautiful, flowery Birthday card.
Stamps and Paper
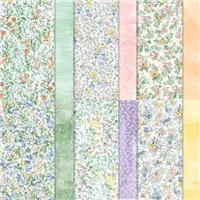
The beautiful DSP is all from the Hand Penned Designer Series Paper. You can see from the patterns I used just on this view how well the designs coordinate. These patterns make me Smile!
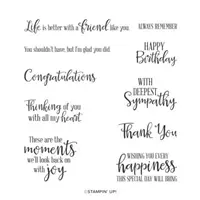
The Happy Birthday, as well as the inside sentiment are from the Peaceful Moments stamp set. This set has awesome greetings and lovely fonts which make them extra nice. I also used the Hand-Penned Petals stamp set to stamp a sweet flower on the inside.
Fun Fold and Gift Card
This version of this Multi Fold card has a much simpler method for staying closed. Or rather, almost closed. The folds are a bit stiff and do not close totally. Here is also a view of the Open card.
I have all of the directions posted in the original Blog Post that I did with this fold. The only difference are the closure and the gift pocket. You can click HERE for those original instructions.
Additions to original directions
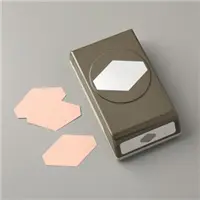
Did you notice the gift card? I found from other Stampin’ Up! Demonstrators, so I am not sure who to give the credit to for the great find, that you can make any card a Gift Card Holder. That is by simply seating your layer completely into the Tailored Tag Punch, center it on each side, and punch. Then when you adhere that layer, do not add any adhesive between the punch and the bottom of the piece. Only go around the edges from the punched section down. The gift card will fit perfectly.
And do not discard the Tailored Tag that you punched for the Gift Card. Yes, that is what the sentiment is stamped on for the front of the card. I saved a little piece of paper from the trash! LOL!
For the closure on this card, the sentiment is added to the green stripe layer. It is attached with a vertical string of Stampin’ Dimenionals. The bit of pressure the dimensionals give keeps the front flap from opening. This is a much easier closure than the original card and just as cute!
Fabulous Stampin’ Up! Join Promotion
Join my team by purchasing the Starter Kit for $75.00 and receive $125.00 of products totally of your choosing! That is a fabulous deal at a $24.00 discount off of the regular Starter Kit price. This is always the Ultimate Bundle of products, and now it is even better! You can simply click on the picture below and Join.
HOST CODE
My November Host Code is M4GF9KZ7. Please use this code for orders under $150.00. I will have a small gift for those with orders over $50.00 in addition to the Perk Rewards Program. You can read all of the information at the top of the page in the Menu Bar under SHOP / Perks.
Thank you for stopping by today. I hope you enjoyed today’s project and will come back. I do read and reply to all of the comments individually. They mean a lot to me. Please reach out if you have a question.
Before I get to today’s project, I want to remind you that today is the last day to shop with discounts on cardstock, Ink pads, and Dies from the Annual Catalog. Click HERE for all of the details.
Sending Love Project
Today’s card is a fun card with a Fun Fold that can be made and decorated quickly. This would be a good card for making multiples.
I got carried away with my inside stamping and didn’t realize I had stamped on the bottom right of the inside layer. Don’t stamp there!!! Here is a view of the inside.
I had intended to only stamp on the inside left. DUH!!!! That way the trees are not seen when the card is closed.
Stamps
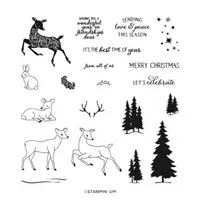
The stamps used are all from the Peaceful Deer stamp set. I love this set because it is great for a variety of projects. And that doesn’t even include the deer with the coordinating punch! The sentiments are from the stamp set as are the little trees.
Paper and Embellishments
Forgive the DSP, it is the last SAB paper Peaceful Prints. Any of the current Christmas paper would work perfectly, even with the other colors I chose. The card base is Soft Sea Foam and is a great pair to Garden Green, which is what the DSP main color is.
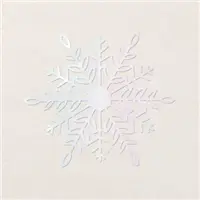
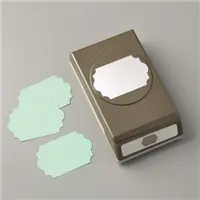
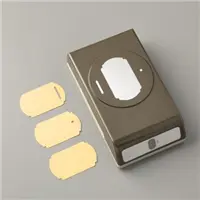
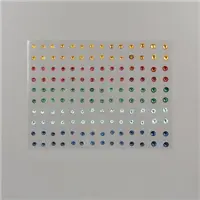
The sentiment is punched using the Label Me Fancy Punch and then layered using the Everyday Label Punch. I love punches!! Additionally, I added the gorgeous Wonderful Snowflake as the star of the show. To finish off the snowflake and sentiment, there are 3 of the Holiday Rhinestones added.
Directions
This card is a case of a Paper Pixie card.
The card base of Soft Sea Foam is cut 5 1/2 X 6 1/2 and scored at 2 1/4 on the 6 1/2 side.
Cut an extra piece of Soft Sea Foam and cut 3 1/4 wide X 3 1/2 tall. Score at 1/2 on the 3 1/4 length.
Fold and burnish the card base. Adhere the 1/2 section of the extra Soft Sea Foam to the inside on the right edge. The now flap will fold over the front and layer over top of the left side flap.
Cut a Basic White layer to 5 1/4 X 4, adhere to inside. This covers where the flap is adhered.
The DSP is 2 X 5 1/4 for the left side flap and 2 1/2 X 3 1/4 for the right side flap.
Fabulous Stampin’ Up! Join Promotion + add in the Sale prices!
You read that correctly. You can add items from the Sale, which ends today, into your Starter Kit for even more savings!!!
Join my team by purchasing the Starter Kit for $75.00 and receive $125.00 of products totally of your choosing! That is a fabulous deal at a $24.00 discount off of the regular Starter Kit price. This is always the Ultimate Bundle of products, and now it is even better! You can simply click on the picture below and Join.
HOST CODE
My November Host Code is M4GF9KZ7. Please use this code for orders under $150.00. I will have a small gift for those with orders over $50.00 in addition to the Perk Rewards Program. You can read all of the information at the top of the page in the Menu Bar under SHOP / Perks.
Thank you for stopping by today. I hope you enjoyed today’s project and will come back. I do read and reply to all of the comments individually. They mean a lot to me. Please reach out if you have a question.
The content in this blog is the sole responsibility of Jackie Beers as an Independent Stampin' Up! Demonstrator. The use of and content of classes, services or products offered is not endorsed by Stampin' Up!